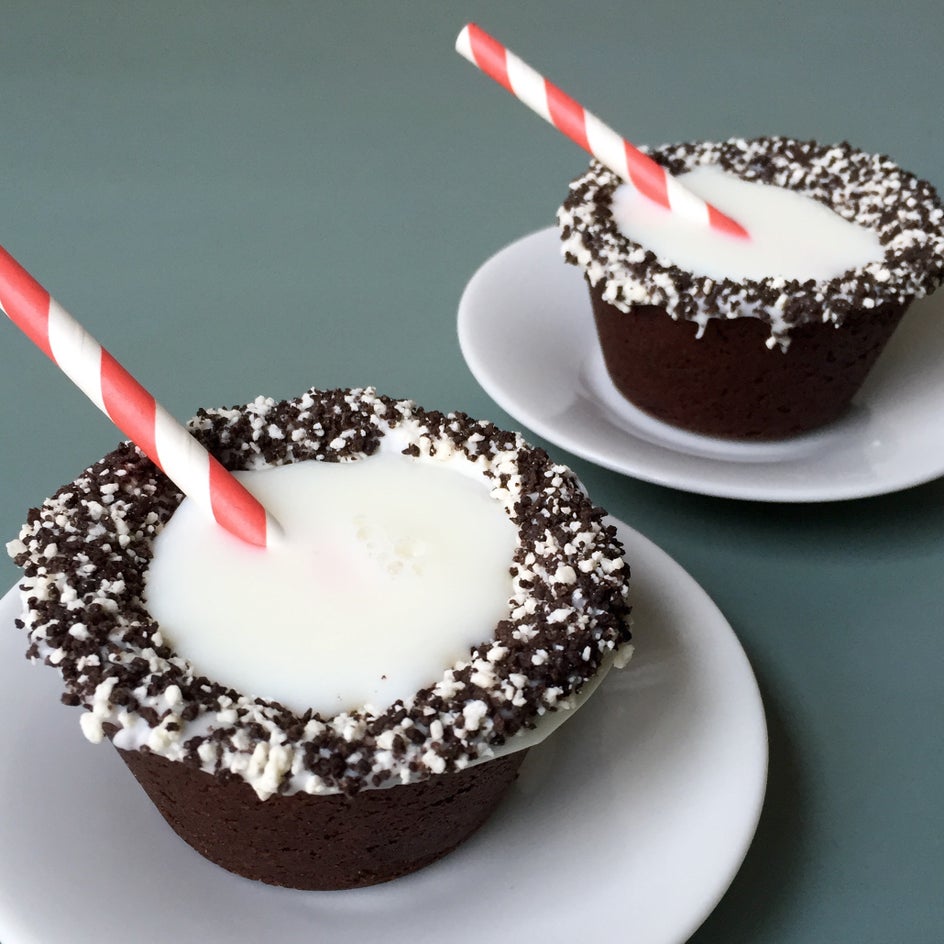
Back To School Treat: Oreo Cookie Cups
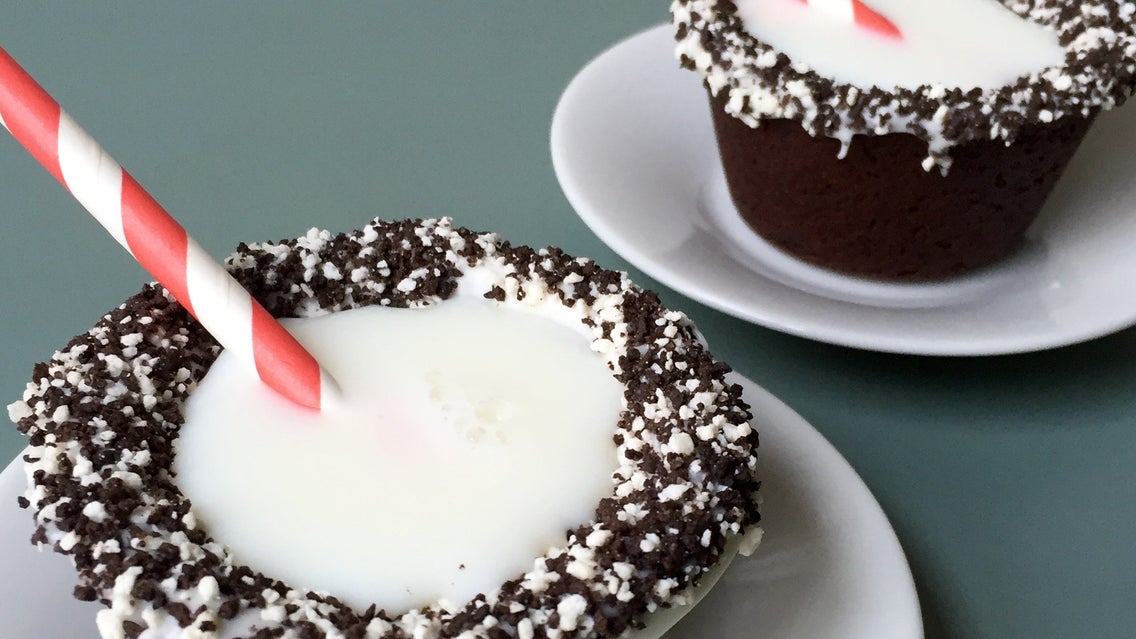
Being an avid Pinterest user, I’ve been seeing these irresistible looking “cookie shots” just about everywhere. Baked to gooey perfection and filled with milk, I knew I simply had to have them—which is exactly why I set out to make some, Oreo style. And because the entire process was so visually stunning, I’m going to use these shots along with the BeFunky Collage Maker to create a gorgeous, drool-worthy vertical recipe pin.
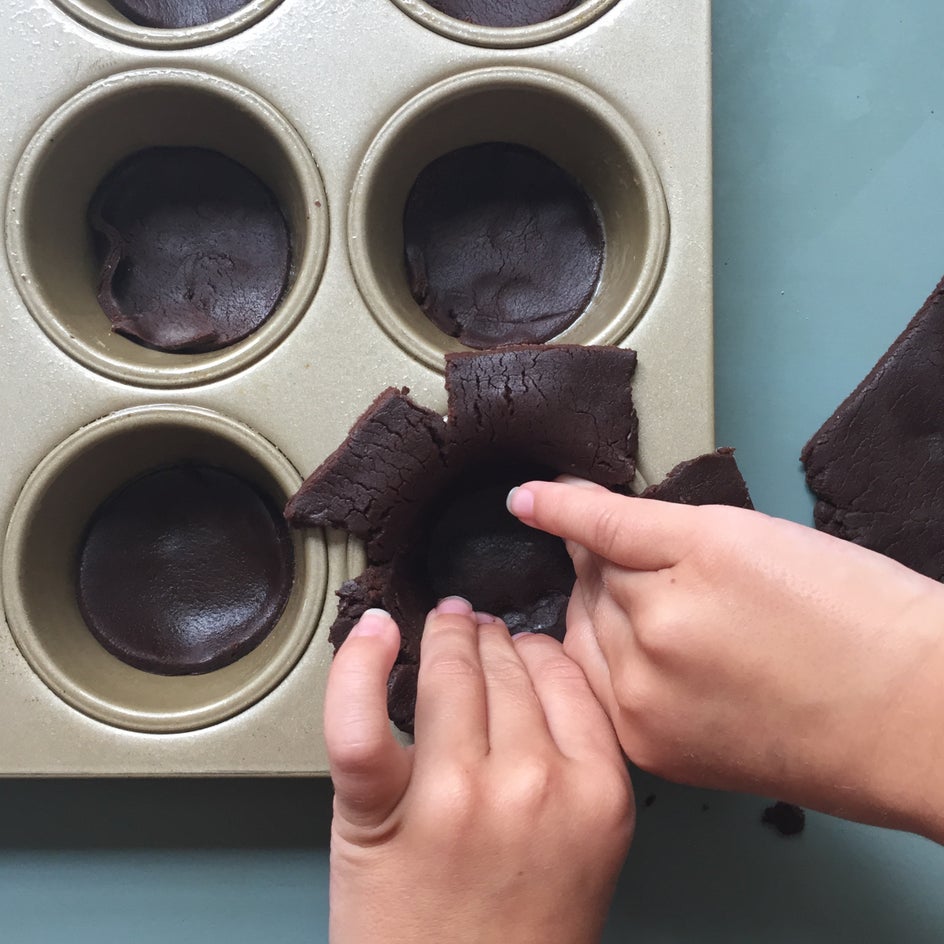
You don't have to be inventor of the Cronut to produce these little cuties. Some pantry staples, a muffin tin, and a tiny bit of patience are all you need to create a treat that can certainly beat the back-to-school blues and celebrate surviving the first week! The little helper is optional, but sure makes the process more fun!
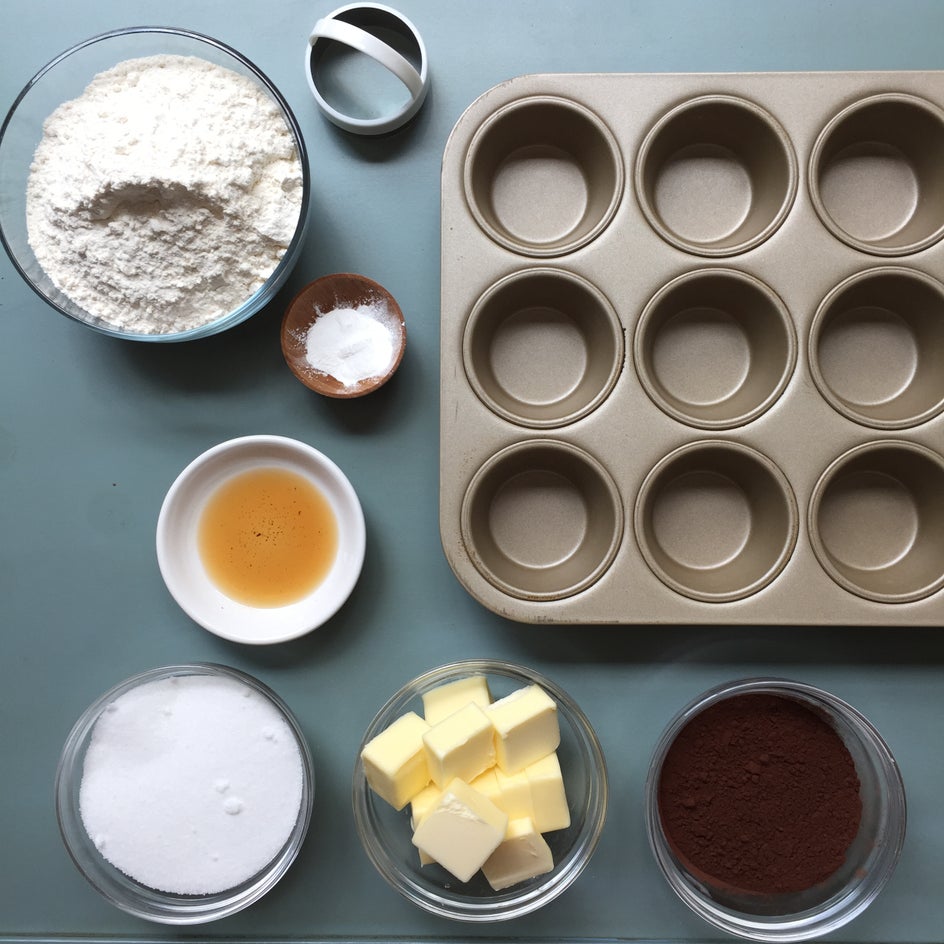
Ingredients:
- 1 cup sugar
- 1 1/2 sticks salted butter
- 1 egg
- 1 tsp vanilla extract
- 1 1/2 cups all purpose flour
- 1/2 cup cocoa powder
- 1 1/2 tsp baking powder
Filling and topping:
- 12 ounces white chocolate
- crushed Oreos or cookies and cream sprinkles
Equipment:
- 1 regular muffin tin
- parchment paper or paper cupcake liners
- dry beans or rice
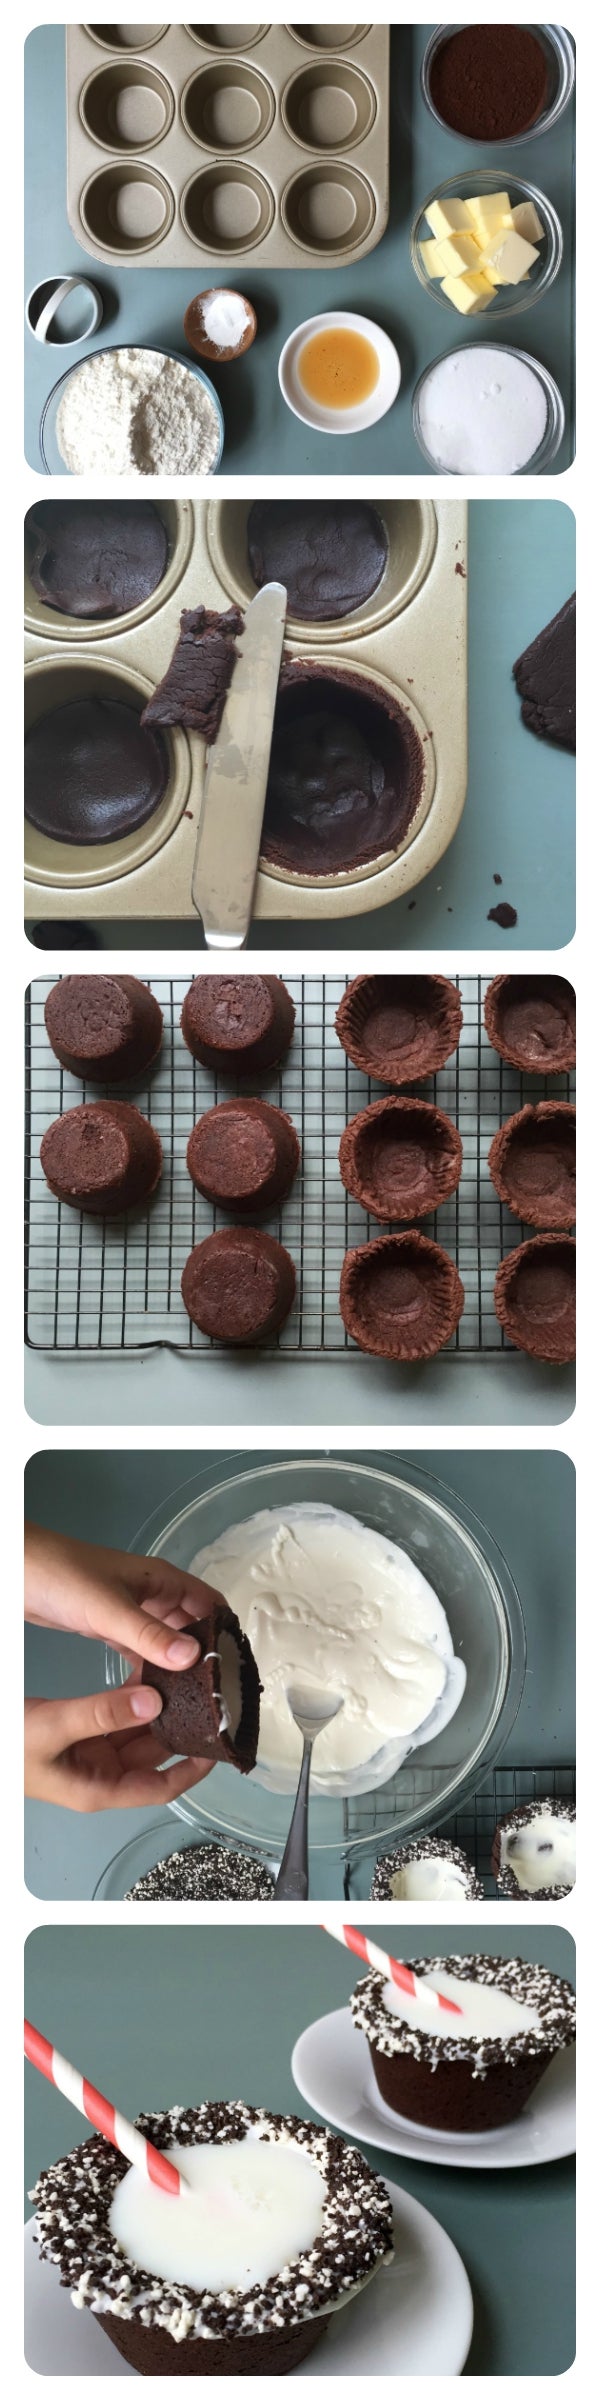
To prepare:
1. Cream butter and sugar in a mixer until combined and fluffy.
2. Add egg and mix until combined.
3. Add cocoa, flour, and baking powder and mix until combined then let the mixer run for 3 minutes on medium speed to knead the dough. Wrap dough in plastic wrap and refrigerate for 30 minutes.
4. Once dough is chilled, generously spray muffin tins with non-stick spray and preheat oven to 350 F.
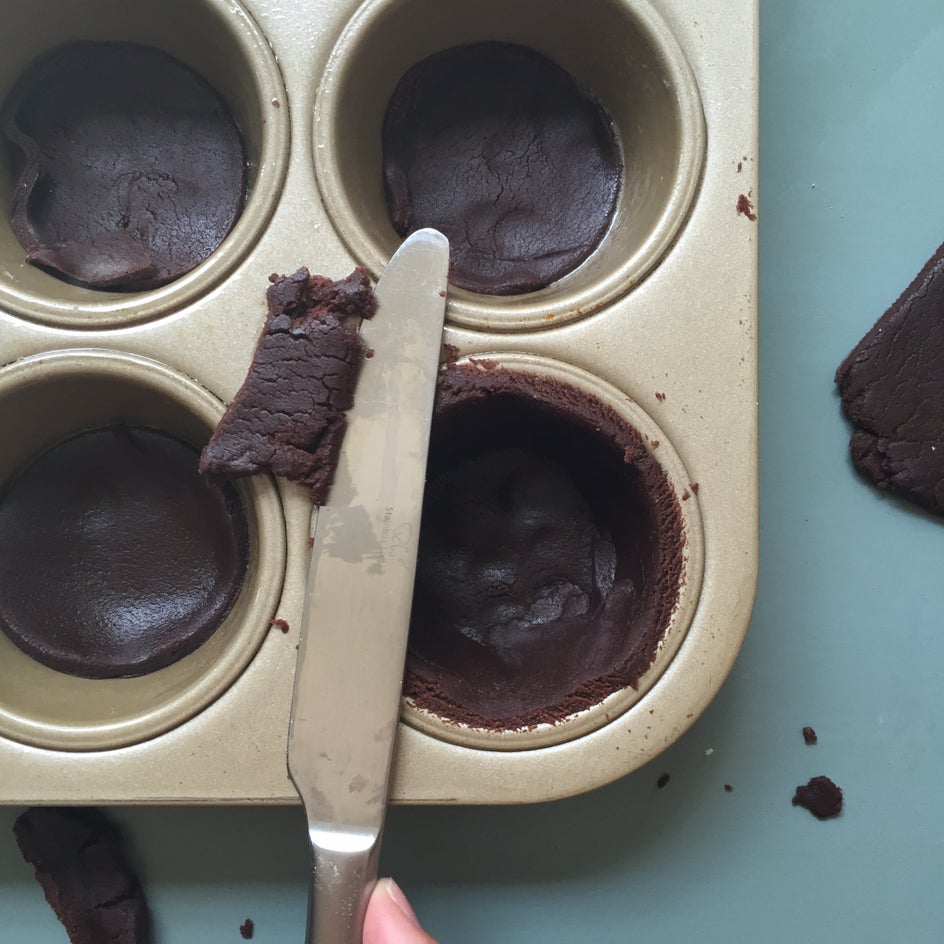
5. Break dough in 1/2 and roll to about 1/2 inch. Using a cookie cutter or drinking glass, cut circles to fill bottoms of muffin tins. Press circles into bottoms and then press strips in to form the sides firmly with your fingers. (Or with the help of your little apprentice). Press it up and over the top, and then cut off any excess.
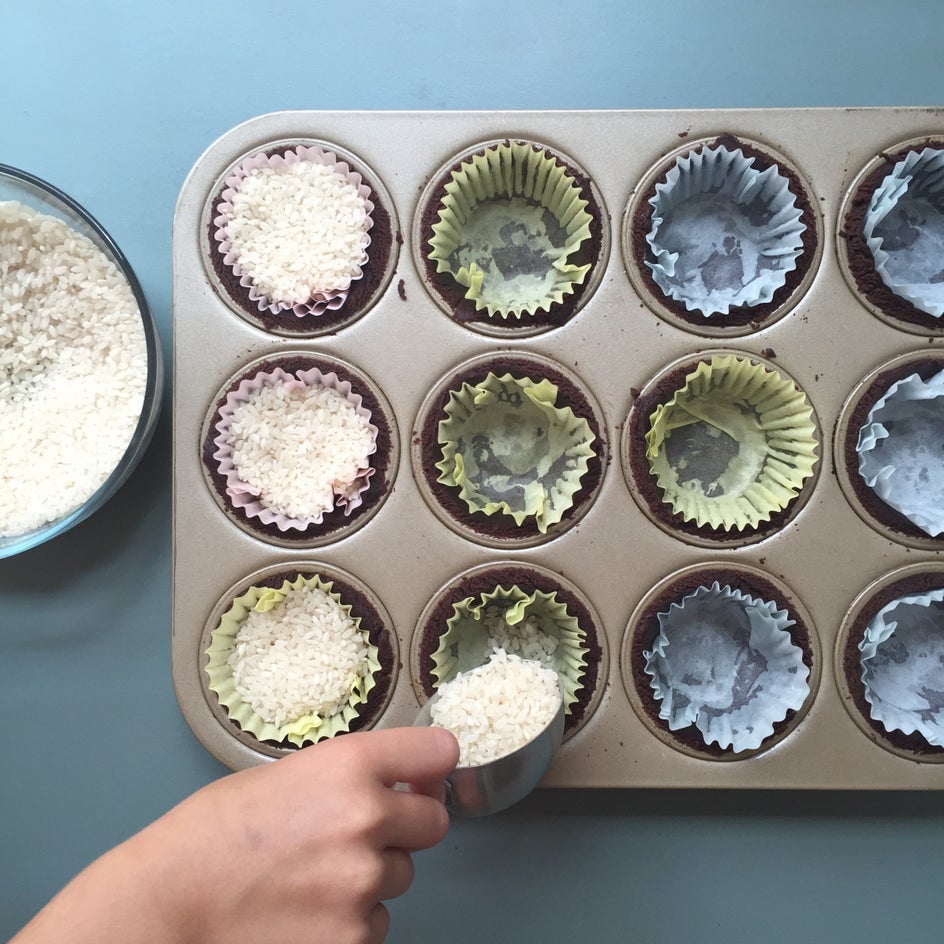
6. Then, crumple up parchment paper or muffin liners so that they soften a bit, and place inside muffin tins on top of dough. A little backwards, I know, but bare with me... Now, very carefully fill the muffin liners with dried beans or rice.
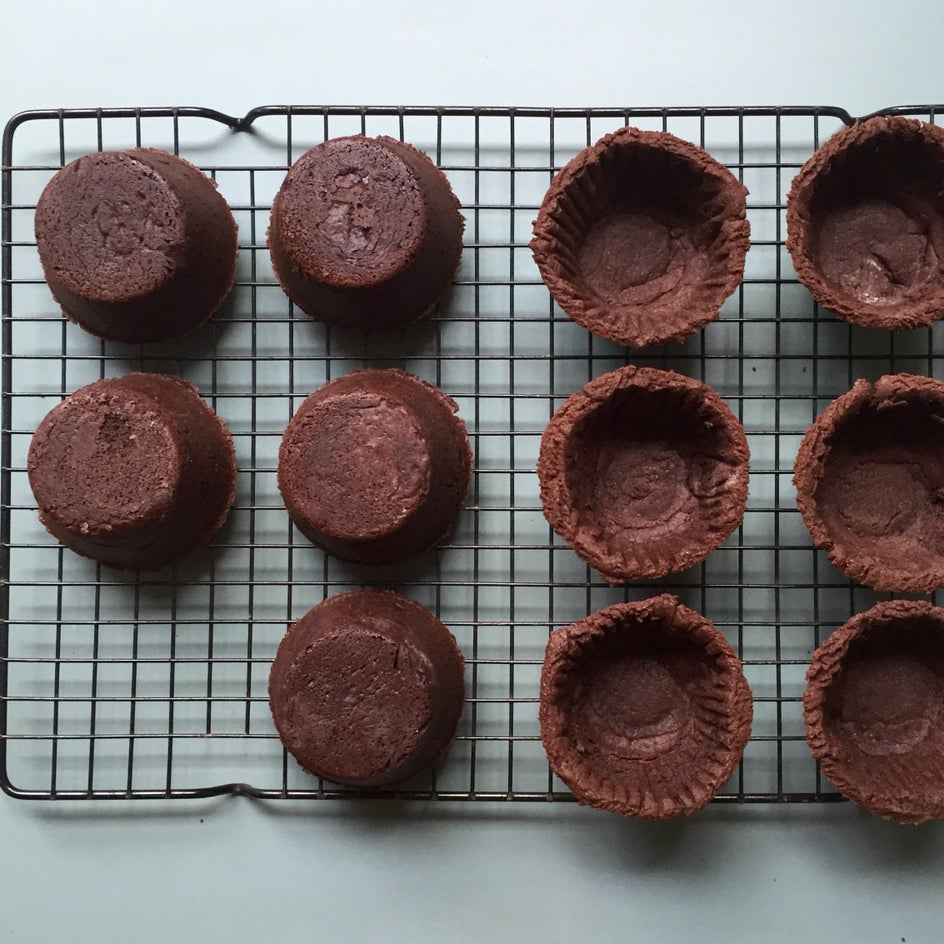
7. Place in oven and bake for 15 minutes. Then, very carefully remove liners, being very careful not to spill beans or rice into your par-baked dough. Then place back in oven for 20 more minutes until dough is completely set and no longer shiny. remove from oven and let cool about 10 minutes before gently removing from muffin tin.
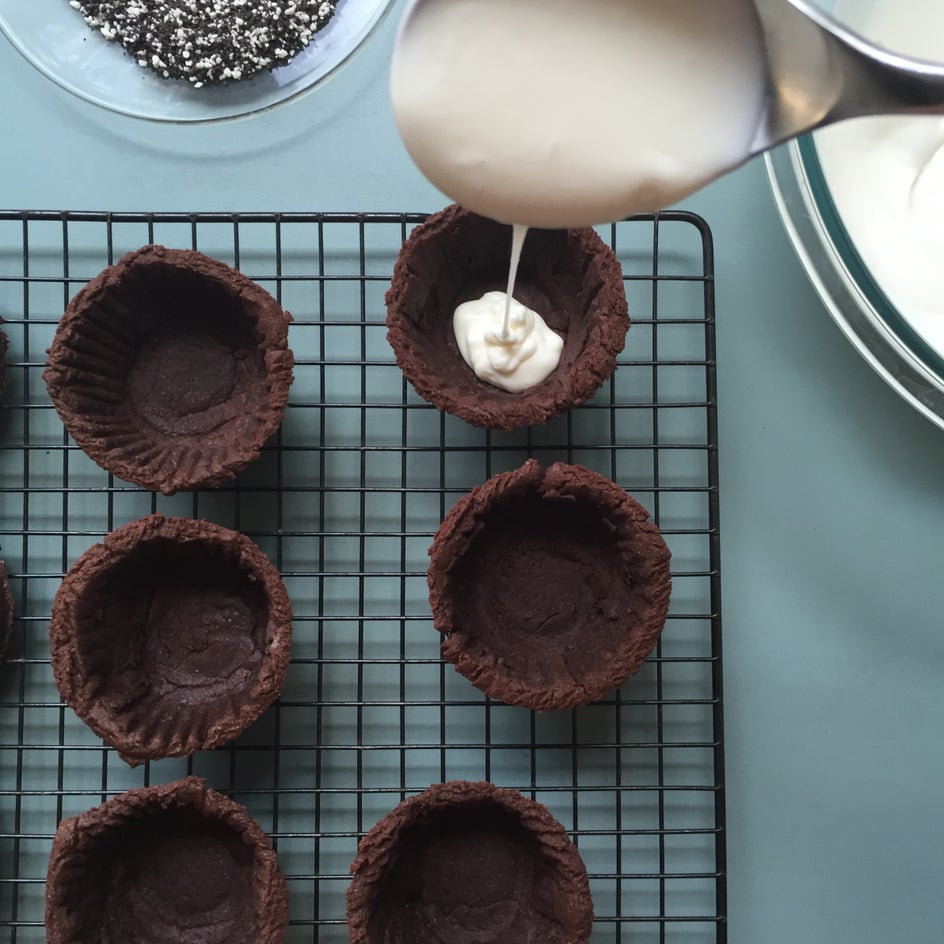
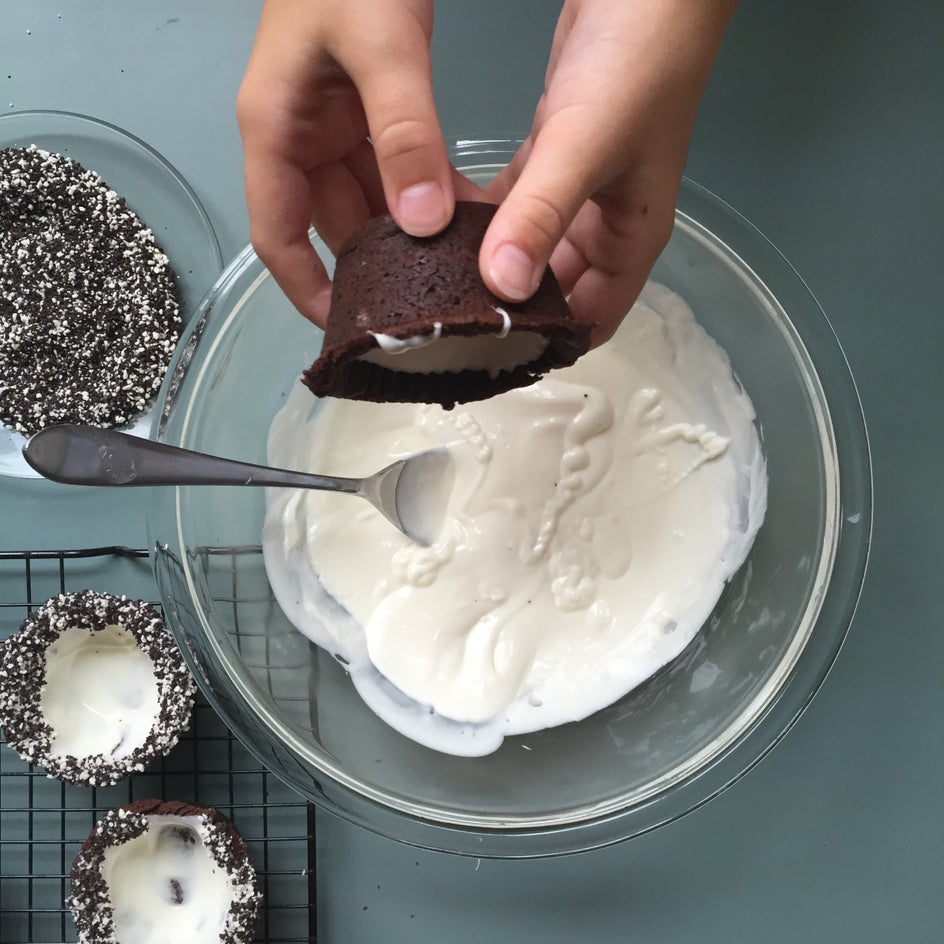
8. While cups are cooling, melt white chocolate in a large glass bowl in 30 second bursts in microwave. Stir between each burst until totally melted and smooth. Working quickly, pour about 2 tablespoons of white chocolate into each cup, and swirl and tilt to coat evenly, then dip tops into crushed cookies or sprinkles.

9. Let chocolate harden at room temp and then enjoy! Fill with milk or any other sweet treat such as ice cream, pudding, even fruit! These cups will be worth the effort when you see the excitement on your little ones' faces! Perhaps the world's most perfect after-school snack.
Once you’re all tidied up and have gotten yourself sufficiently tipsy on cookie shots (get it?!), you can head over to the BeFunky Collage Maker and locate the Pinterest template. From there I just uploaded the pictures into my favorite template, rounded the corners and adjusted the space to yield…
Talk about eating with your eyes.
Whether you’re simply looking to amp up your foodie game or you’re a food blogger looking to give your blog that added touch of class, BeFunky's got all the tools you need to help you on your delicious mission: