Optimize and Maximize Ad Space With GIFs

If you’ve been texting or using the internet over the past decade, you know what a GIF is. GIFs are short, animated, looping clips that are often sent to help strengthen an emotion you’re trying to convey to the receiver. GIFs are often made from pop culture references – but these are not the GIFs we are going to be talking about or making today.
Believe it or not, you can use a GIF for your online ads and maximize the ad space to not only communicate multiple messages, but since the ad is now animated, it will also catch more people’s attention online – a win, win for you. All you need to do this is BeFunky’s Graphic Designer.
When Are GIF Ads Useful?
You can use GIF ads to showcase new product launches, highlight your best-selling products, or advertise a sale that is coming up. Check out the examples below to see GIF ads in action.
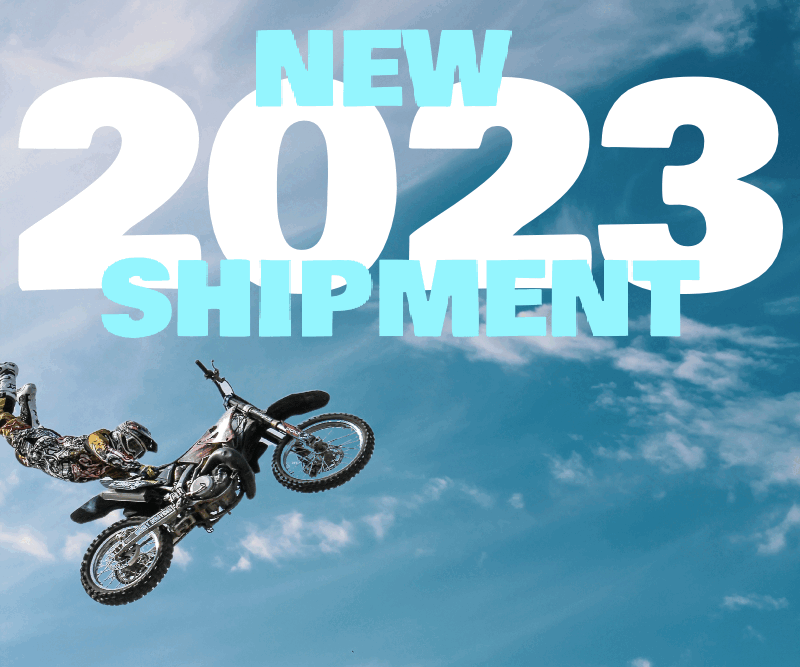
Market New Product Releases
Creating a GIF ad for new product releases is a great way to catch someone’s attention and let them know you have new products! This is also great if you are doing a restock.
Highlight Best-Selling Products
This is a great way to showcase your best-selling products. If they are best-selling, new buyers would most likely be drawn to them as well. This is a great and easy way to showcase these products.

Advertise a Seasonal Sale
Advertising a seasonal sale or anniversary sale is a good way to get rid of old products and get ready to stock up again on new products. Since you can flip between slides, you can communicate more about your sale by communicating the sale and then offering a code on the next slide.

How to Create an Online GIF Ad in BeFunky
Creating a GIF is fairly simple. For this tutorial, we are going to take two designs and turn them into a GIF for a web ad. You can either create a GIF from a previous project you have saved, create a new design, or use BeFunky’s Graphic Designer Templates to get started. We are going to choose a template for this project.
Step 1: Select a Template
First, select a design that you like from the Templates tab. Since we are designing this ad for web purposes, we selected the Online Advertising tab and then selected Medium Rectangles. We are going to use this as the base for both of our designs.

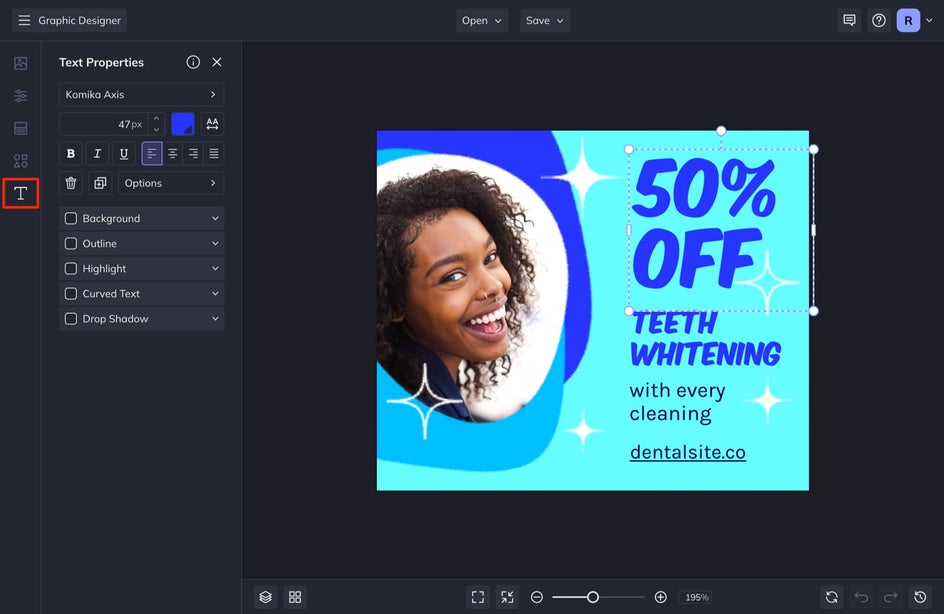
Step 2: Adjust the Text
Change your text by double-clicking into the text box and re-typing the correct messages. Once here, you can adjust the Font, Size, and Color of your text in the Text Properties menu that appears.
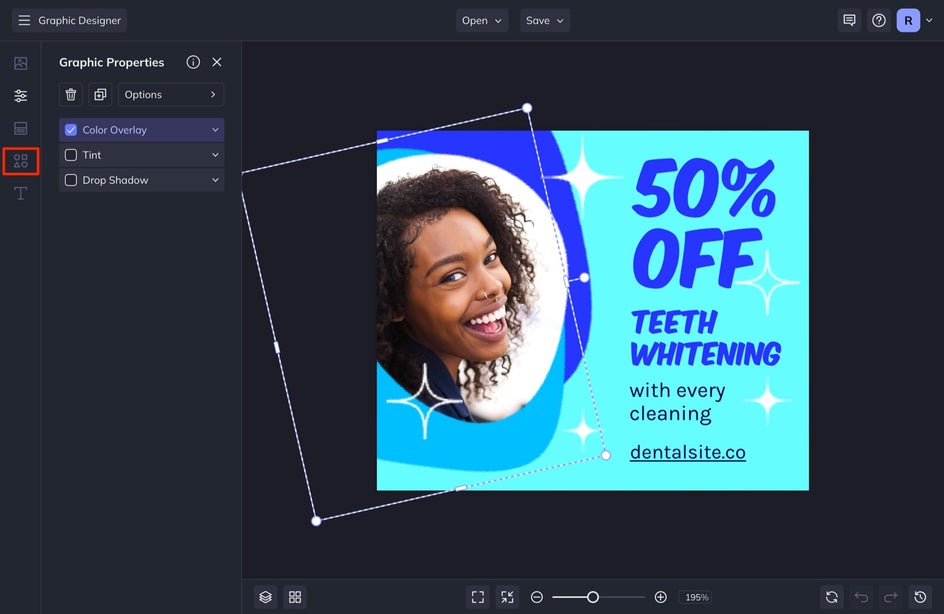
Step 3: Adjust Design Elements and Colors
After you do this, you can change the colors of your design if you want it to look different than the template. To do this, head to the Customize tab in the left-hand menu to change the background color. If you’d like to change any of the design elements, you can click on each design element and adjust its color in the Graphic Properties menu that appears.
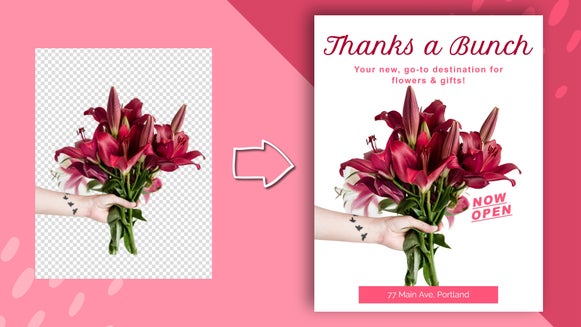
Step 4: Adjust Photo Imagery
Lastly, if there is an image in the template you used that you would like to change out, you can adjust this in the Image Manager tab in the left-hand menu. You can upload your own photo by selecting Computer, or you can choose from hundreds of stock images by selecting Search Stock Images.
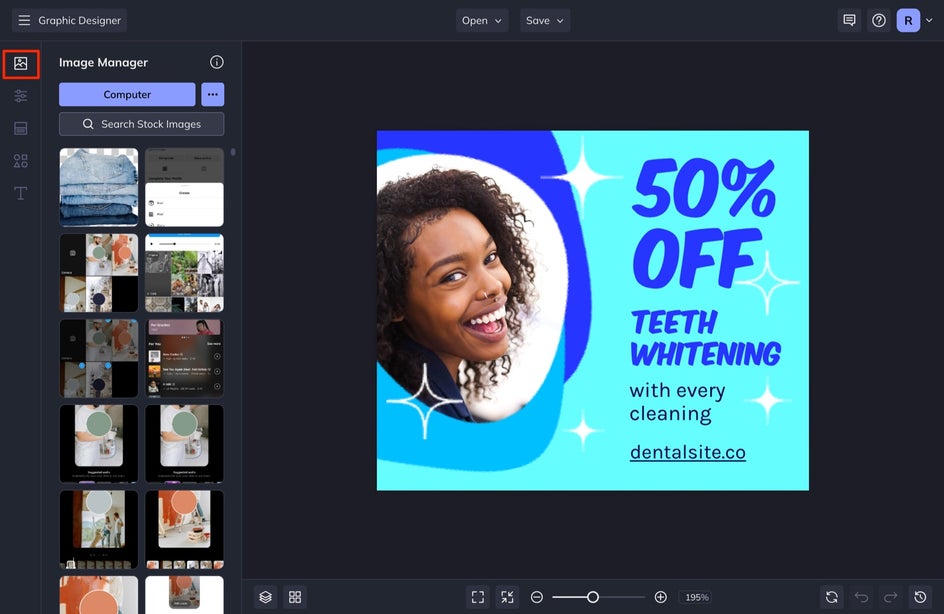
Once you select or upload your photo, it will appear in the Image Manager. You can drag and drop the selected photo onto the other photo in your design. Check out this article if you’d like to learn how to make any shape into a clipping mask.
Step 5: Save the Design
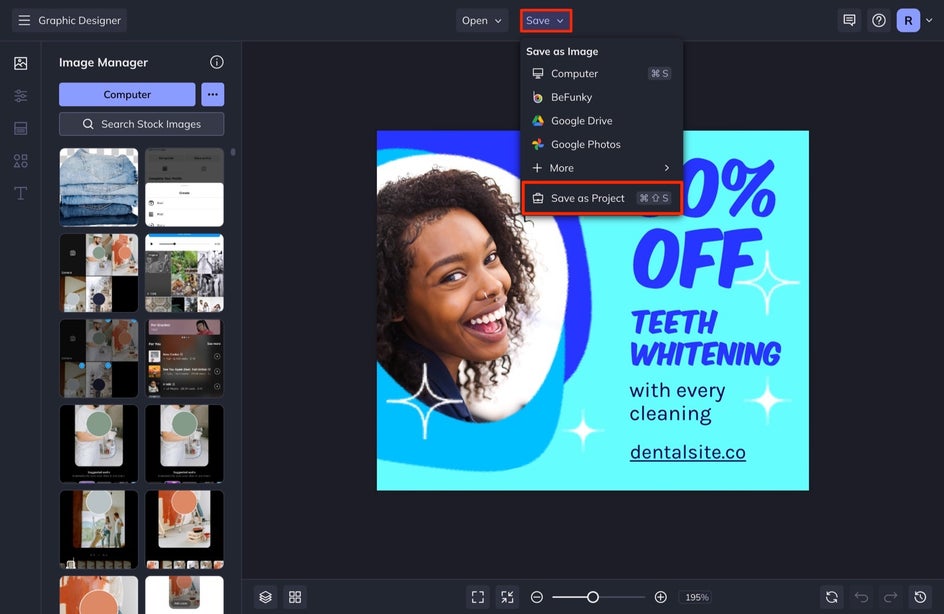
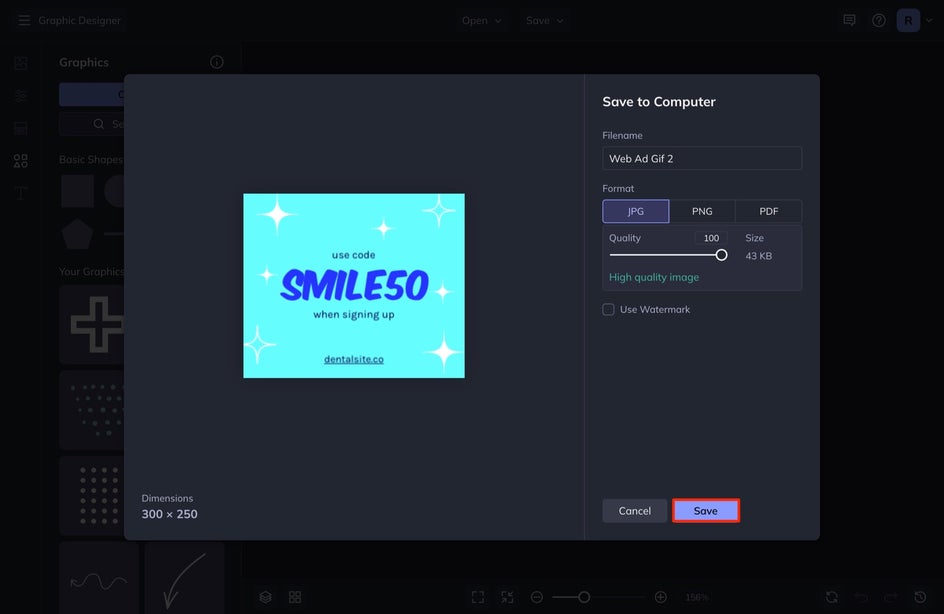
When you are finished, save your design by selecting Save at the top of your screen. Select Computer and then name your file and place a number 1 at the end of the name to signify this is the first design. Also, make sure that the JPEG tab is selected. Press Save.
After this, also save your design as a project to BeFunky or your computer by selecting Save as Project, selecting Computer or BeFunky, and then selecting Save. Make sure your file name is the same as the JPEG you saved. This will ensure that you can come back to the project at a later time, and it also helps to keep the first version of your design, since we are using it as a building block for the second design variant.
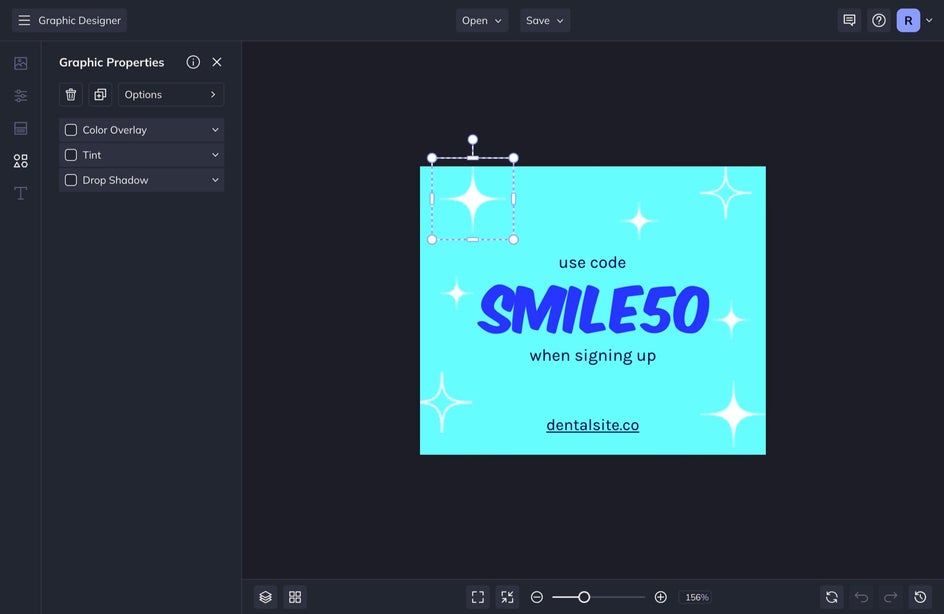
Step 6: Create the Second Design
Once you are here and you’ve saved your design, you are going to start changing the current design that is still on your artboard and adjust it into a secondary design. I have found this is the most seamless way to design, you just want to make sure that when saving this file at the end, you simply changed the name. This will make sure that it saves as a new file and doesn’t override your old one. Keep this in mind at the beginning and I will also remind you at the end – cause I have messed this up before and it can feel really defeating!
You are going to follow the steps above to change your text, design, colors, and photos. I usually create a secondary design that is simpler and gives a call to action to the intended audience. I remove photos and duplicate the graphic elements that were in the first design to create a seamless design aesthetic.
Once you are finished with your secondary design, follow Step 5 above and make sure to change your file name when saving! You can easily do this by simply changing the 1 to a 2 to signify that this is the second design.
Step 7: Create a GIF or Moving Picture
Okay, so you have your two saved images. All you need are two images and a GIF-maker like Giphy, Ezgif, or Imgflip to turn those images into a GIF! I have been liking Ezgif lately because it is simple and it also doesn’t include any watermark on your GIF at the end.
If using Ezgif, you’re going to select Choose Files and make sure that you select both of the files that you saved. You can select multiple files at a time by holding down the shift key when selecting. Once here select, Upload and Make a GIF.
In the next screen, you’ll change the delay to 100 on both images and then select Make a GIF. When you scroll down, you can see a preview of your GIF. If you want it to be a faster change between graphics, change the delay to a lower number for each and select Make a GIF again. Once you have the exact timing, select the Save graphic.
That’s it! You now have an animated GIF that you can use for your online advertising!

Optimize Online Ads With GIFs
It is easy to create an ad that is optimized for online web advertising simply by turning two designs into a looping GIF. Make sure to come back to Befunky’s Graphic Designer when you need to update any of your static ads.