Seamlessly Edit Design Projects From Desktop to Mobile
Creating engaging social media content on BeFunky is easy, but if you can’t get it to your phone in order to post it to your profile, then what’s the point? We started by creating powerful tools on desktop, and now, with our newly improved app, functioning between desktop and mobile is easier than ever.
Let’s say you worked really hard on an Instagram post only to find out that after you saved it and sent it to your phone, ready to post, there was a spelling mistake on it. With no computer in sight, you’d have to then wait until you get home in order to fix it and then post it again later. It seems like a small issue, but when you’ve worked that hard on something and also have a schedule you adhere to - it can really throw a wrench in your day or week!
Now, with BeFunky integrating Designer into your mobile experience, you can create anything you want on desktop and then edit any issues on your mobile device when you are on the go. It is that simple!
How to Edit a Design From Desktop to Mobile
It might seem like a hassle to have to navigate two kinds of platforms, but when you see how simple it is, you will wonder how you ever did this any other way. Rather than having hundreds of Instagram posts on my phone’s photo reel, I keep all of my designs in a BeFunky project folder for easy access and organization. If you are a small business or run a social media account, you know how hard it is to have a separation between personal and work content, and this is one more thing that helps keep your worlds organized separately - it has been life-changing for my workaholism.
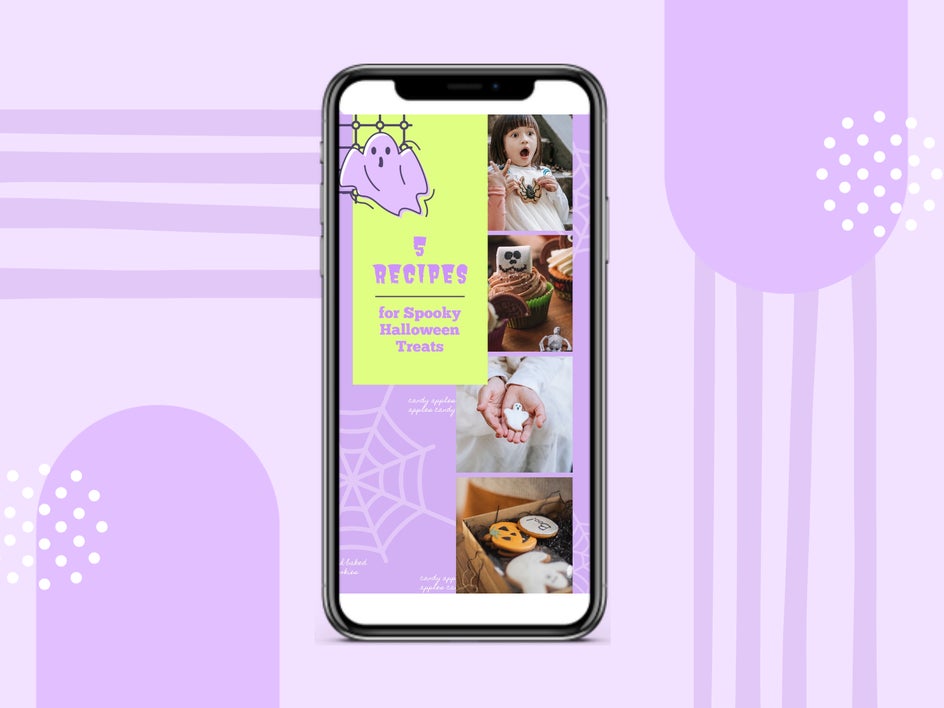
Let’s say you just created some Halloween recipes and took some photos of them on your phone. Let’s start designing on mobile to do the bulk of our design, and then we will transfer over to mobile to add in our images. If you want to know how to use BeFunky’s Designer to create, save, and edit your work from desktop to mobile, follow the tutorial below.
Step 1: Begin Designing on Desktop
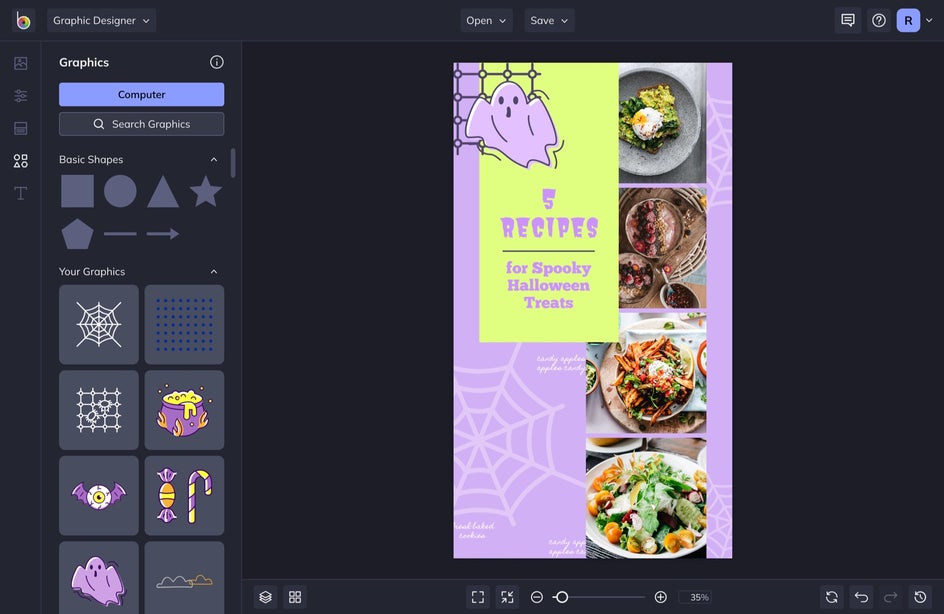
Open up BeFunky’s Designer by clicking here. Choose a template and then edit the text, graphics, and colors.
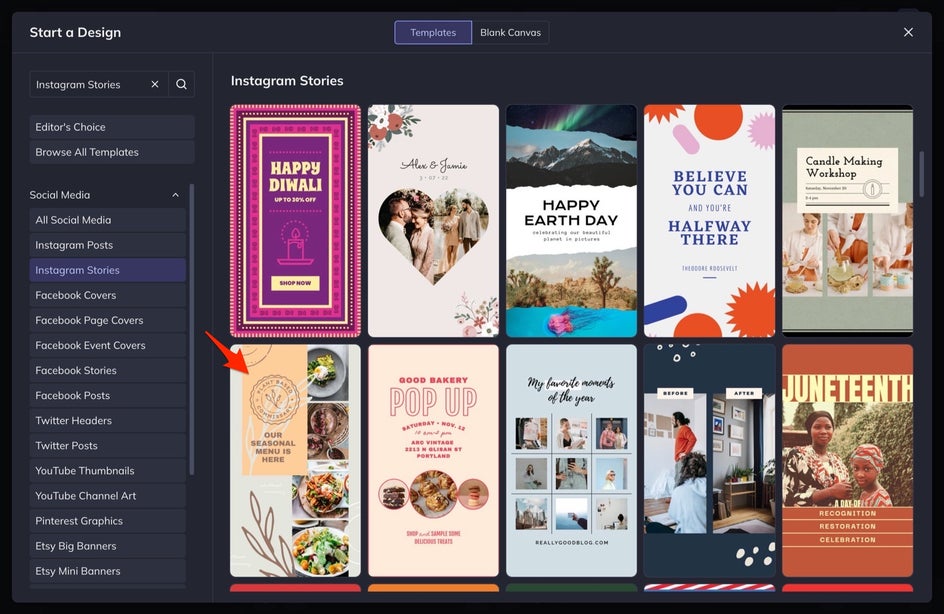
If you want some help with each of these elements, follow the tutorial in How to Create Custom Instagram Story Templates. Here, we turned a fall-themed Instagram story template into a Halloween recipe roundup.
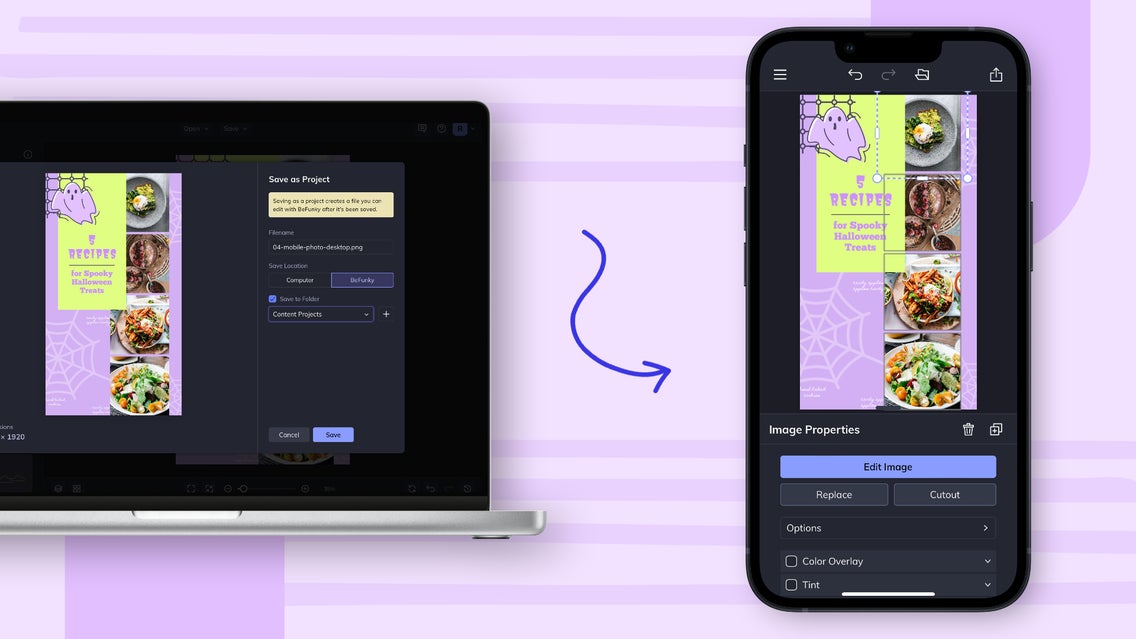
Step 2: Save Your Project
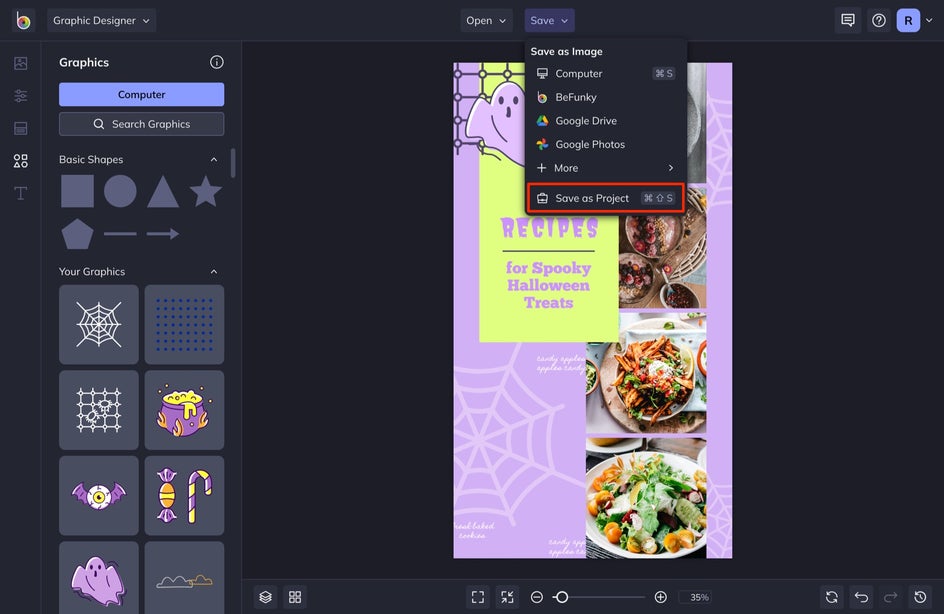
Once you are finished with your design, select Save at the top of the screen and then Save as Project.
In the menu that appears, name your file and then save it to a folder from the dropdown menu. This will make it so that you can easily access it later.
Step 3: Open Project in BeFunky’s Mobile App
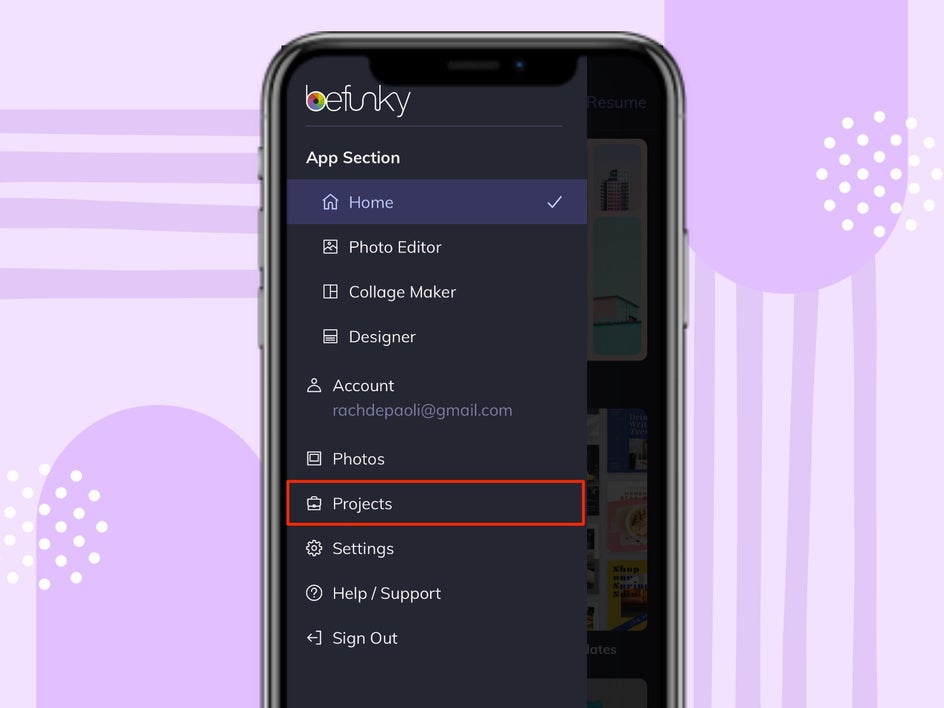
After saving, open the BeFunky app on your phone. Open the menu by tapping on the three lines in the top left corner of your screen Select Projects.
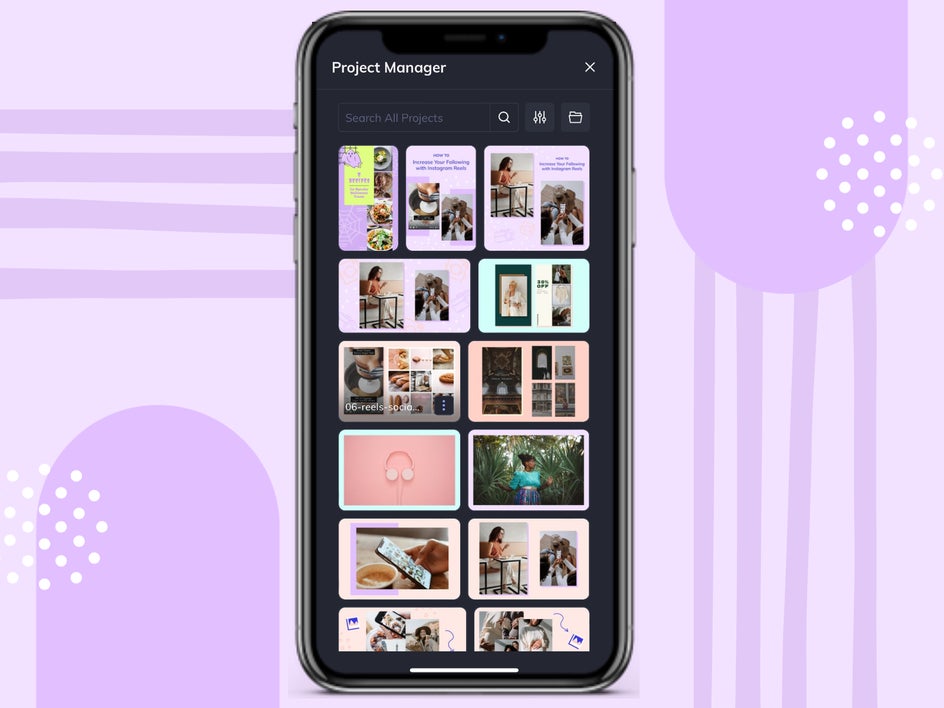
If you do not see your project in the menu, try selecting the folder icon in the top right and locating it from a project folder. Then, select the project you want to edit.
Step 4: Add Photos From Your Camera Roll
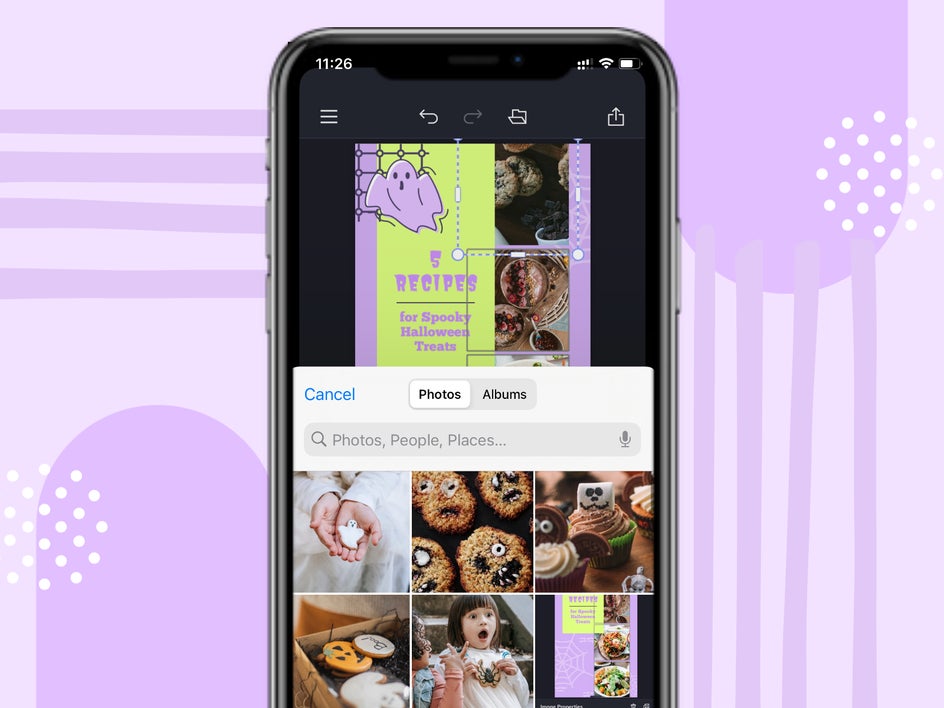
Here, we are simply adding photos from our camera roll to our project. To do this, select an image you want to edit. You may have to click on the image twice if it is within a collection of images. You will see a menu appear. Once you select Replace, your camera roll will appear.

Select the photo that you want to replace the image with and it will automatically populate within the boundary box. Do this for each photo.
Step 5: Edit Photos in the App
If you are noticing that an image of yours is looking a bit dull or off, you can edit it within the app, just like on desktop! This is such an amazing feature because you would usually have to exit the app, re-edit the photo, and then re-upload it into the app. BeFunky’s Photo Editor makes this easier than ever.
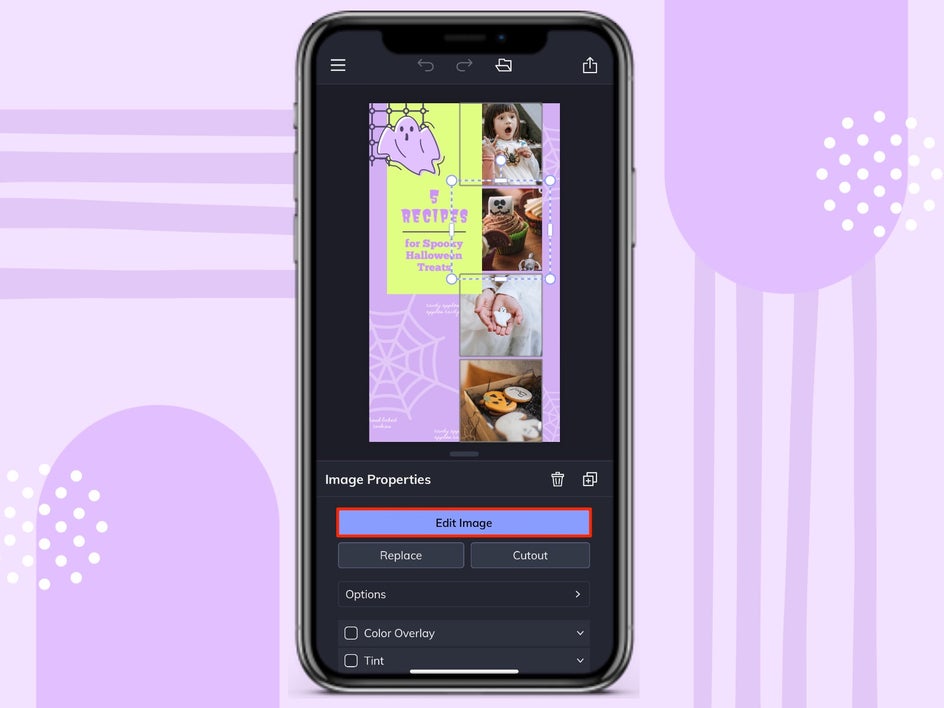
Simply click on the image you want to edit and then select Edit Image. From here, you can then use any of our powerful editing tools or effects to adjust your image.
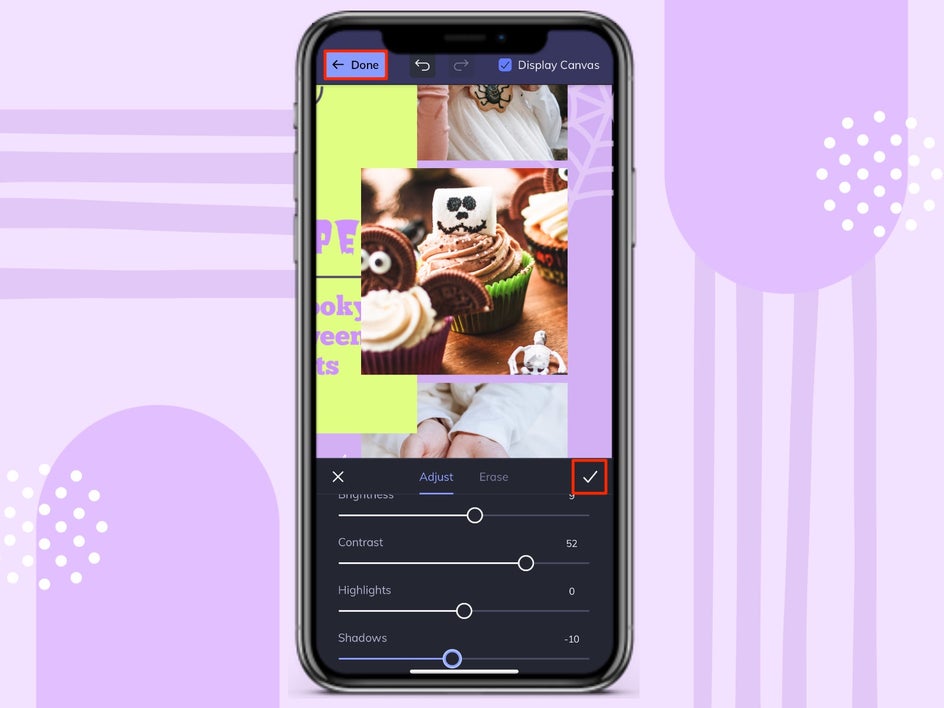
We needed to adjust the exposure. We brightened the image and increased the contrast and shadows so that it would better match the other images surrounding it.
When you are finished, select the check mark to save your changes and then when you are all finished with edits, select Done in the top left corner to head back to your design.
Step 6: Save Your Design Project
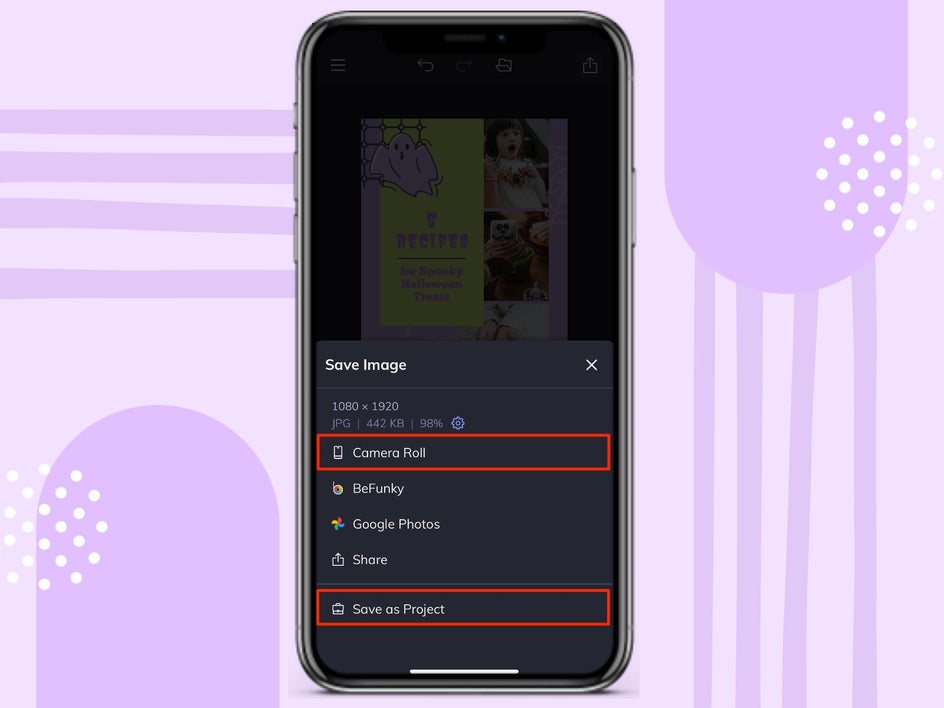
Once you are finished, select the symbol that looks like a box with an arrow pointing straight out of it. You can find this in the top right of your screen.

Once you select this, a save menu will appear. Remember to first save your new edits to your BeFunky project file. After this, you can save the image to your phone by selecting Camera Roll for easy uploading to Instagram!
Editing From Desktop to Mobile Is Easier than Ever
Our updated BeFunky mobile app makes it easier than ever to edit your projects and files so that you can make changes on the go without interrupting your workflow. Now, without missing a beat, you can correct spelling issues, or decide to change an image or title at the last minute! Try it out to see the same powerful capabilities on desktop now in the palm of your hand.