Our New Instagram Post Templates
You may have noticed that some new Instagram templates have been added to our extensive social media template library. With our in-house templates, it's easier than ever to create a cohesive grid that matches your aesthetic. Below, we’ll go into detail on how to customize these new Instagram templates to create your own, one-of-a-kind, viral-worthy Instagram posts!
Step 1: Pick a Template
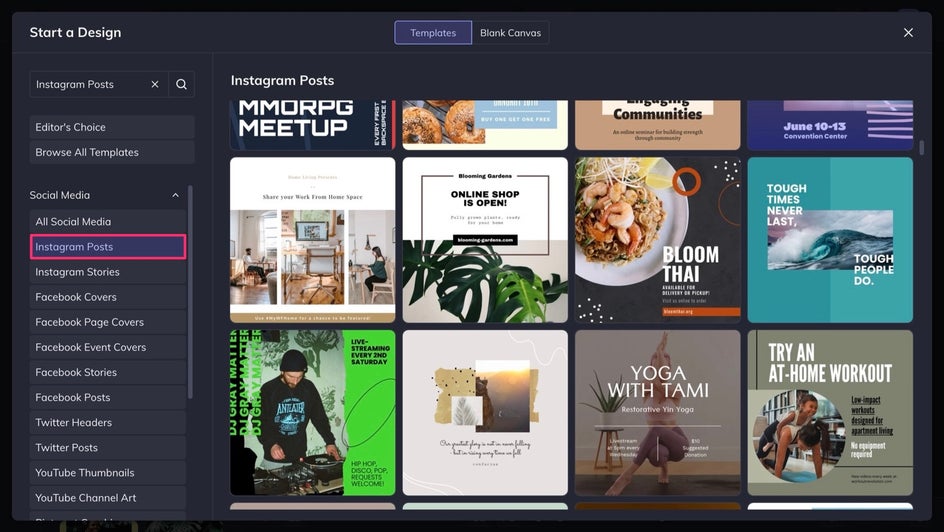
With so many templates to choose from, it can be a bit overwhelming. But go with what best represents your personal brand. Pay attention to features like image size, overlays, and text usage, and go with what is most similar to what you’re picturing, as that will help you avoid too much editing in the process. To choose your template, head on over to the Graphic Designer. You can find our Instagram Post templates under the Social Media menu. You can find our latest templates at the top of the page.
Step 2: Add Your Images
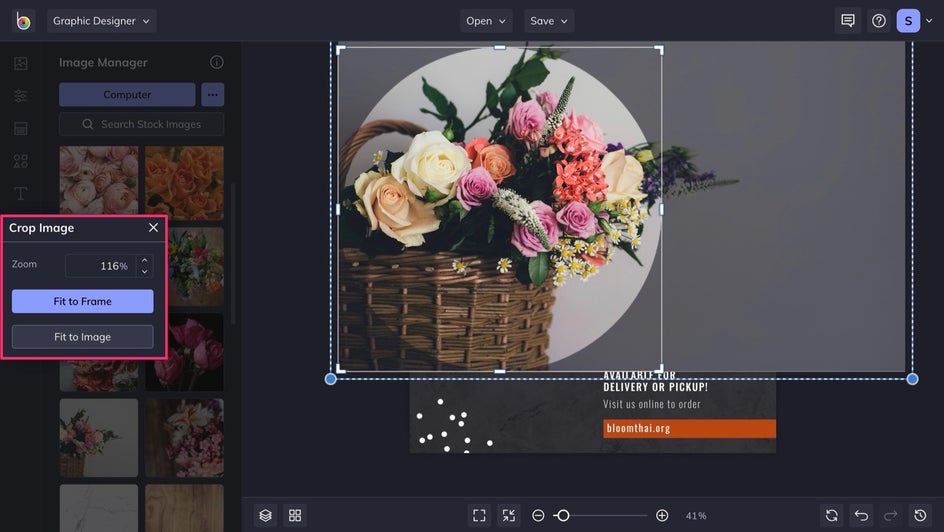
Unless you want to use our placeholder images, choose whatever you want to be the subject of your post. You can add photos from your computer or our stock image library and add them to your Image Manager. Then, you can mask your image by simply drag and drop your chosen photo into the preexisting placeholder. In this example, we're going to create a post for a small flower shop. To fit your image perfectly, you can resize it by using the Zoom, Fit to Frame, and Fit to Image tools when you double-click on the image. You can also use on-canvas cropping to adjust the graphic.
Step 3: Change the Background
The background of our fabulous templates may already be perfect for your project. But since we are creating a post for a flower shop, let's add a nice wall of greenery to the background. Simply drag a photo to the background of your template, and it will replace the current image. In this case, the tinted background is a nice touch, but we want to increase the brightness of our new image just a little.
To do this, click on the background and then Edit Image to edit it as a layer. Then, head over to the Edit tab, followed by Exposure. You can make any other edits on your own background image, as what may work with one template may not with another. Once you're done, click Done Editing Image to go back to your Instagram template.

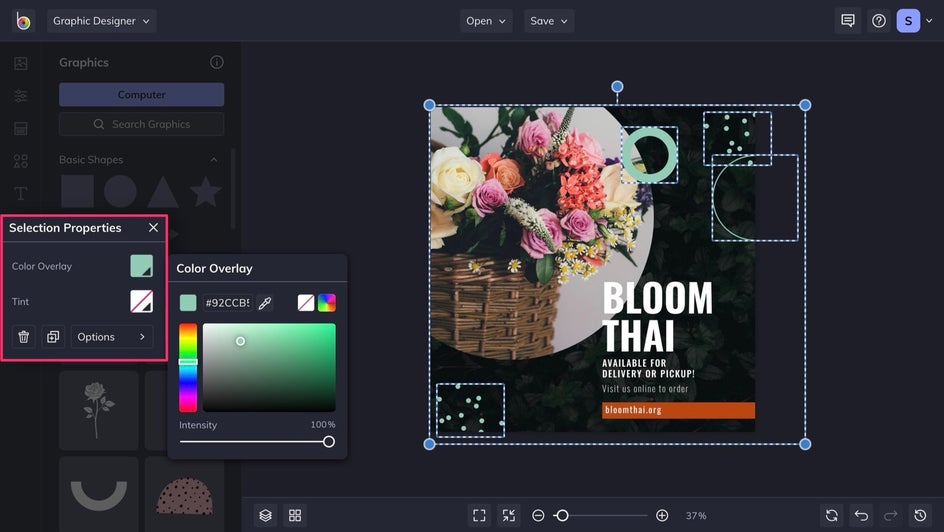
Step 4: Change the Color
Now, let's get rid of the default graphics color, as it clashes with our flower shop vibe. When you click on one of the graphics of this template, it will select the entire graphic group. This will then open the Selection Properties menu. From this menu, click Color Overlay. You can change the color by experimenting with the slider, entering a HEX code, or by using the Eye Dropper Tool to nab a color from something you've added so far. If you want to change the color of a single graphic, select the group again, and then click on that graphic. You can also quickly manage your layers and groups by right-clicking your selections.
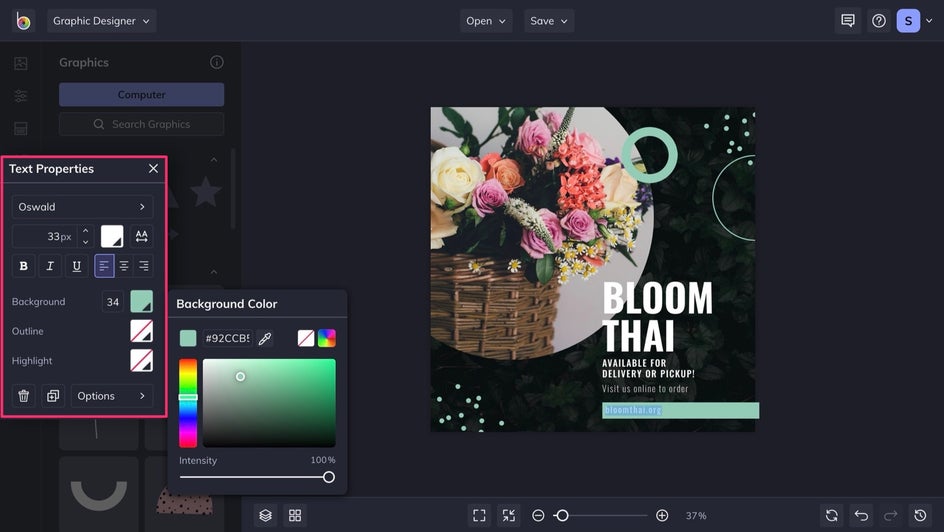
While we're messing with color, let's go ahead and change the color of the text box. That'll be a part of our next step anyway. From the Text Properties menu that appears after clicking on the text box, go to Background and follow the same instructions mentioned above to change the color surrounding that text. If you want the color to match that of the graphics, we recommend using the HEX code for a precise color match.
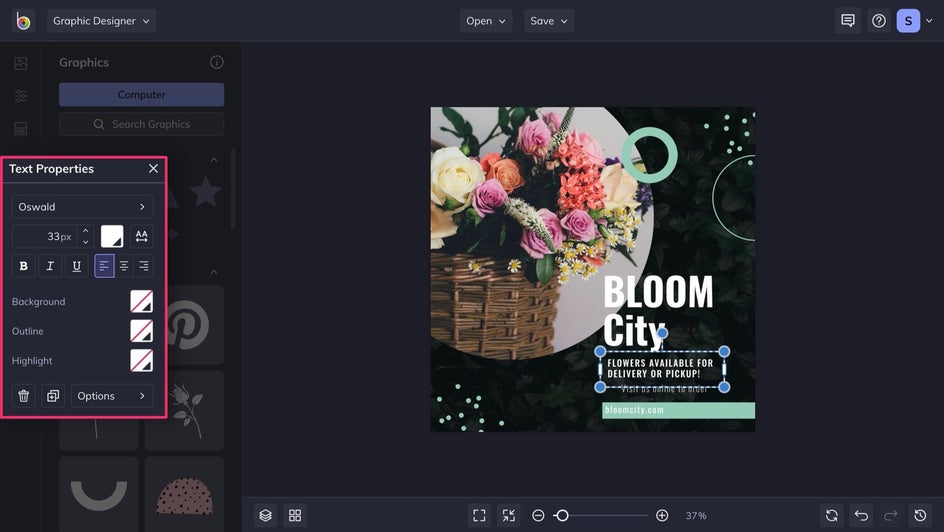
Step 5: Customize the Text
Now let's add some of our own text, as we're looking more like a flower shop than a Thai restaurant now. Once again, we'll utilize the Text Properties menu to customize and move around the text boxes. Be creative and mess around with the various fonts and orientations. But if what we've provided is already perfect (which it often is), then just plug in your copy and make your way to the next step!
Step 6: Save It as a Project
Finally, let's save this thing. If you’re planning on re-using this custom template, then it may be wise to save it as a project for future editing. Simply go to Save, followed by Save as project, and choose whether you’d like it to be on your computer or on BeFunky. If this is more of a one-time thing, simply save it to whatever medium you choose.

Instagram Post Inspiration
Now you know how easy it is to create an original Instagram post from one of our templates. There are so many other things you can use these templates for. Here are some more ideas to try with our freshest batch!
Make Announcements
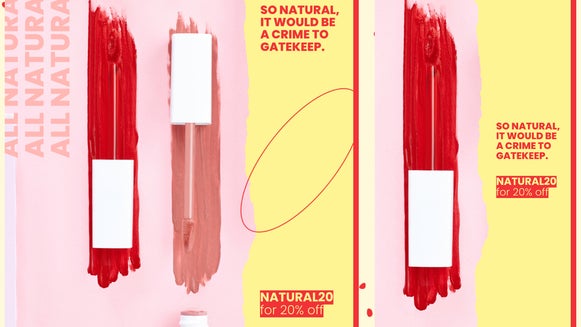
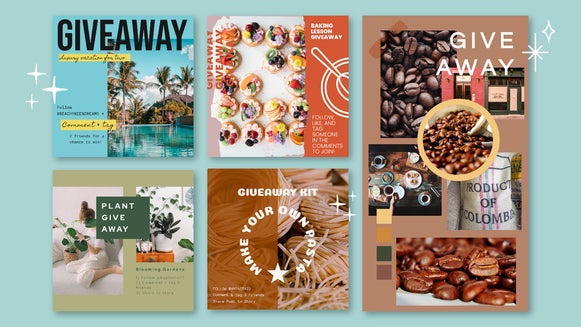
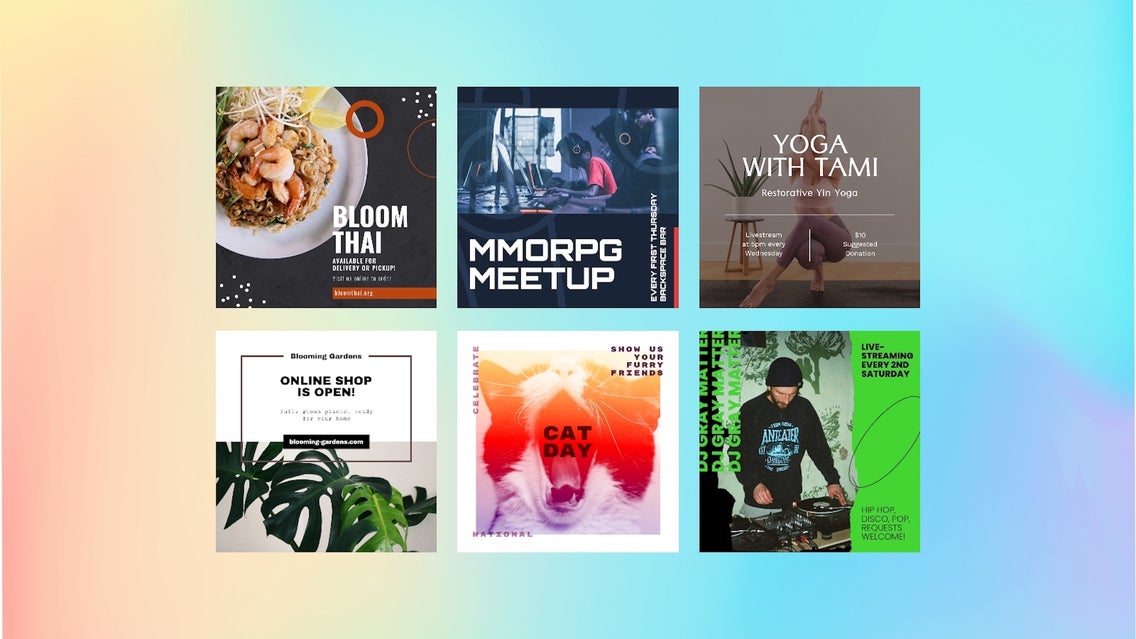
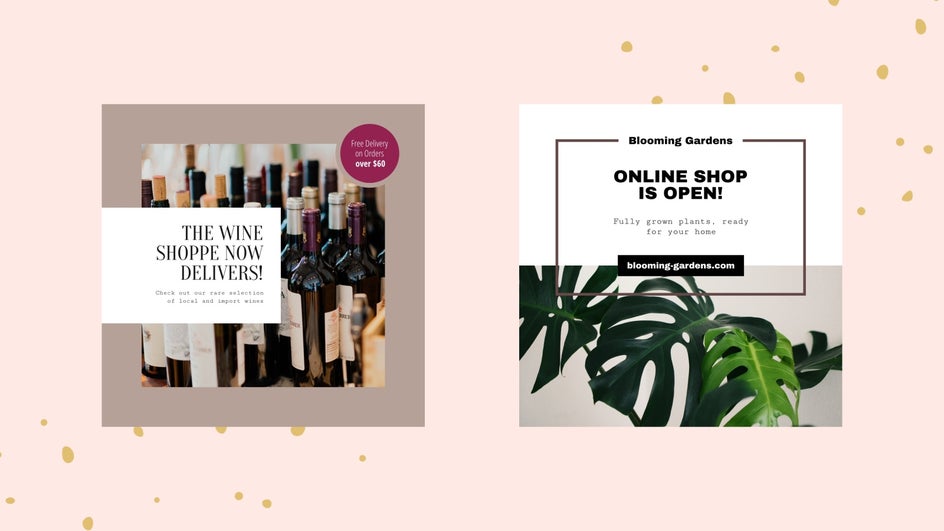
If you're a business, it's important to keep a record of all of your announcements as a heads-up for newer followers and a refresher for older ones. So why not try one of our new templates to spread the word? You can also create an Instagram ad using these templates.
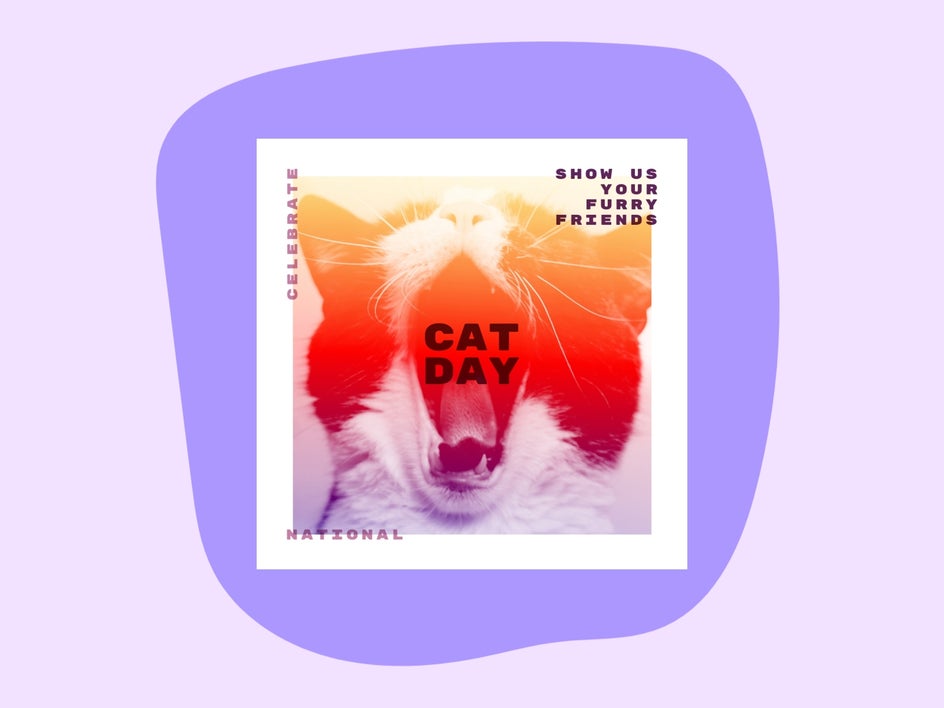
Celebrate a Holiday or Event
Let everyone know how much you love National Cat Day with one of these Instagram post templates! This is a great way to spread the cheer. And if you're trying to increase engagement, you can add a small call to action, such as "show us your furry friends" found in the example below.
Create Invitations or Event Flyers
Whether you're hosting an MMORPG meetup, alumni weekend, or a weekly DJ show, these Instagram templates will definitely help draw a crowd. If you're event is recurring, you can rotate graphics, images, and colors to keep them looking fresh.

Find the Perfect Template for Your Grid
As you can see, in addition to our pre-existing library, there are so many new Instagram templates to choose from! So check out our templates in the Graphic Designer and find the perfect one for your grid.