5 Ways to Make Your Food Photos Pop on Pinterest

Pinterest is the perfect platform for food inspiration. From weeknight dinner ideas to elaborate desserts, people turn to Pinterest to discover recipes they want to try, save ideas for later, and plan their next meal. That makes it a great place for food bloggers, recipe creators, and culinary businesses to showcase their work.
When someone is scrolling through a feed full of delicious-looking dishes, however, your photography needs to make them stop and take a closer look. Thankfully, you don't need expensive camera equipment or advanced editing skills to make that happen.
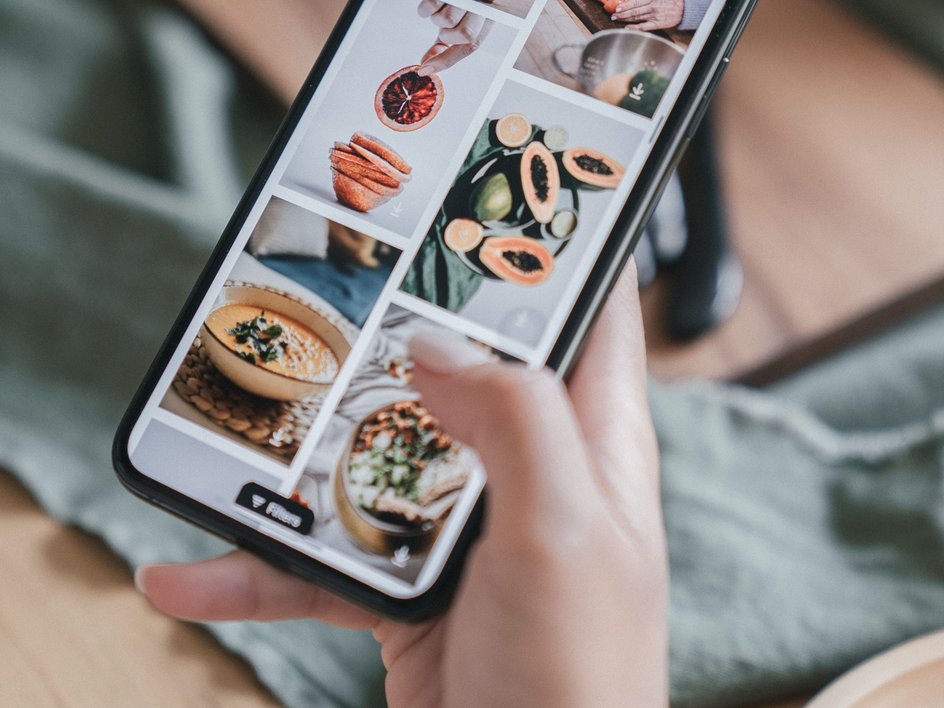
BeFunky's Photo Editor gives you plenty of simple ways to take your food photography to the next level. You can brighten a dim photo, bring out the colors in fresh ingredients, remove distracting crumbs or objects, and even change the composition of an image after you've taken it. And when you're ready to turn your finished photo into a Pinterest Pin, BeFunky's Pinterest templates in the Graphic Designer make it easy to add text and other design elements.
If you're focusing on the photography first, here are five Photo Editor tools that can help make your food photos more eye-catching and Pinterest-ready!
1. Crop Your Photos for Pinterest
Before you start adjusting colors or adding effects, take a look at your composition. A great food photo can lose some of its impact if the subject is too small, awkwardly positioned, or surrounded by unnecessary background.
Cropping gives you an easy way to fix that.
Pinterest recommends a vertical 2:3 aspect ratio for its visual content, with 1000 x 1500 pixels as one recommended size. BeFunky's Crop tool includes preset aspect ratios that make it easy to reframe your food photos.
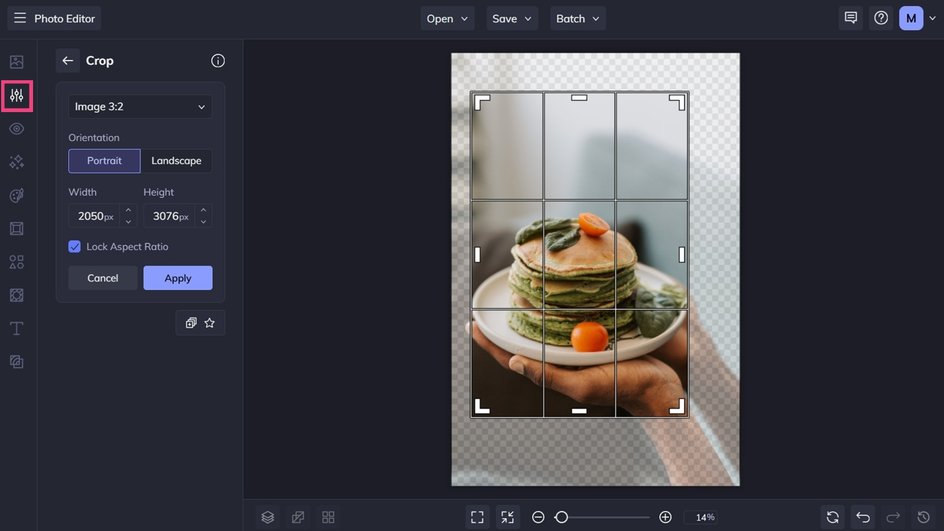
Try placing your main dish where it naturally draws the eye, rather than automatically keeping it in the exact center of the frame. For an overhead shot, for example, you could crop closer to the plate to highlight colorful ingredients and textures. For a vertical tabletop photo, leave a little breathing room around the dish so it doesn't feel cramped.
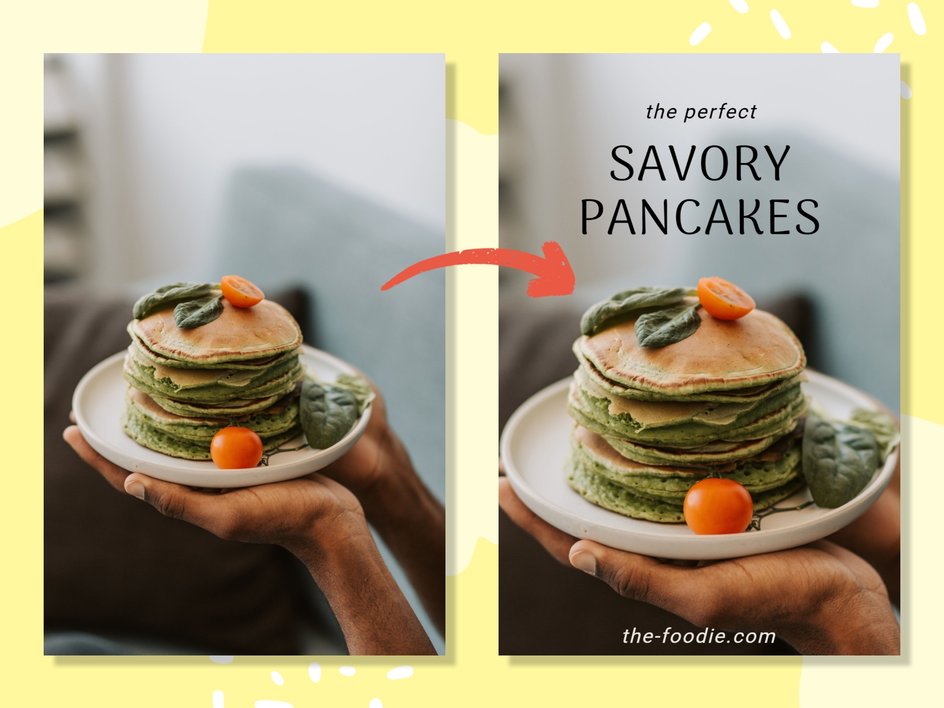
2. Enhance Lighting and Color With the Image Enhancer
Food photography relies heavily on light and color. You want to see the golden edges of roasted vegetables, the texture of a freshly baked loaf of bread, or the vibrant colors of a summer salad. Unfortunately, your camera doesn't always capture food exactly as you see it in person.
Our AI Image Enhancer automatically balances exposure, highlights, shadows, contrast, and color, making it a quick way to give an underwhelming food photo more life.
This can be especially handy when you're photographing food in less-than-perfect lighting. Rather than starting over, try enhancing the image first.
For more control, you can also make individual adjustments to exposure, contrast, and color in the Edit tab. The goal isn't to make your food look completely different. Small adjustments can be enough to bring back the warmth, texture, and color that make the original dish so appealing.
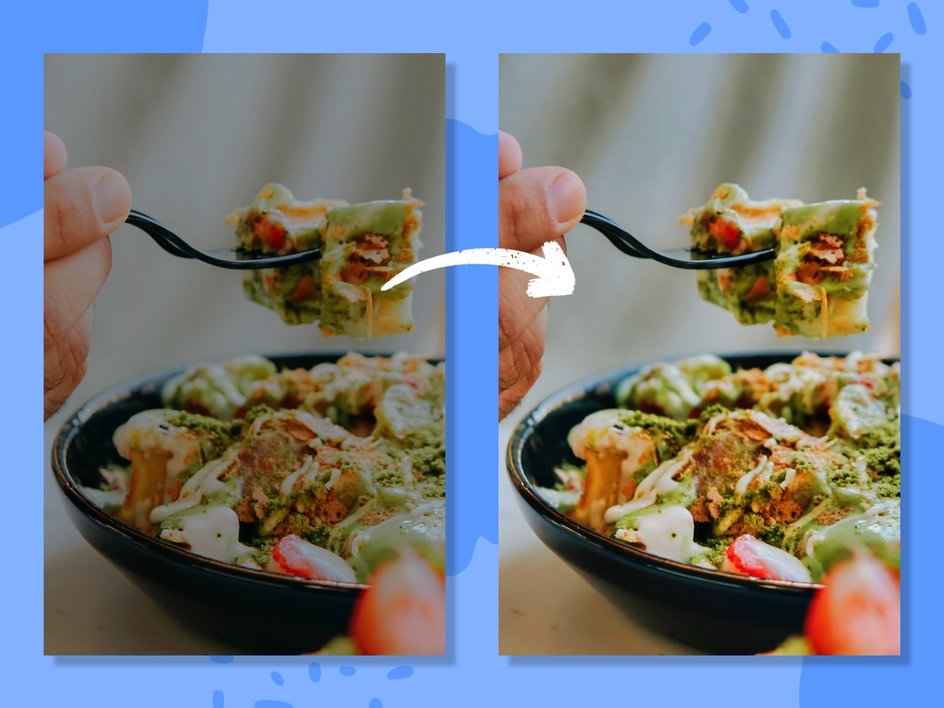
3. Remove Distracting Objects With the Object Eraser
Sometimes the biggest problem in an otherwise great food photo has nothing to do with the food.
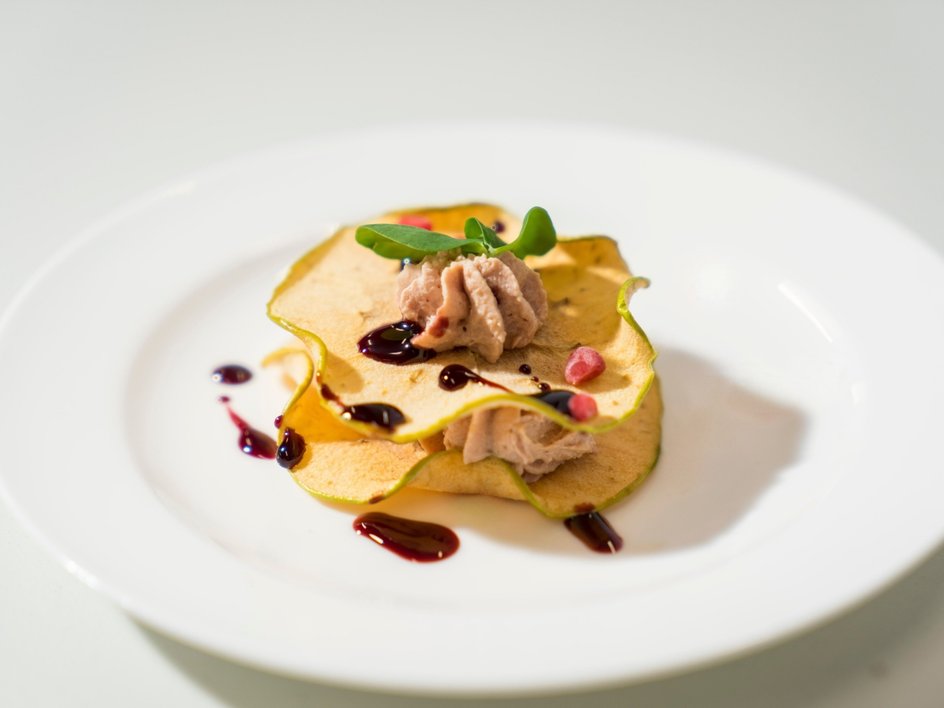
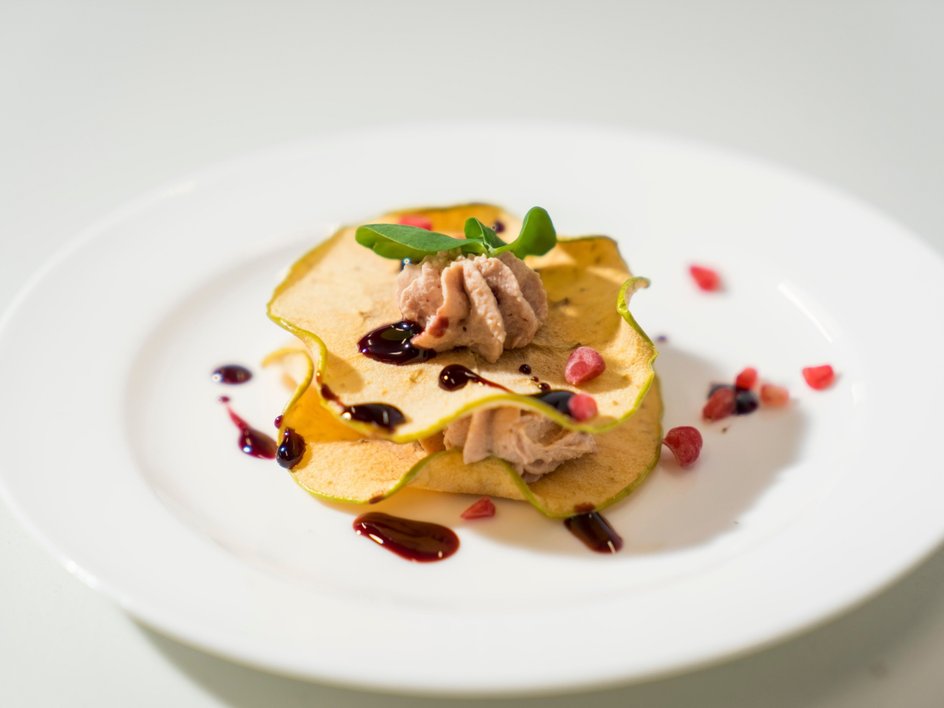
A stray napkin, messy utensil, crumb, sauce splatter, or distracting object in the background can pull attention away from your main subject. You might not notice it while you're taking the photo, but it can become surprisingly obvious once you see the image on a larger screen.
Instead of reshooting, use the Object Eraser to clean up the scene.
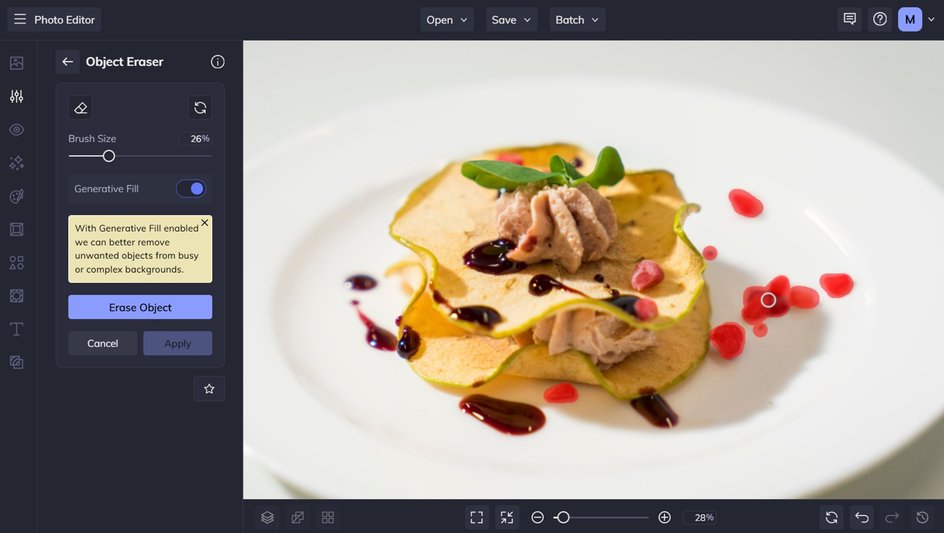
This tool uses A.I. to remove selected objects and fill in the area around them, making it useful for tidying up small distractions without manually editing the entire image.
This is particularly helpful for recipe creators who are photographing in their own kitchens. You can spend your time making and styling the food instead of worrying about whether every corner of the room looks picture-perfect.
4. Reimagine Your Food Photos With Smart Edit
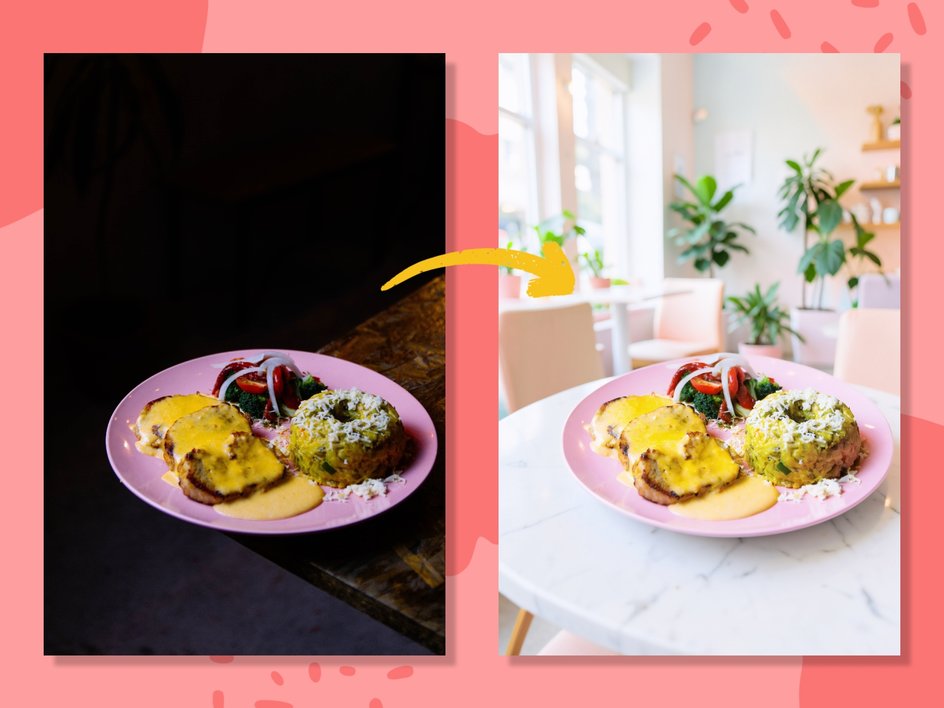
Sometimes you don't just want to fix a food photo – you want to change the overall feel of it.
Smart Edit lets you make those kinds of changes using simple text prompts.
For example, perhaps you photographed a bowl of pasta on a plain kitchen counter but want a more styled setting. You could ask Smart Edit to place the dish on a rustic wooden table with a linen napkin and fresh herbs nearby. Or you could change a bright summer setting into something warmer and cozier for a fall recipe.
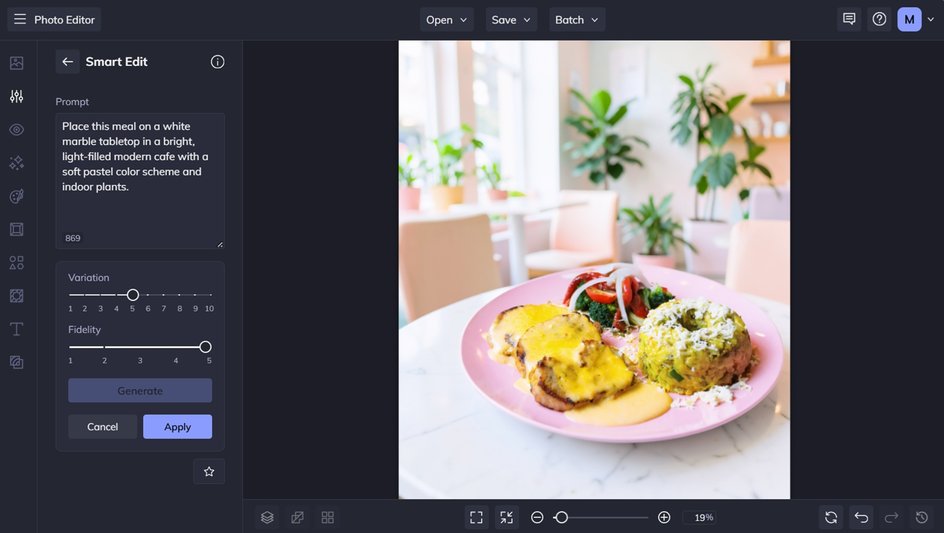
You can also use Smart Edit to make smaller changes, such as adding complementary ingredients or adjusting elements around the main dish.
The key is to use these edits to support the recipe rather than distract from it. A beautifully styled background can help communicate whether a recipe feels rustic, fresh, elegant, cozy, or casual, while the food itself remains the star.
This can be especially useful when you're repurposing an existing food photo for a new Pin. Instead of needing to organize another photoshoot every time you want a slightly different visual treatment, you can experiment with the image you already have.
5. Edit a Whole Recipe Shoot With Batch Photo Editor
Food bloggers and content creators rarely end up with just one usable photo. A single recipe shoot might produce overhead shots, close-ups, ingredient photos, serving suggestions, and several variations of the finished dish.
Editing every image individually can quickly become one of the most time-consuming parts of the process.
Thankfully, our Batch Photo Editor lets you apply the same edits to multiple photos at once. You can use essential editing tools, crop and resize images, apply effects, and make other adjustments across an entire batch.
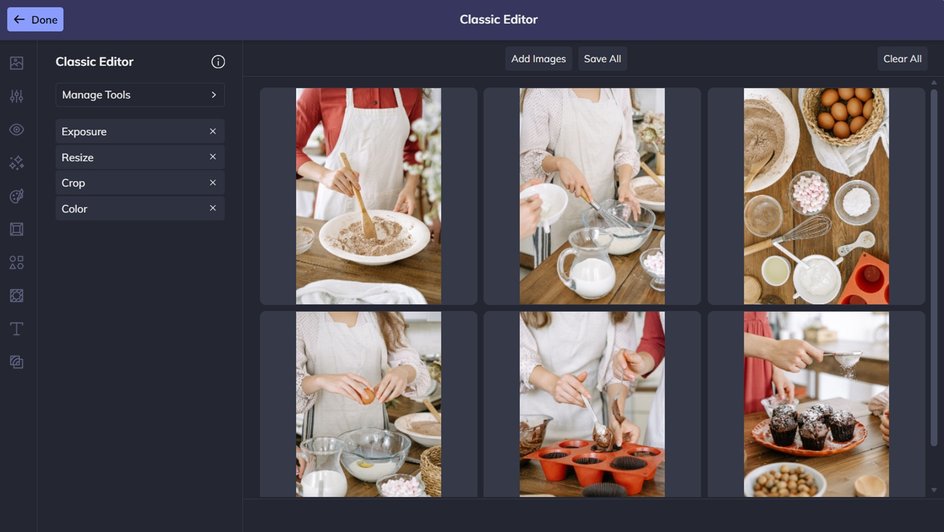
This is particularly useful when you want several photos from the same recipe shoot to have a consistent look.
You can also use batch editing when preparing multiple photos for your Pinterest content. Crop and resize your images to the dimensions you need, apply a consistent aesthetic, and save your finished photos without working through each one individually.
For creators who publish recipes regularly, those saved minutes can add up quickly. Instead of spending an afternoon making the same edits over and over, you can get your entire batch ready and move on to the more creative parts of your content.

Take Your Food Photography From Good to Pin-Worthy
With BeFunky's Photo Editor, you can make your food photos work harder. Crop helps you create a Pinterest-friendly composition, AI Image Enhancer brings out light and color, Object Eraser cleans up distracting details, Smart Edit lets you experiment with the setting, and Batch Photo Editor makes it easier to polish an entire recipe shoot.
Whether you're sharing your latest weeknight dinner, a show-stopping dessert, or a recipe you've been perfecting for months, start with the photo. With a few simple edits, you can turn an everyday food snapshot into something that makes people want to stop scrolling, save the recipe, and get cooking.
Head to the Photo Editor to start perfecting your food photos for Pinterest!


