How to Add Pinhole Camera Effects to Your Photos

A pinhole camera is a low-tech, handmade device made out of a box with a pinhole punched in one side. It works on the same principle as a 35-mm camera – even using the same film – but the operation of the camera is much more primitive. The pinhole lets in very little light, so it must be used in full sun. Even then, it can take up to 30 seconds to expose the film. So, it must be set on a flat, stable surface to take a photo.
Quick and Easy Pinhole Effects
Pinhole cameras may be fun and easy to make, but to develop and print the photographs you need darkroom equipment and noxious chemicals. You might not be ready to invest the time, money, and patience needed for real pinhole photography. Thankfully, BeFunky's Photo Editor has the tools to add that low-tech pinhole camera effect to photographs you've taken with your high-tech digital devices!
Step 1: Take the Perfect Photo
First, go out and take a photo from the perspective of a pinhole camera—outdoors, in full sun. Set the lens to wide-angle and keep your camera level. If you're taking a portrait and end up too close to be in focus, that's cool! This will actually enhance the pin-hole camera effect.
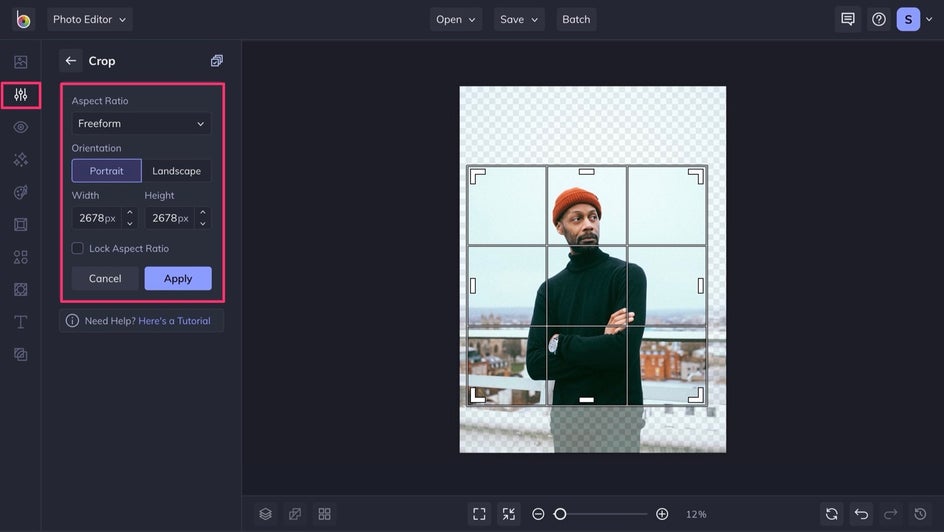
Step 2: Upload and Crop Your Photo
Open up the Photo Editor and upload your photo to get started. When your image appears on screen, you may want to use the cropping tool to zoom in tighter. But, don't crop too tight. The pinhole camera effect will blur and darken the edges of your photo, so allow for some image loss on the edges.
Step 3: Add the Pinhole Effect
Next, from the Effects menu in the left margin, click Pinhole. The menu will expand, displaying five pinhole camera effects.
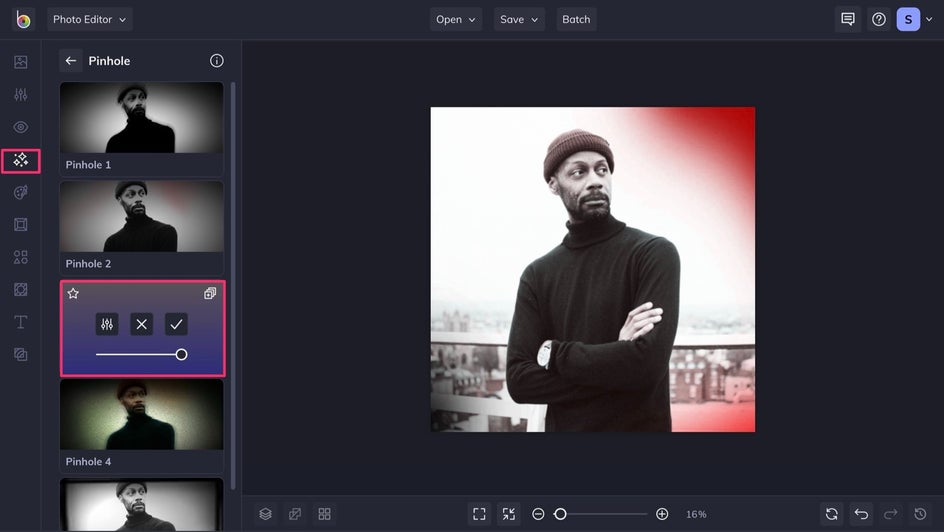
Select whichever you prefer to start the modifications to your photo. From the quick menu that appears over your chosen effect, you can adjust the slider to increase or decrease the intensity of it.
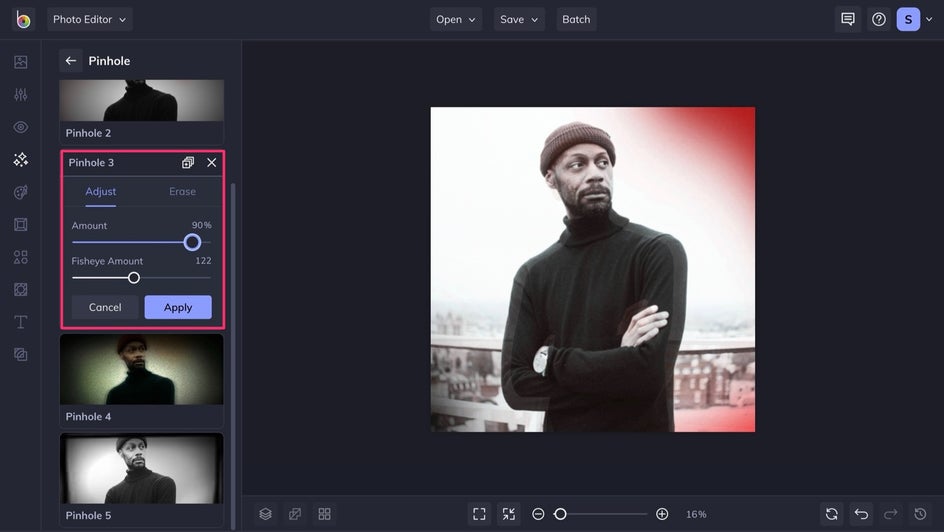
Step 4: Customize Your Photo Even More
But don't stop there. Have fun playing with additional settings! Click Settings in the tools menu to open the pop-up. Each pinhole effect has unique settings that you can change with a slider. Below, you can find what each option includes:
- Pinhole Option 1: Amount, Vignette Amount, Motion Angle, Motion Amount, and Fisheye Amount.
- Pinhole Options 2 and 5: Amount, Vignette Amount, and Fisheye Amount.
- Pinhole Option 3: Amount and Fisheye Amount.
- Pinhole Option 4: Amount, Vignette Amount, Motion Angle, Motion Amount, and Fisheye Amount.
Try them all out to see what combination of adjustments you like best! Remember, if you like the original settings best, you can click the Cancel button to reset your preferences.
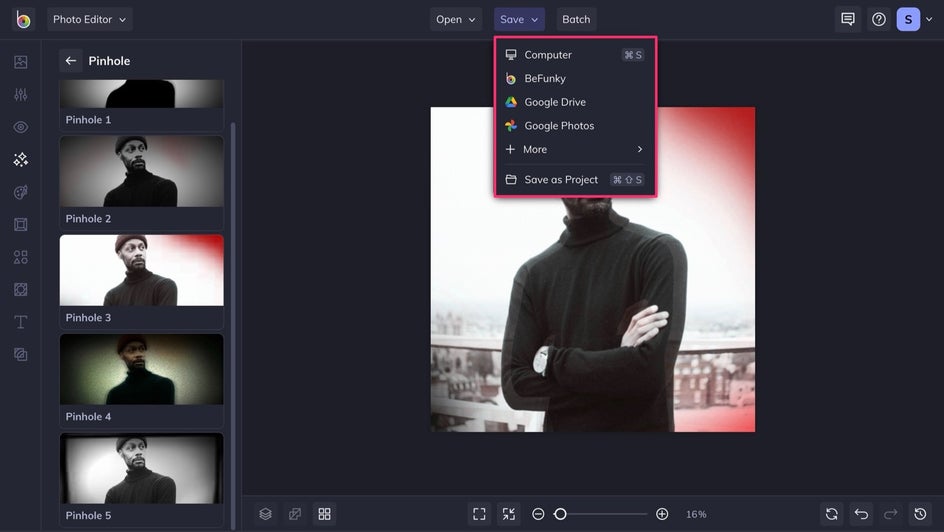
Step 5: Save It
When you are happy with the results, click the Save button at the top of the Editor to save your new creation. You can save it to several locations, or even as a Project, which will allow you to come back and edit it again.
No Darkroom Required!
Have fun using our Pinhole Effects to turn your boring old photos into something that looks unique and vintage – no darkroom required!