Your Go-To Guide For Photo Printing
As digital cameras become more and more advanced, so too does their image quality. We’ve now reached a stage where our cameras can capture millions of pixels, which is certainly something to celebrate (hello, clear and crisp images!), but the large amount of pixels can pose problems for everyday photo printing. This is because more pixels equal larger image sizes, resulting in an image that is actually too large for conventional printers.
Everyone wants to print a crisp and clear image – not one that has been so dramatically shrunken it has lost its high quality. Thankfully, there’s one very simple way to combat this problem and that is to resize images in BeFunky’s Photo Editor prior to printing. But what pixels and ratios should you resize to for conventional printing? And just how exactly do you achieve this? Before you break out in a sweat, we urge you not to worry. We’ve got the ultimate guide to photo printing that will get you sorted!
When To Crop And When To Resize Images
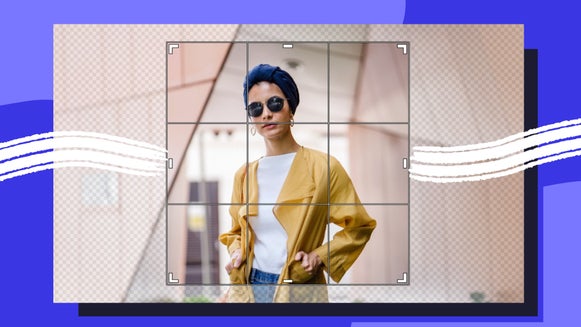
Firstly, it’s important to note the difference between cropping and resizing images. While cropping alters the size of your image by cutting away or removing a portion of it, resizing changes the size of your image without removing anything at all. The image in its entirety is simply made larger or smaller.
Getting your photos print-ready isn’t a one-step job. You see, although BeFunky’s Photo Editor makes it a super simple process, you still have to crop your photos to the proper orientation for printing, then use the Resize tool if needed. This ensures your photo is the right aspect ratio for printing, meaning that parts of the image won’t get cut-off, nor will the image be awkwardly stretched to fit the required proportions.
We know what you’re thinking though: how do I find out the ideal aspect ratio for my image and how can I achieve this in the Photo Editor? Thankfully, we’ve taken all of the guesswork out of aspect ratios, as you’ll find several presets for common printing sizes (such as 4 x 6 photos, 8 x 10 images, and so on) in our Crop tool dropdown menu. Too easy!
Another word of advice: if the area of the photo within the crop target cuts out too much of the photo, you will need to lock the aspect ratio, resize the crop target, then use the Resize tool to bring it back down to the proper size. To make the entire process even easier for you, we’ve included a step-by-step tutorial below which shows you how to get your photos ready for printing. How good is that?!
How To Achieve The Perfect Size For Photo Printing
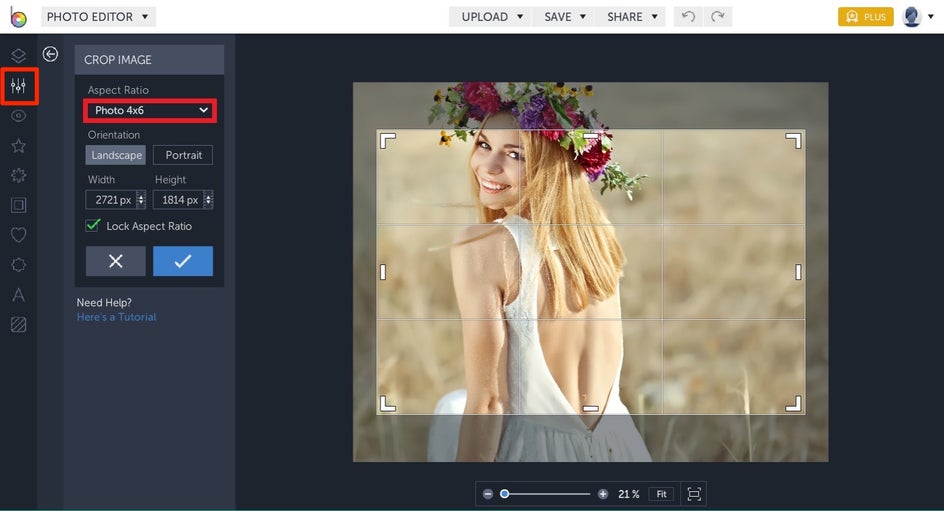
Once you’re ready to prepare a photo for printing, it’s time to head to the Photo Editor and upload your desired image. From the Edit menu (the second symbol down on the far-left), select the Crop tool. Once in the Crop Image section, you’ll notice a dropdown menu titled Aspect Ratio. From here, you can select one of the popular photo printing sizes (we’ve chosen Photo 4x6).
If the crop outline cuts off parts of your image that you’d prefer to keep, then you simply check the Lock Aspect Ratio box and begin resizing the crop target by clicking and dragging it’s edges. Once you’re happy with the crop selection, click on the blue checkmark button to apply your changes.
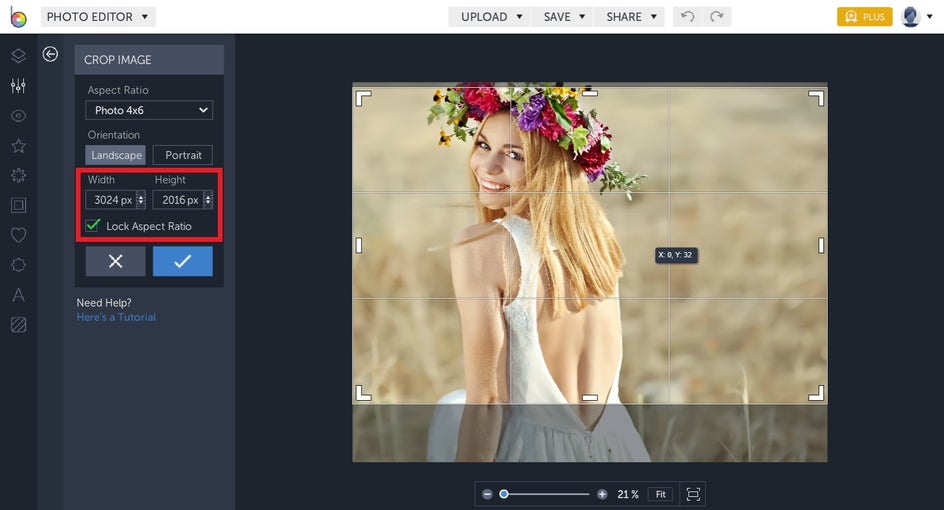
Pro Tip: You can also reposition the crop selection by clicking on the center of the target and dragging it into a new position with your mouse. This will further ensure you don’t lose any important parts of your image!
Once your image has been cropped to the correct aspect ratio, it’s time to use the Resize tool it to make sure it is the correct amount of pixels in height and width for your print size. Because we selected 4x6 as our aspect ratio, we need our image to measure 1200 pixels by 1800 pixels.
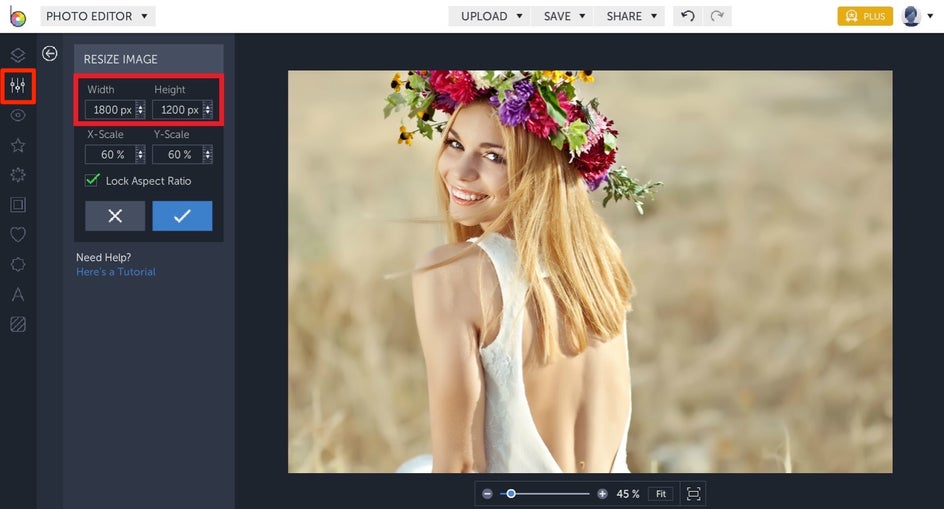
To resize your image, select Resize from the Edit menu (it’s right underneath the Crop tool). Click on the boxes next to Height and Width and enter the correct pixel amount. As a guide, we’ve included a handy list of pixel sizes for each aspect ratio in the next section!
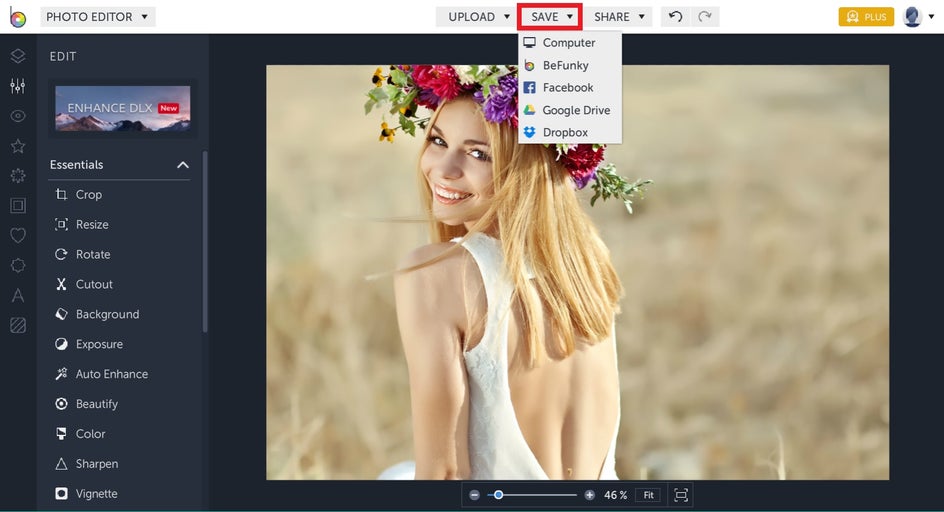
To apply your changes, click the blue checkmark button. Ta-da! Your image has now successfully been resized for printing. All that’s left to do is save your image by selecting Save from the top menu. From here, you can save it to a destination such as your Computer, Dropbox, or Google Drive, and it’s ready for photo printing.
Pixels To Inches Guide For Photo Printing
When it comes to print sizes for your images, there are plenty of numbers floating around. One of these includes the DPI (dots per inch) of an image, which is simply a measure of image size in relation to printed dimensions.
When images are edited in BeFunky’s Photo Editor, they are automatically saved at a DPI of 96. With this in mind, we’ve included a cheat sheet below to help you get the perfect resize for printing, no complicated maths necessary.
3 x 5 photo: 900 x 1500 pixels
4 x 6 photo: 1200 x 1800 pixels
5 x 7 photo: 1500 x 2100 pixels
8 x 10 photo: 2400 x 3000 pixels
8.5 x 11 photo: 2550 x 3300 pixels
Gone are the days of printing guesswork! Using our guide above, you’ll find resizing your images in our Photo Editor to be a breeze.

Thanks to BeFunky’s Photo Editor, it’s never been so easy to resize images for their optimal print size. In the past, users have utilised programs or in-camera resizing to shrink their image, however the process allowed them very little control over their end product. It’s time to regain control once again and ensure you get the best printed photo, every time!