Photo Effects And Filters For Any Unique Look

If you’ve ever taken photos with a film camera, then you might remember how it could be both exhilarating and terrifying to view the results of your photo taking adventures. Before the convenience of online photo editing platforms, you had to really experiment with the way you processed photography in a darkroom. This meant finding different ways to “stretch” the film via processing effects such as tin type, cross-processing, and double exposures, or by using different types of cameras such as pinholes and plastic cameras. Sometimes you could make the presentation of a photo look incredible, and sometimes things didn’t quite work out the way you planned.

Nowadays, instead of spending all your time processing photos by hand, BeFunky's Photo Effects have everything you need to get the look you’re going for with the click of a button! We’ve calculated, formulated, and done all the math and coding stuff to simulate many of the film photo effects of yesteryear, all while keeping it fresh and allowing you more control and convenience. Just like retro cameras and dark rooms were able manipulate the presentation of photography by stretching the limits of color and effects, our unique (and totally customizable!) photo filters in the Effect tab will add intrigue to your images. We'll show you how!
Our Favorite Photo Effects And Filters
With a massive library of photo filters in the Effect tab, you’ll find that there are hundreds of unique ways to keep your dope edits fresh and interesting. You can add them in a single click, use the Settings menu to fine-tune them, or layer multiple photo effects to create your own style! Here are a few of our absolute faves:
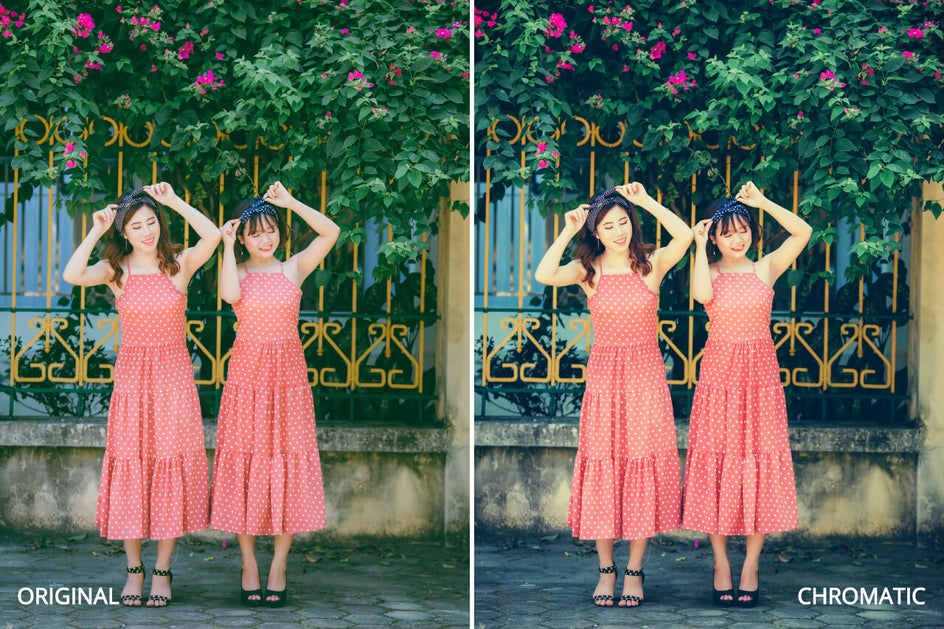
Chromatic
Light leaks and adjusting saturation levels are a great way make an image uniquely yours. With the help of our Chromatic filters, you have several functional ways to saturate or desaturate your image, adding light leaks and vignettes for that little bit extra.
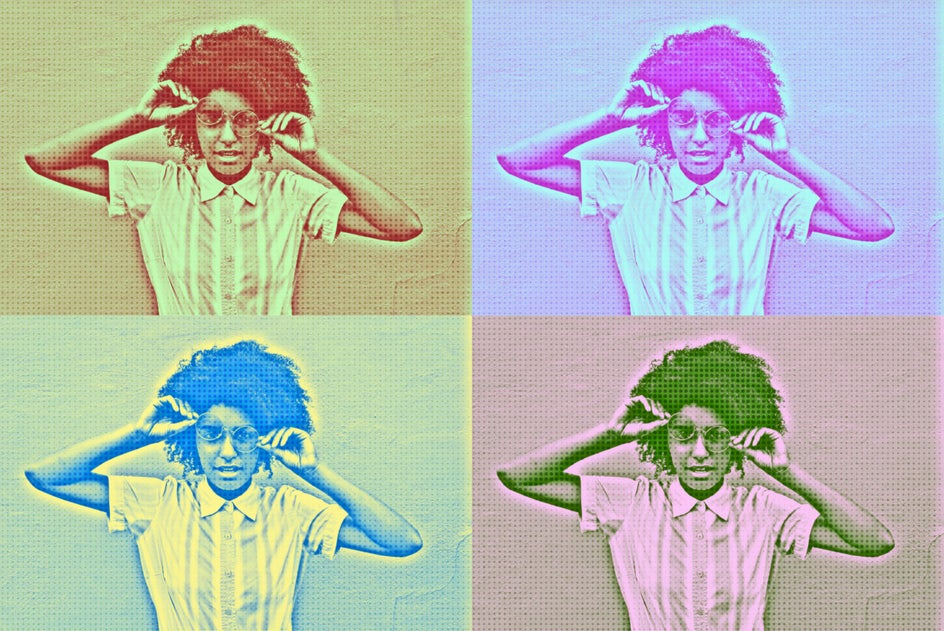
Pop Art
The Pop Art filters are a quick way to create eye catching and colorful graphic images, and are especially great to use for up-close and fun portraits. Take your image to the next level by layering on different Pop Art variations for a truly Warholian effect.
Holga Art
As a throwback to shooting film with the old plastic cameras, making artsy photos has never been easier than with the Holga Art effects. You can optimize your experience by using the sliders a lot or just a little.

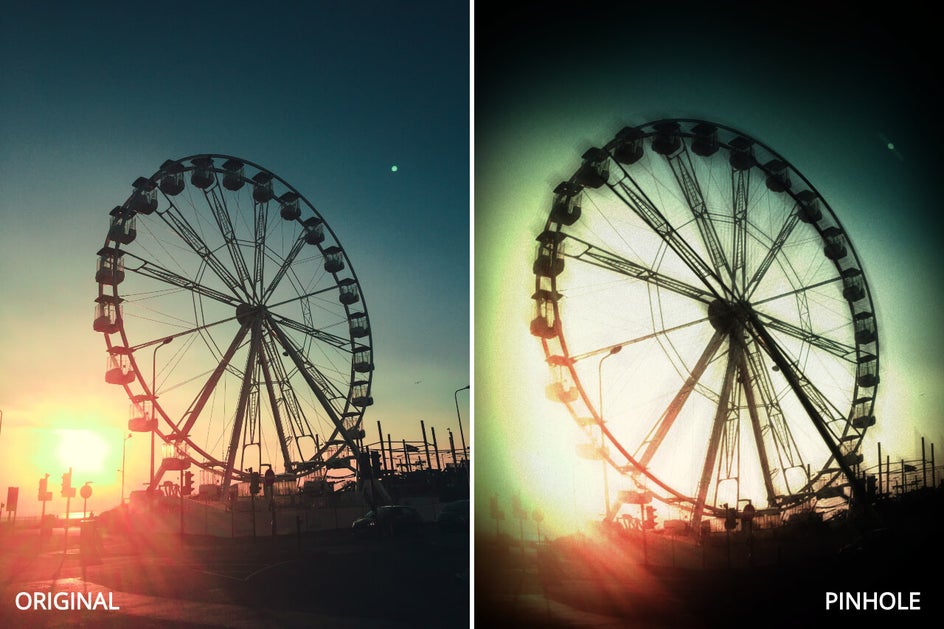
Pinhole
True pinhole photography is lensless photography - a tiny hole replaces the lens and as light passes through it, an image is created. With our Pinhole effects, there’s no need to reconfigure your camera because we’ve replicated the look as a series of photo filters! The combination of motion, vignettes, and fisheye lens distortion is almost as if you were to capture a dream in pixels.
Tin Type
Tintype photography dates back to the 1860’s and was created by developing an image directly onto a thin sheet of metal. Typically they were used for portraiture, but using our Tin Type effects on landscapes is really impressive as well, creating a stunning silver toned photo with film remnant overlays. Whatever type of photos you use our Tin Type effects on, they’ll replicate this unique, historic look in seconds.

Black and White
While color photos are great, sometimes color can introduce unnecessary visual noise. Converting your image to black and white is a quick way to reduce noise, create a nostalgic look, or simply put the focus on the subjects in your image without any color to distract the viewer.
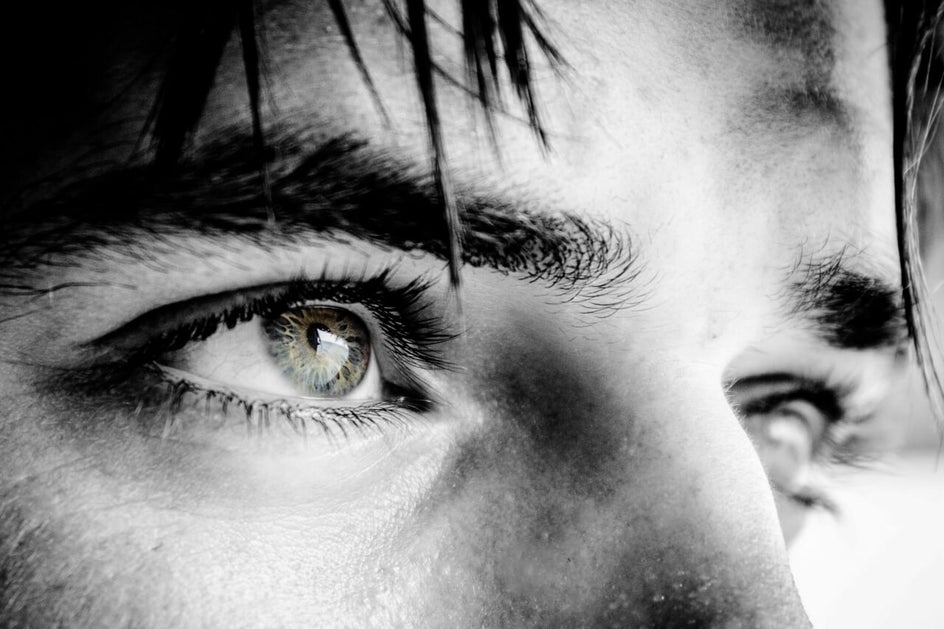
The cool thing about BeFunky’s photo filters is that each one has a settings menu and paint mode. That means you can easily paint in just the right amount of color or effect to intensify your image (like the eyes in the above photo) and use your filters selectively.
How To Add Photo Filters And Effects
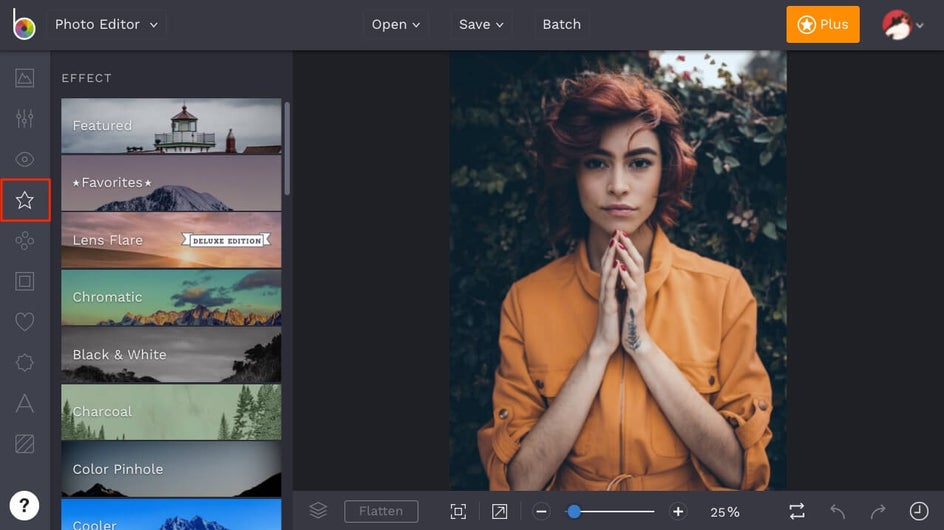
When you’re ready to start experimenting with photo filters and effects in BeFunky, head to the Photo Editor and upload an image using the Open button at the top or dragging-and-dropping it right into the interface. Navigate to the left hand menu and click on the Effect tab (the star icon). There are tons of different categories of photo filters and effects that you can add just by clicking on them, so feel free to experiment with different looks until you find the perfect effect. For this example, we’re going to use the Chromatic effects.
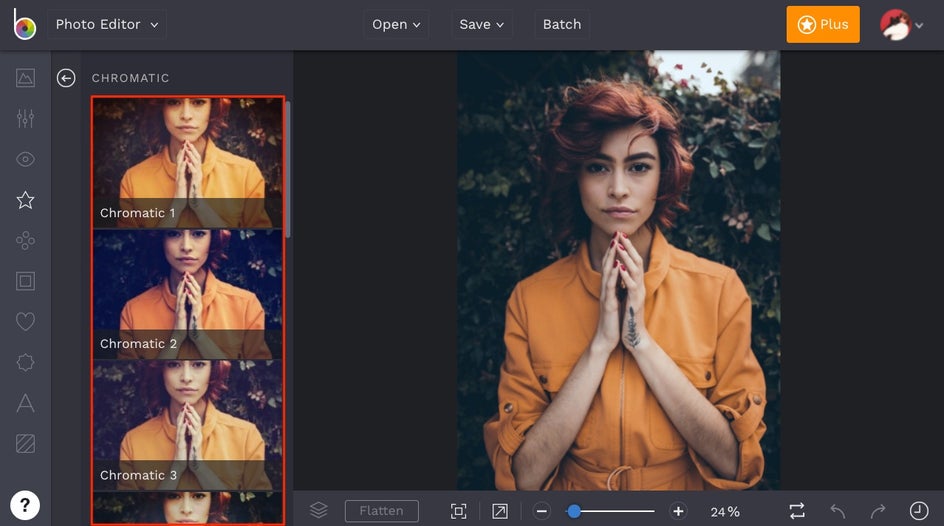
You’ll see that when you click on any category, the effect options are shown on each of the image thumbnails in real time. This gives you a quick snapshot of what your photo will look like when the effect is added. Click on any of the thumbnails to see the corresponding effect added to your photo on the canvas.
Once you’ve clicked on a photo filter, you can adjust the opacity of the effect using the slider on the thumbnail, and apply it immediately by clicking the green checkmark. Each effect will have its own set of options for further customization, so if you’d like to fine-tune your effect, you can click on the Settings menu on the thumbnail (the mixing board icon).

Depending on the effect you’ve clicked on, the Settings menu will show different options for customizing. The particular effect we’re using has a single slider for Amount, but many of our other effects have multiple settings that allow you to make adjustments.

The Settings menu for any of our effects is where you’ll also find Paint Mode*, which allows you to selectively apply the photo filter to specific areas of your image. Just click the Paint tab, then adjust the Brush Size, Brush Hardness, and Strength before using your mouse to paint over areas in your photo you want to remove the effect from. Alternatively, you can press the Inverse icon (two overlapping squares) to paint the effect onto the image.
*Paint Mode is now Erase Mode. To get the same effect described above, go to Erase Mode, click the Invert Selection button, and select Keep.

When your photo is looking perfect, click the blue checkmark to apply your effect. From here, you can keep stacking and layering effects to create a truly unique image, or click the Save button at the top of the Photo Editor to save your work or share it directly to social media.
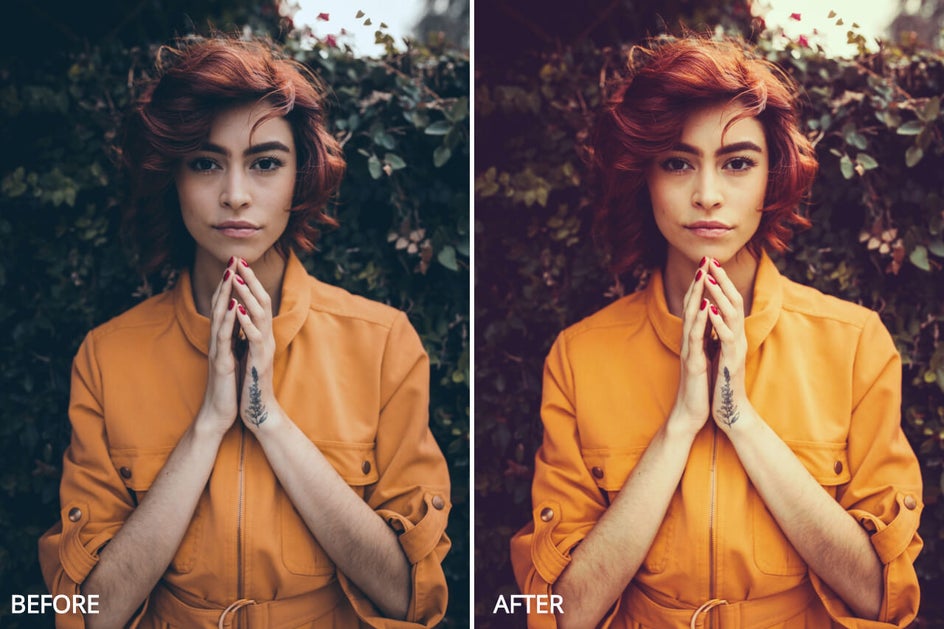
Before And After
Just look at how amazing this photo looks with a Chromatic effect! We’re into it.
Whatever look you’re going for with your photography, BeFunky’s Effect tab has you covered. From customizable photo filters to realistic-looking Lens Flare effects and beyond, there’s something to make every photo pop!