How to Stay Organized With the Layers and Groups Tab

A design is simply a collection of layers arranged on a canvas. But a canvas can quickly become a cluttered mess when we start to add numerous layers to our collection. Enter Groups! Grouping layers allows you to keep similar layers together, and edit them all at once. This helps you save time and increase the ease of your workflow.

How to Organize Your Design
In this article, we'll go over how to organize a design using Layers & Groups. To follow along, you can open a previous design, select from one of our templates, or start something new in the Graphic Designer.
Step 1: Create a Layer Group
Once you have multiple layers on your canvas, click on the Layers & Groups icon (stack of papers icon) at the bottom of your screen to open the menu. Select the layers you want to group by holding down the Command (Mac) or CTRL (PC) key while clicking on each layer. This can also be done by clicking on multiple layers in your canvas while holding down Command/CTRL. Once your layers are selected, right-click on the items and click Create Group.
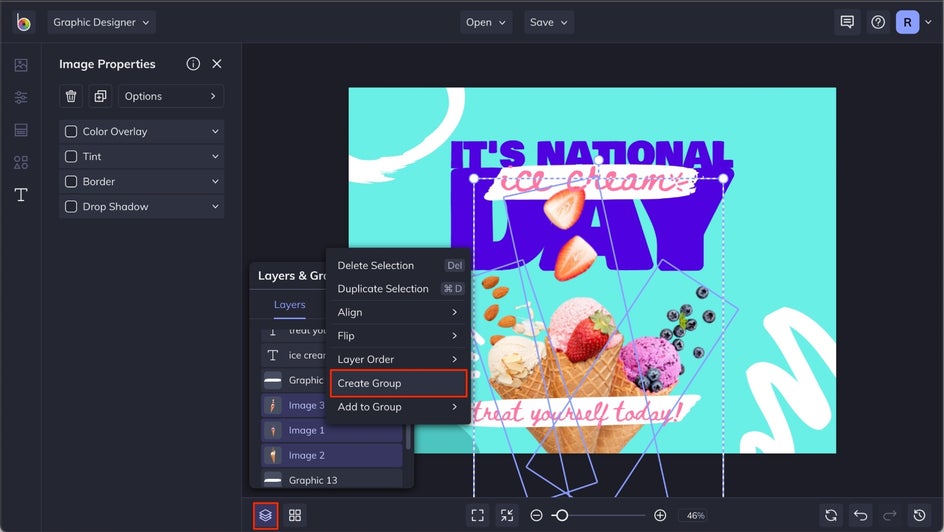
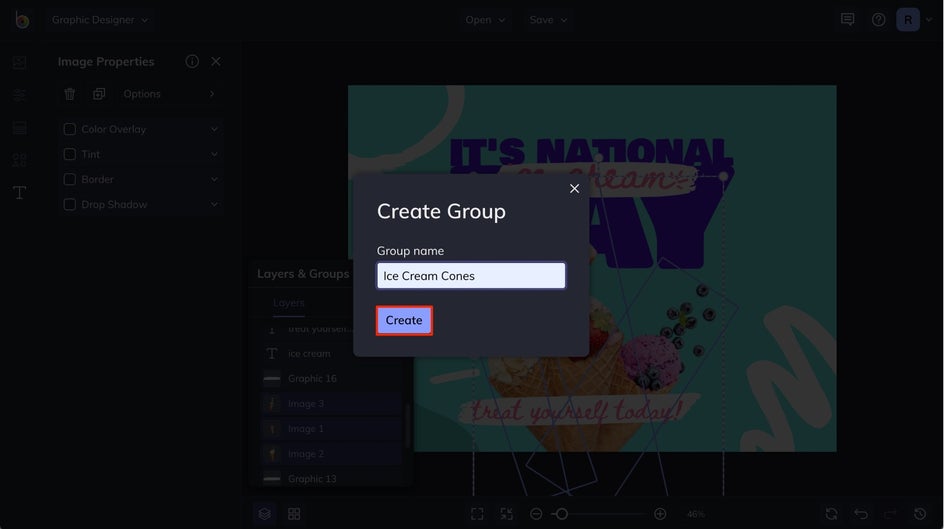
After selecting the Create Group option, you'll be prompted to name your group in the Group Name box. After entering a name, click Create.
Step 2: Edit Your Group
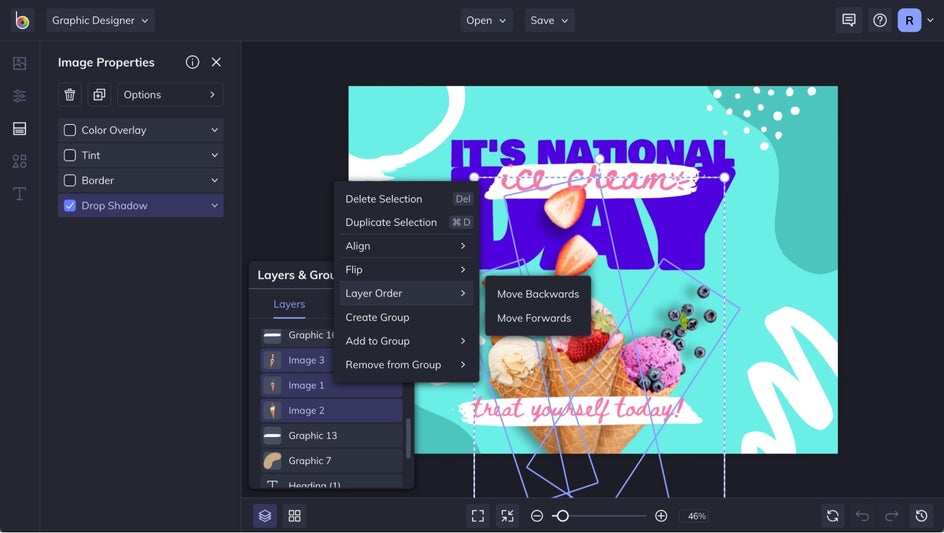
Once you’ve created a Group, you can easily make large-scale edits. Depending on the type of layers selected, you can customize things like font, color overlay, blend mode, opacity, and more. Simply select a Group with similar layers (i.e., all images, all text boxes, or all graphics), and use the corresponding Properties menu to customize entire groups. For this example, we're adding a drop shadow to the ice cream cones in the graphic.

You can also duplicate a Group by clicking on an associated layer, then right-clicking to open the menu, and clicking Duplicate. Alternatively, you can duplicate quicker by clicking a Group and pressing the “D” button on your keyboard. In this example, we're duplicating the layers in the lower-left corner and applying them to the upper right corner to add balance to the design.

Step 3: Make Additional Adjustments
After editing your Layer Group, you're free to make some adjustments. You can move, resize, and rotate Layer Groups exactly as you would with a single layer.
If your layer groups aren’t oriented correctly, right-click the item to open the menu then select Forward or Backward to move the layers in front or behind other layers.
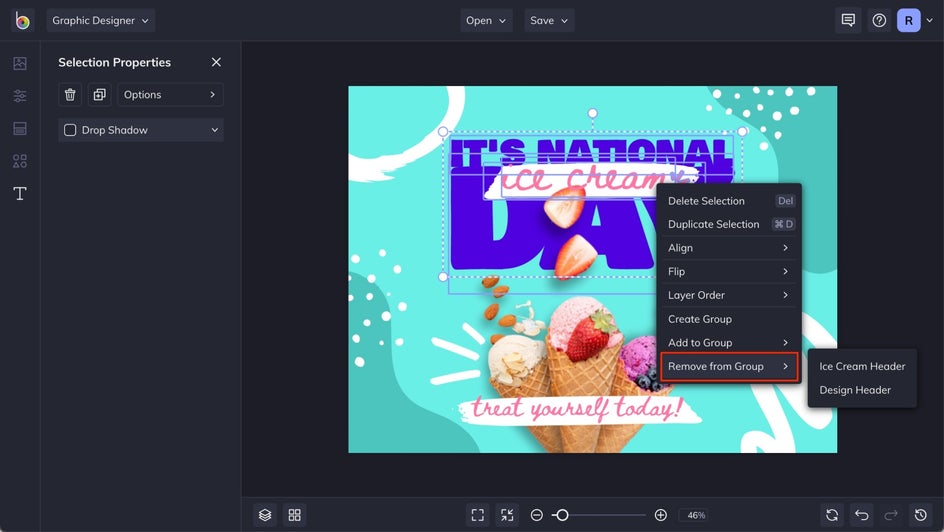
If you've decided that you no longer want a certain layer part of the group, simply right-click the layer and select Remove From Group from the pop-up menu. You’ll find that the group remains intact while the specific layer has been removed.
Want to undo an entire group? No problem. Just open the Layers & Groups menu and click the Delete Group icon next to the group name. All of the layers within that group will be instantly ungrouped.
Use Layers and Groups to Work Smarter, Not Harder
Staying organized with Layers & Groups makes designing fast, easy, and efficient. Streamline your creative workflow like a pro with our Photo Editor, Graphic Designer, or Collage Maker today! Want to dive deeper with Layers & Groups? Click here to learn more about layers in our Help Center article.