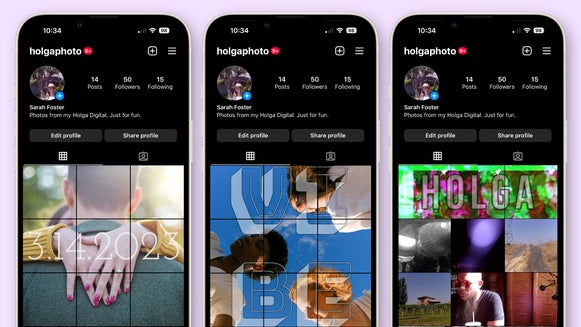
Organize Your Instagram Grid With Free Collage Layouts

Planning out your Instagram feed has become a normal part of mindful posting. Not only does this allow you to create aesthetically pleasing grids for followers to know what to expect from your content, but planning also frees up your time so that you can continue to create more content that your followers' love.
There are apps out there created for Instagram feed planning and post scheduling, but they come at a high cost to users. So if you are looking for a quick and easy alternative that allows you to see how your Instagram grid looks before posting, look no further than BeFunky’s Collage Maker.

With BeFunky’s Collage Maker, you can use our grid layouts to plan out your grid of upcoming Instagram posts for several weeks at a time. No need for expensive Instagram planners. Click here to get started.
Step 1: Choose Your Instagram Grid Layout
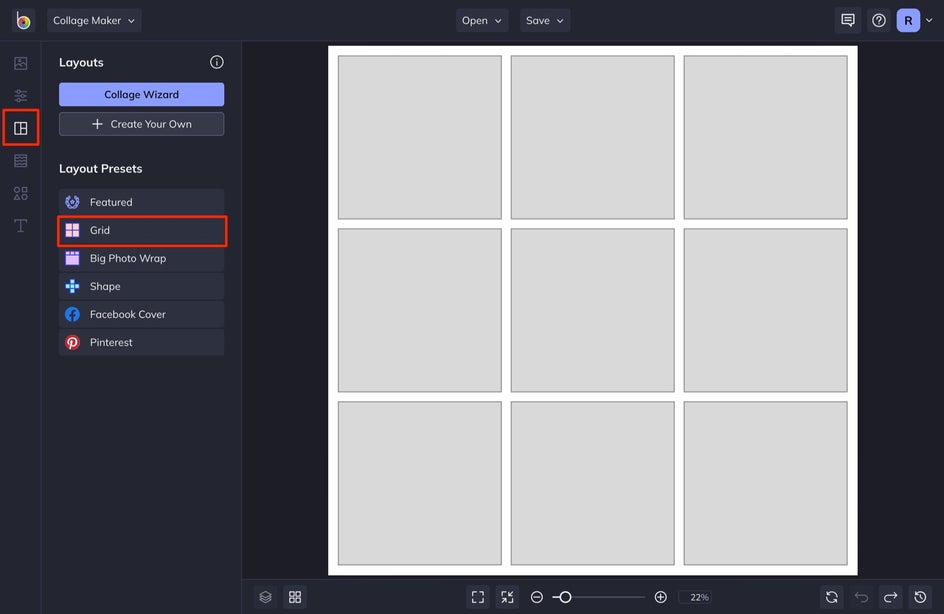
Once the Collage Maker is opened, click into the Layouts menu on the left to see the available layouts. Once here, choose Grid. You’ll see a variety of grid layouts to choose from. For now, select the 3 x 3 layout.
Step 2: Upload Your Images
Next, collect the images for your Instagram grid. Select Image Manager and upload your own photos by selecting the Computer button, or dragging and dropping the images directly into the Image Manager.
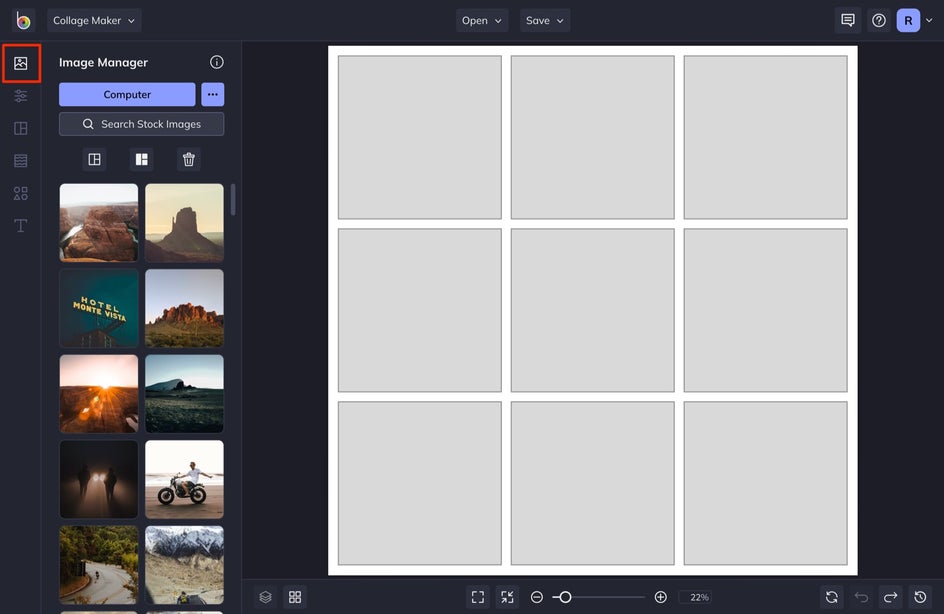
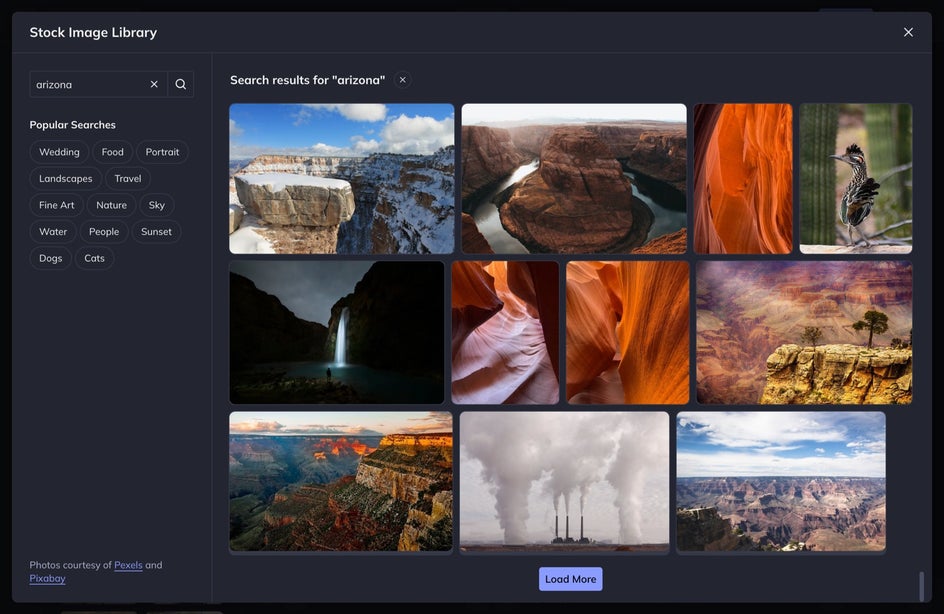
You can also choose from thousands of images in our Stock Image Library to use as posts or placeholders by selecting Search Stock Images. From there, select the images that you want to use and they will automatically be added to your Image Manager.
Step 3: Arrange Your Images in the Grid
Start populating your grid with your images. Drag and drop them from the Image Manager into their respective cells on the grid.
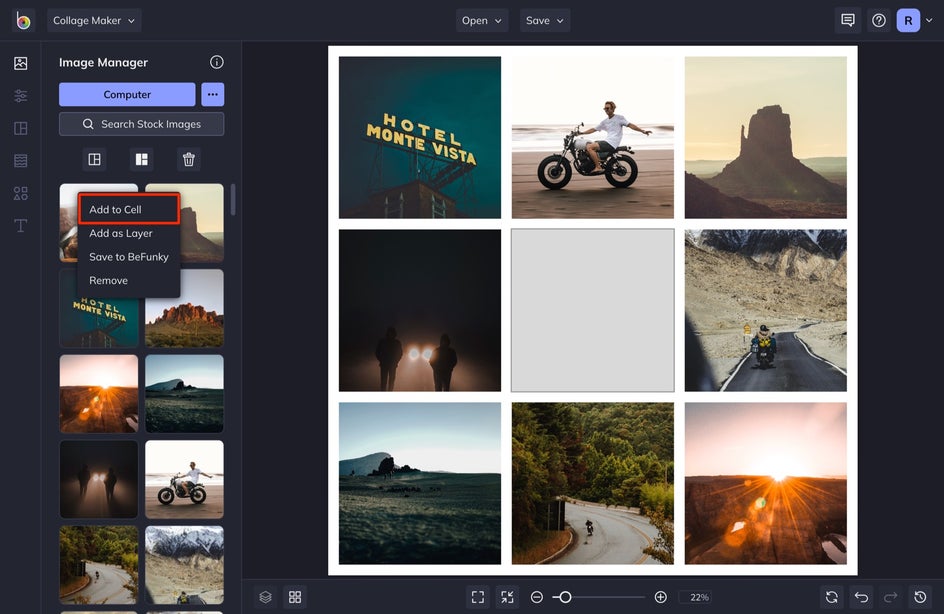
Once you add all nine, you can easily rearrange them by selecting an image on the grid and dragging it to a different cell. You will see the images in the cells switch places. If you want to adjust the crop, simply click and drag on the image to adjust the composition in the cell.
If you need to make any edits to the images, click on the image and then select Edit Image in the menu that appears. In the Edit Image menu, you can adjust the image size, rotate, and flip the image in the orientation you like most.

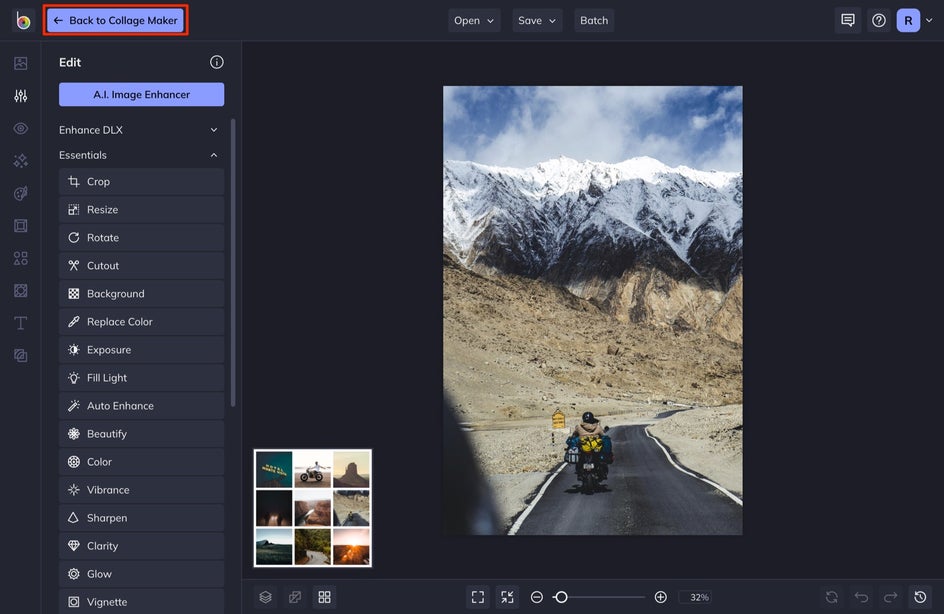
If you want to make further adjustments to the image, click Open in Photo Editor and you'll be taken to the full image editor. Make any edits you need to, then click Back to Collage Maker to see your edited version populated in the cell.
Step 4: Save Your Grid as a Project
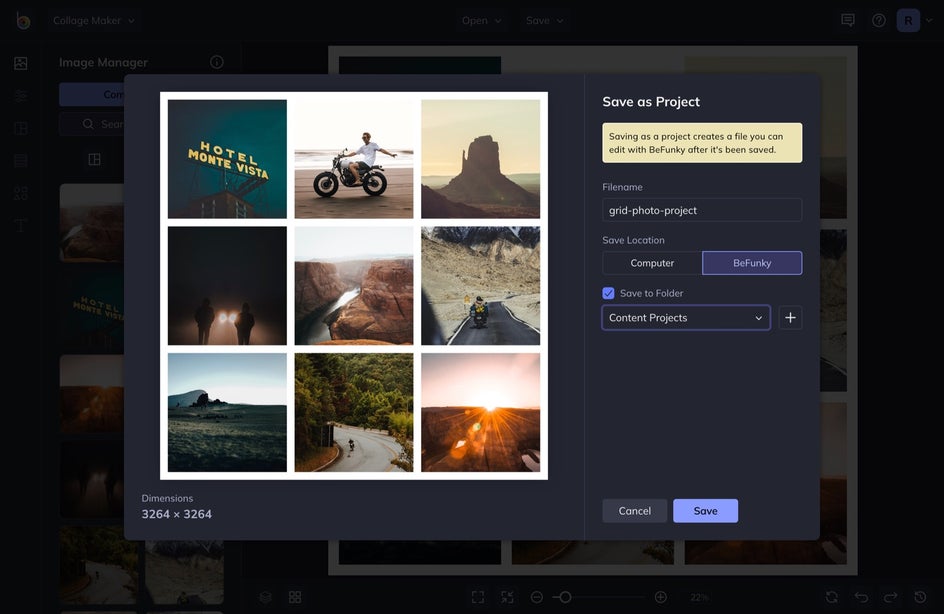
Once you are finished making your edits and adjustments, you have your very own Instagrid ready to go! You can save your project as a jpeg to your computer to reference later when scheduling your feed or you can Save it as a Project in order to make any needed adjustments in the future.
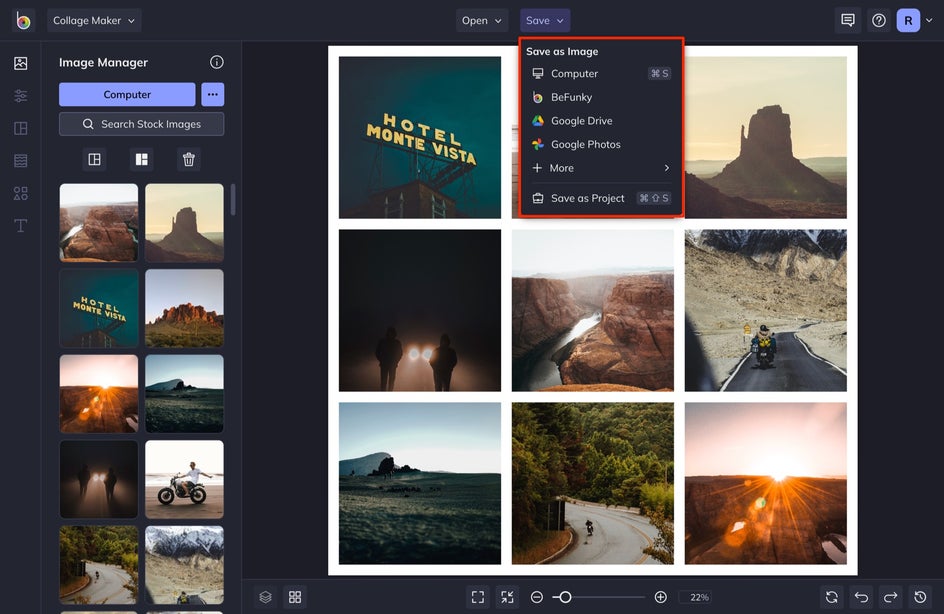
To do this, simply head up to the top of the screen and select Save. From here, select Save as Project. You can choose to save it to your Computer or BeFunky in order to access it at a later date allowing you to readjust or add more cells going forward.
Create Aesthetically Pleasing Instagram Grids
With BeFunky’s Collage Maker, the hassle of creating Instagram grids is over. Planning out your feed visually can save you a lot of time that could be better spent creating more content for your followers! By using Collage Maker, you can easily upload and arrange your images to create the most aesthetically pleasing feed of your life.