


How to Design and Print an Illustrated Poetry Chapbook
Have you ever wanted to see your poetry in print, but don’t want to publish via a traditional route? What if you have a very small selection of poems, or simply want to share your work with your friends? A poetry chapbook might be just the thing for you.
In this article, we’ll discuss exactly how to format a chapbook for print in the Graphic Designer, including how to add hand-drawn illustrations using BeFunky’s built-in Graphic Library. We’ll also discuss how to print and bind your chapbook for the simplest, most cost-effective results. Once your poetry chapbook is complete, you’ll be ready to gift copies to friends or even sell them online. Now let’s get started!
What Is a Chapbook?
A chapbook is a tiny book of around 15-30 pages. It’s called a chapbook because these small, affordable collections of literature were once sold by traveling “chapmen” or tradesmen through the 17th, 18th and 19th centuries.
Chapbooks are less hardy than your typical book, but they are extremely cost-effective to produce and can be printed and bound right in your own home. These days, they are typically self-published and distributed in the same vein as zines.
How Big Is a Chapbook?
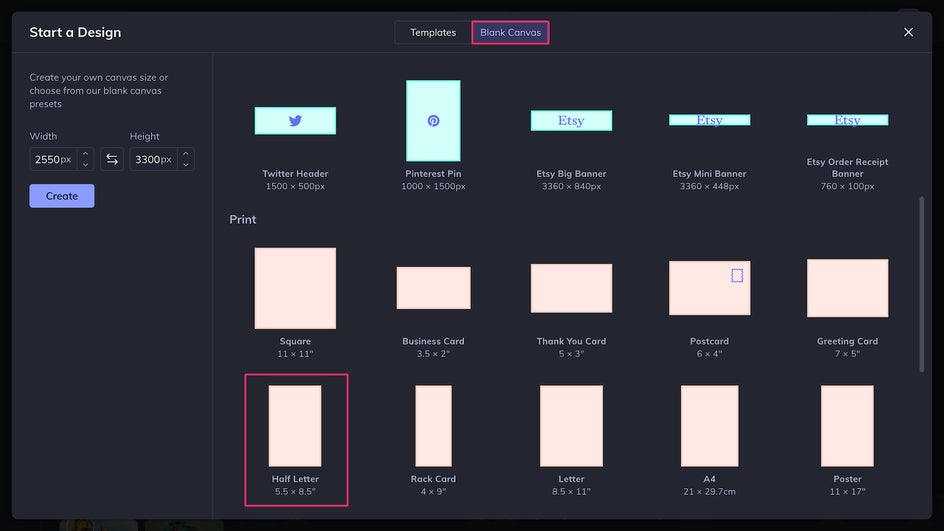
The size of a chapbook depends on the size of the paper you’re printing on as well as how you bind it. Chapbooks are usually the same size or smaller as one letter size sheet of paper folded in half (5.5” x 8.5”). They’re usually not smaller than a quarter of a letter sheet, but they can be, as long as the writing is legible.
The length of a chapbook is usually around 15-30 pages. Even if you have very short poems with just a few lines, each poem will typically be separated by a page break. So depending on how long your poems are and what size you’re printing, your chapbook could contain anywhere from 5 to 30 poems.
Of course, your chapbook can be bigger, smaller, longer, or shorter than the usual sizes. It’s up to you! The great thing about DIY publishing is that you have total control over the finished product.
What Is a Chapbook Made Of?
At its bare minimum, a printed poetry chapbook requires just three materials: High-quality paper, a printer, and a stapler. Basically, a chapbook is very cheap to produce and very easy to DIY.
Even if you don’t have a printer, you can have your pages printed at a local print shop or office supply store. We’ll talk about how to choose the right paper for your chapbook later on in this article!
Can a Chapbook Have Pictures?
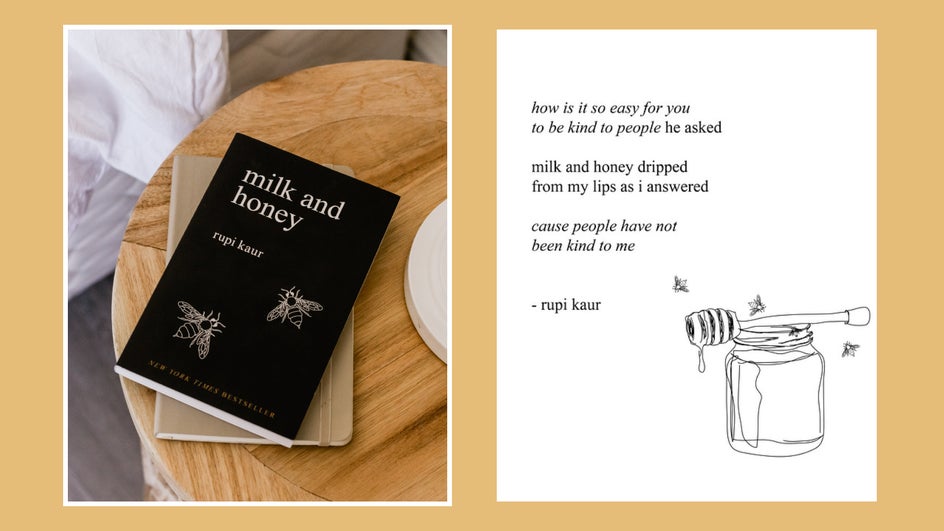
Some poetry books and chapbooks contain images as well as text. The acclaimed book of poetry Milk & Honey by Rupi Kaur is filled with hand-drawn illustrations. Some books of poetry have poems juxtaposed against photographs or paintings. Poetry is a malleable, often experimental art form, so you’re free to add anything to your chapbook that makes your poetry more impactful and true to itself.
Imagery will add visual interest and change the meaning of your poems. In the following tutorial, we’ll discuss how to add beautiful hand-drawn graphic images to your chapbook, regardless of whether or not you’re an artist.
How to Format a Chapbook for Print
Once you've written a collection of poems, it's time to edit them and decide which ones you want to include in your chapbook. During this stage, you'll probably want to run your poetry by a trusted friend or mentor. Here's a great checklist for editing your poems and another for selecting which poems to use. Make sure you decide on the order you want to present the poems as well!
Now that you've made all the big writing decisions, you're ready to start formatting your chapbook. We’ll specifically discuss how to format for print on a letter-size sheet of paper in the Graphic Designer.
Step 1: Arrange Your Text
The very first thing you’ll need to do before formatting is open a Blank Canvas in the Graphic Designer at a Half Letter size.
Once your page is set up, it’s time to choose your font. Most poets use a serif for legibility and stick to typefaces that look simple and timeless. This way, the font doesn’t distract from the poetry itself. Here we’re using Garamond.
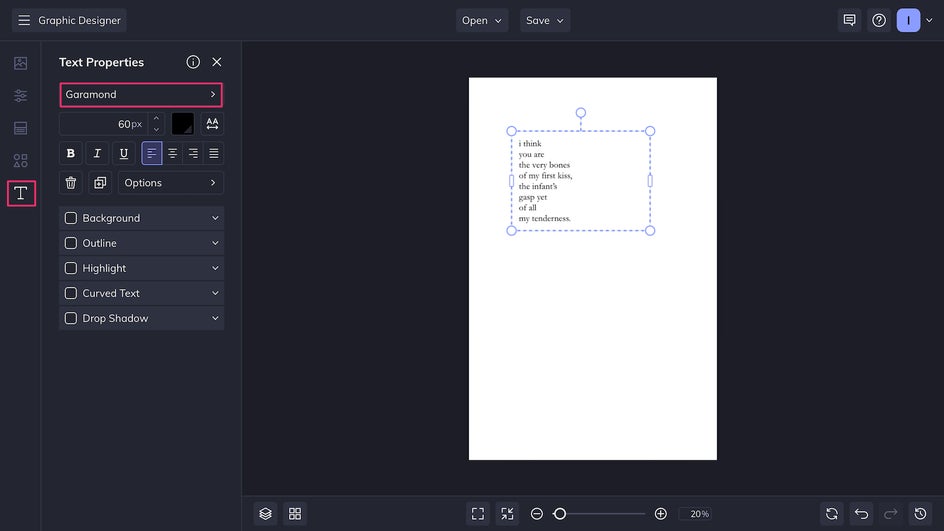
Now, you can arrange your text on the page however you want. Left-aligned, right-aligned, centered, aligned toward the bottom or the top of the page – this will probably depend on your own taste and how you want it to interact with the rest of your chapbook.
Make sure you leave at least an inch of space on every side of the page to serve as the margins. If you’d like to add illustrations, make sure you leave space for these as well!
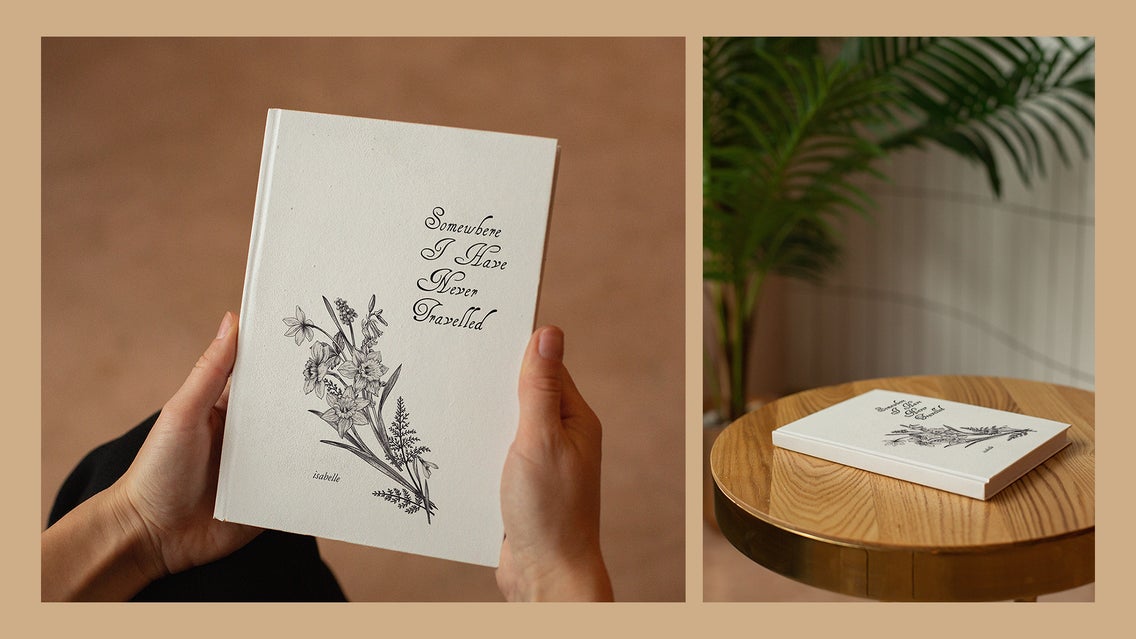
Step 2: Add Illustrations
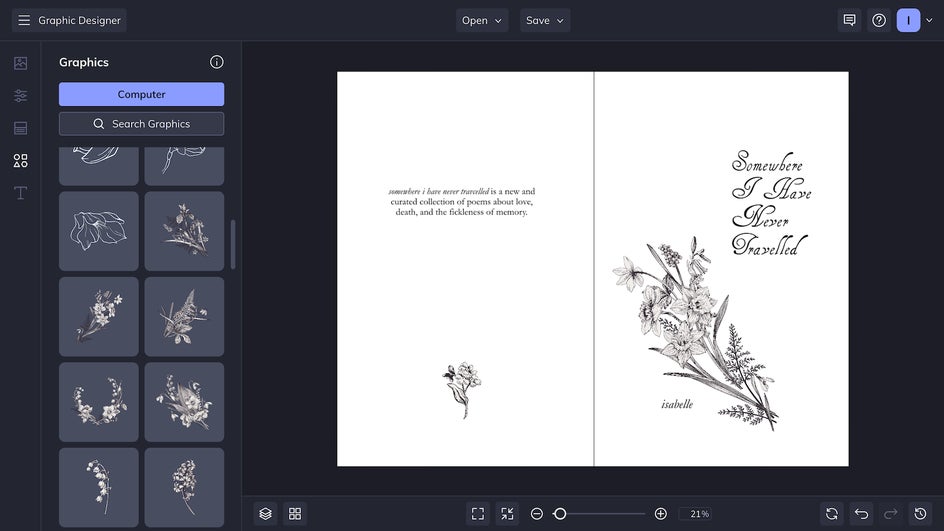
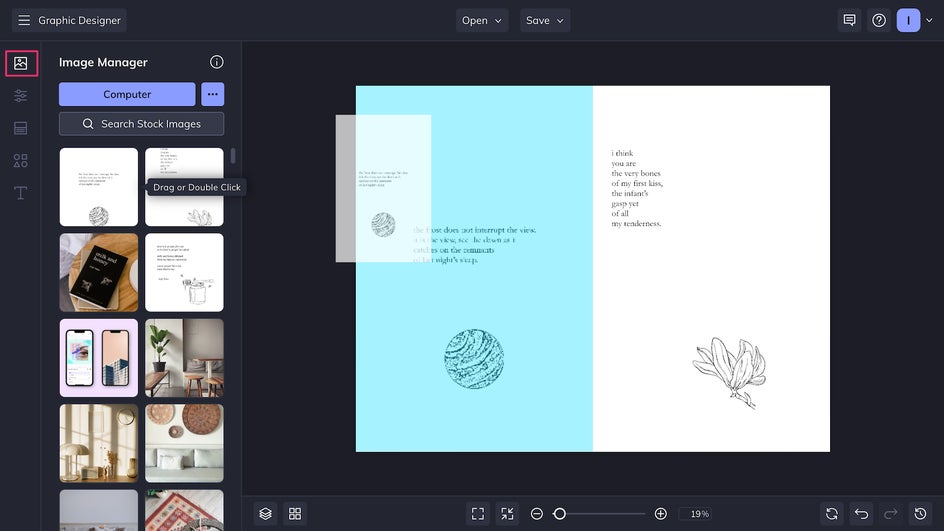
This step is optional but can add a lot of life to your poetry chapbook. The Designer has a Graphic Library featuring thousands of illustrations, including hand-drawn illustrations that you can use for free. Simply click the Graphics tab and then Search Graphics.
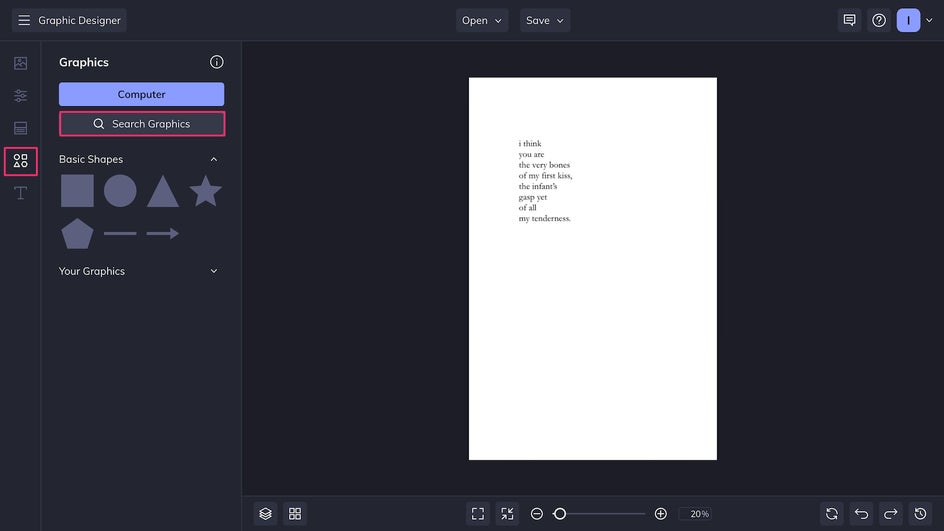
If you have a specific idea in mind, like a flower or moon and stars, enter those phrases into the Search Bar. Otherwise, you can browse the entire collection. Just click a graphic to add it to your personal library.

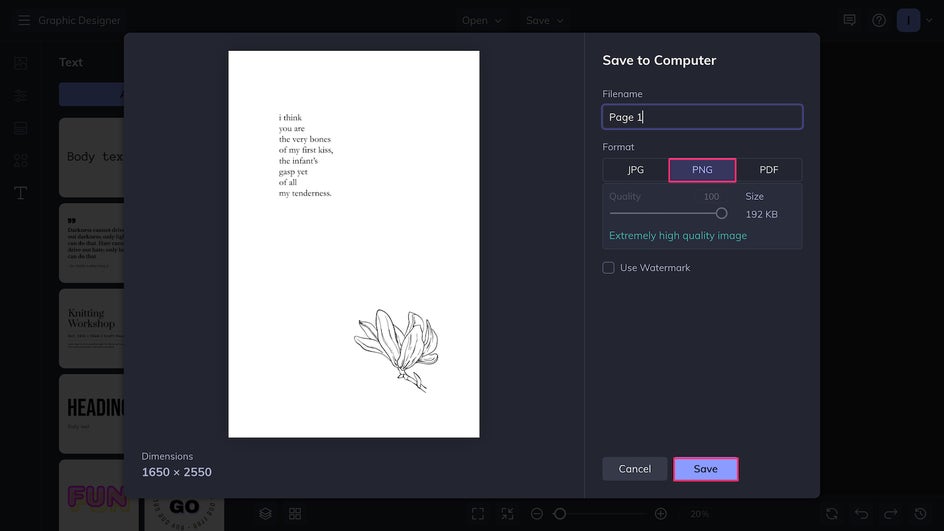
From here, you can drag and drop illustrations right onto your canvas. If the outline is white or another color you don’t want to use, you can change the color using the Color Overlay tool.
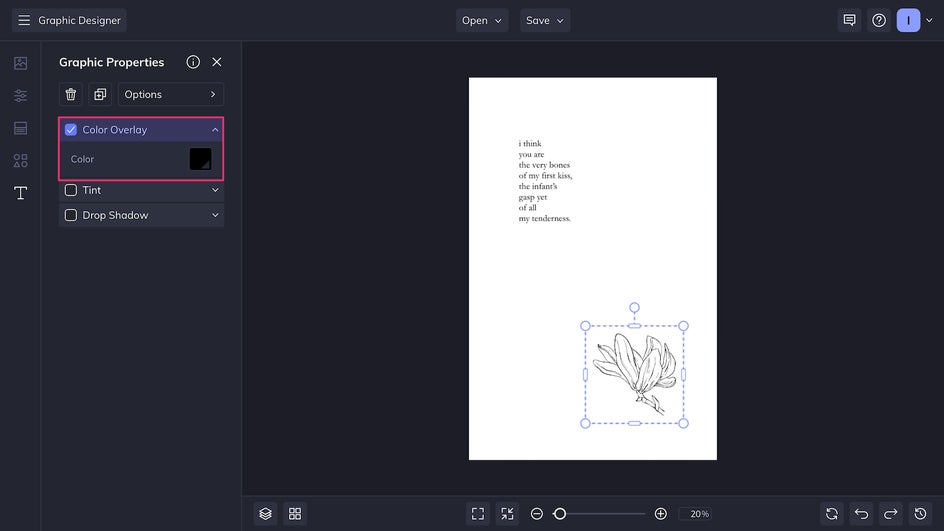
Once that’s done, just Save the file to your computer as a high-quality PNG.
Then, repeat Step One and (optionally) Step Two for the rest of your pages!
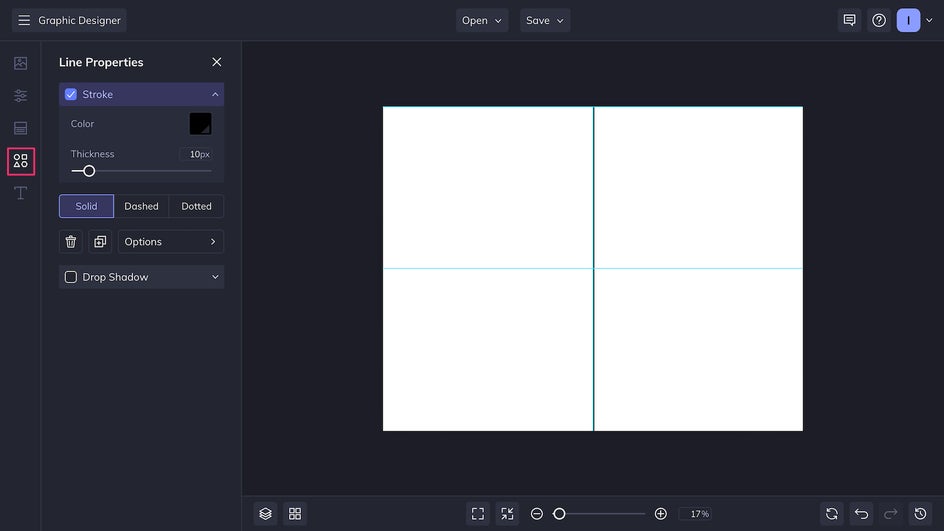
Step 3: Create a Cover
Once you’ve finished with the internal pages, it’s time to create the front and back cover. These can be as simple or as complex as you want. To get started, open a Blank Canvas at 11” x 8.5”. With the Graphics tool, add a vertical line to mark the page’s halfway point, using the blue guidelines to help.
Because you’ll be folding this sheet of paper in half, the front cover will need to go on the right side. Here, you can add a title and your name, as well as any illustrations you might want to use. Centering the title is the simplest way to go, but you can also align the text on either side.
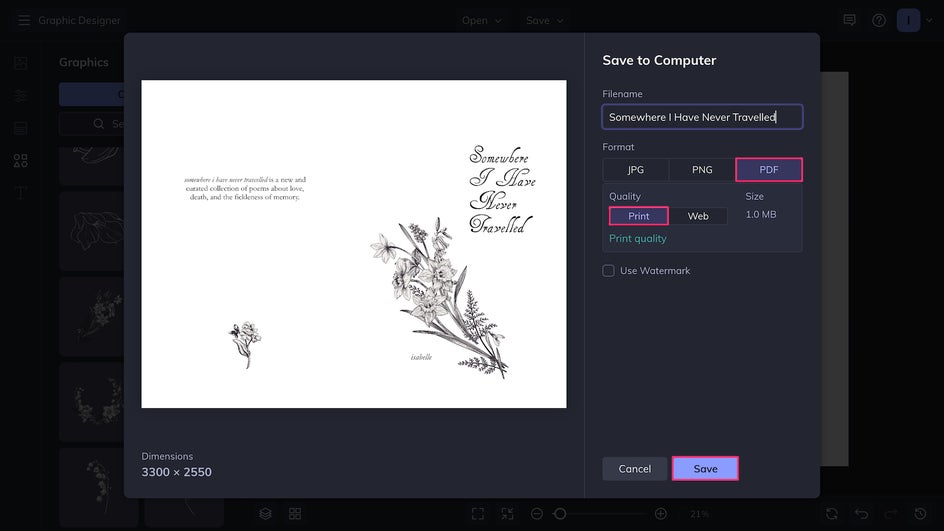
For the back cover, consider summarizing the themes of your collection, adding an author bio or reviews from friends, or just leaving it blank. Once you’re finished, make sure you delete the center line, then Save this file as a print-quality PDF.
Step 4: Arrange Your Chapbook
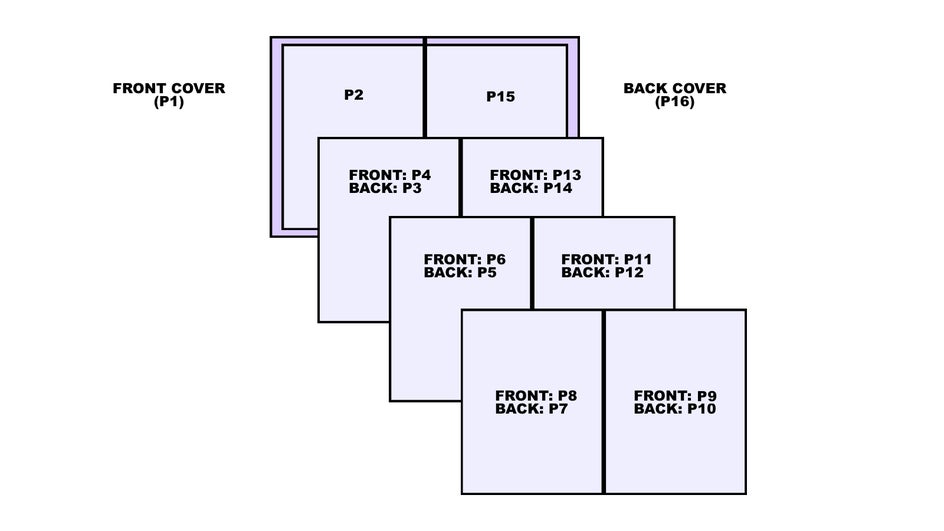
Once you’ve saved every page of your chapbook, it’s time to arrange the pages for print. If you’re printing at home by folding a letter-size sheet of paper in half, this can get a little bit confusing, so we suggest making a mock chapbook to test out your page numbers. Essentially, you’ll be alternating the first and last page, then the second and second-to-last page, etc. Here’s an example of the format you’ll need to print in:
Once you’ve determined which pages need to go next to each other, you can combine any of your PNGs into one 11” x 8.5” sheet of paper in BeFunky. Just drag them right from your computer onto the canvas to resize.
Save this new page as a print-quality PDF and repeat for the remaining pages.
Once you have all your finished PDFs, you can stitch them together without the need for any additional software. Here’s how to stitch PDFs together with a Mac and how to do the same with Windows.
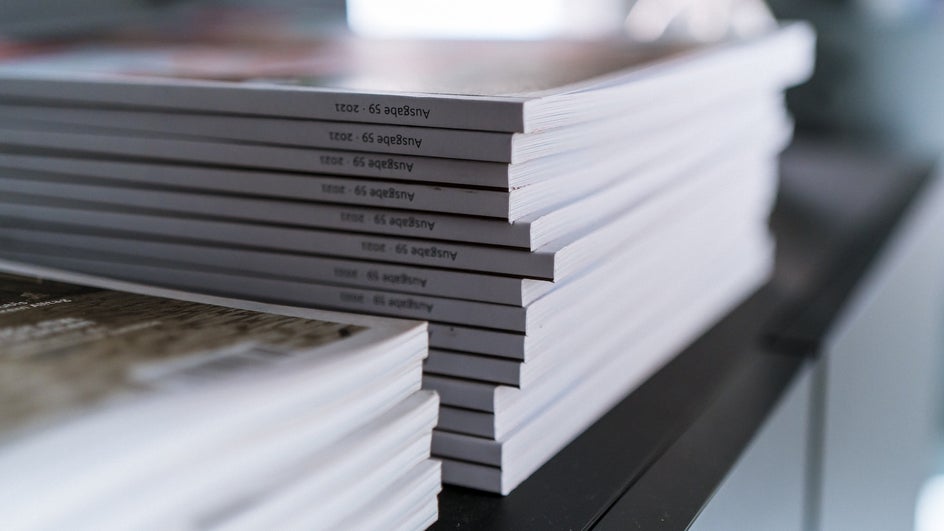
How to Print & Bind a Chapbook
When it comes to printing your chapbook, you have two options: Printing at home or printing at a store. Either way will run you anywhere from $1-4 dollars per book including ink and paper, though of course printing at a print shop or office store will be slightly more expensive.
To choose the right paper for your chapbook, decide how sturdy you want it to be. Regular copy paper (20 lbs) will work if you’re looking for affordable, casual results. If you want a hardier, more formal chapbook, consider using heavier paper (24 lbs) for the internal pages and/or thicker cardstock (65-80 lbs) for the cover.
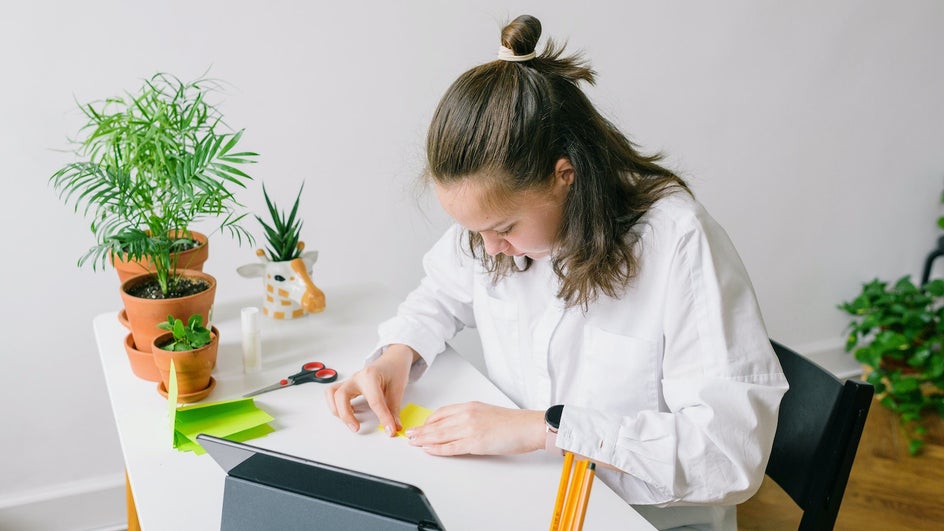
The simplest and quickest way to bind your poetry chapbook is with a stapler. First fold and unfold each page of your chapbook, making sure the edges are aligned. Then arrange all your pages on top of each other, unfolded, and staple them together in the center of the book. Fold it in half again and voila, you have a finished chapbook! Another option if you’re feeling ambitious is to saddle stitch the book together.
Self-Publish Your Poetry Today
Now you have all the tools you need to DIY your very own poetry chapbook. It might take a little bit of work to start , but at the end, you’ll have a physical, bound copy of your own writing. Plus, once the pages are properly formatted, it’s easy to print and distribute multiple copies.

You can give your new poetry chapbook away to friends, family members, and anyone interested in a taste of your writing. Or, sell them online or in person at poetry readings and local events! The opportunities are endless. Get started today in the Graphic Designer!


