Invite the Fun: Spooky DIY Invitations for Your Halloween Celebration
Halloween isn’t just for kids. Adults can get in on the fun too – with creative costumes, spooky games, and eerie treats! Take your Halloween party up a notch by sending out personalized invitations instead of a simple text. A custom Halloween invitation sets the tone of the festivities. Whether it’s a costume contest, a haunted house, or a themed party with spooky activities – it's never been easy to celebrate Spooky Season.
To make your party unforgettable, unleash your creativity in both planning and design! Challenge your guests with a costume contest or a spooky dress code, plan thrilling games, and serve creepy snacks. Let that same imagination shine through your Halloween invitation. BeFunky’s Halloween party invitation templates in the Graphic Designer provide plenty of stunning visuals, themed fonts, and customizable elements to give your guests a sneak peek of the fun to come and leave them in awe of your creativity – even if you're new to design.
Step-by-Step Guide to Designing Halloween Invitations with BeFunky
After deciding on your spooky theme and gathering all the important details like the event time and location, it's time to create your invitation. Get started by selecting your preferred template from the Halloween Party templates. Click on the template that calls to you and select Use This Template.

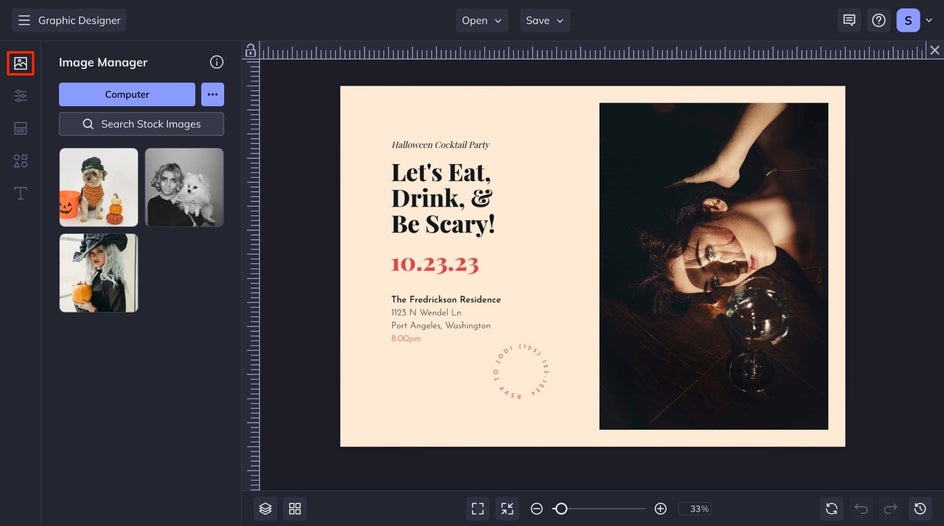
Step 1: Insert Your Own Spooky Photo
From the Image Manager, you can either drag and drop your image into your invitation, or you can search for your image from your computer. You can drag and drop your image right into the invitation where the existing stock photo is.
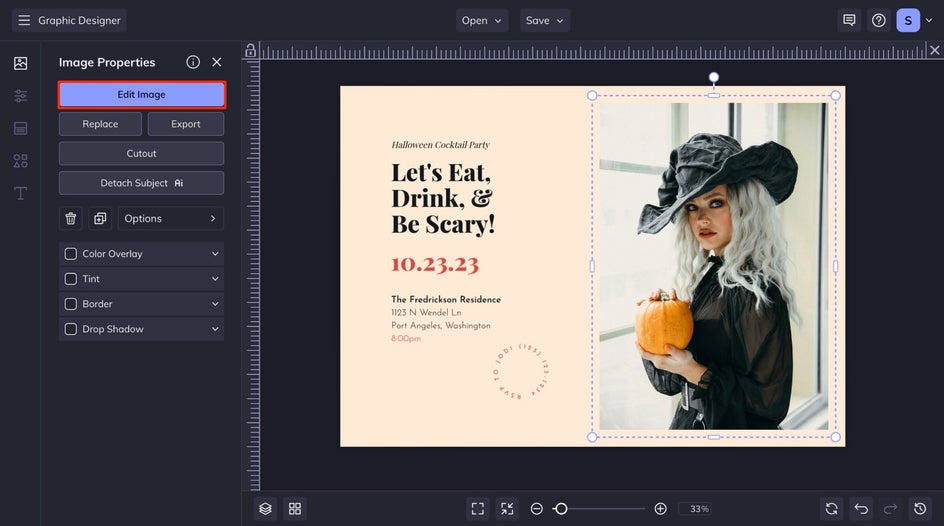
Step 2: Apply a Halloween Effect
Click on your image, then click on the Edit Image button to enter the Photo Editor with your image straight from the Graphic Designer.
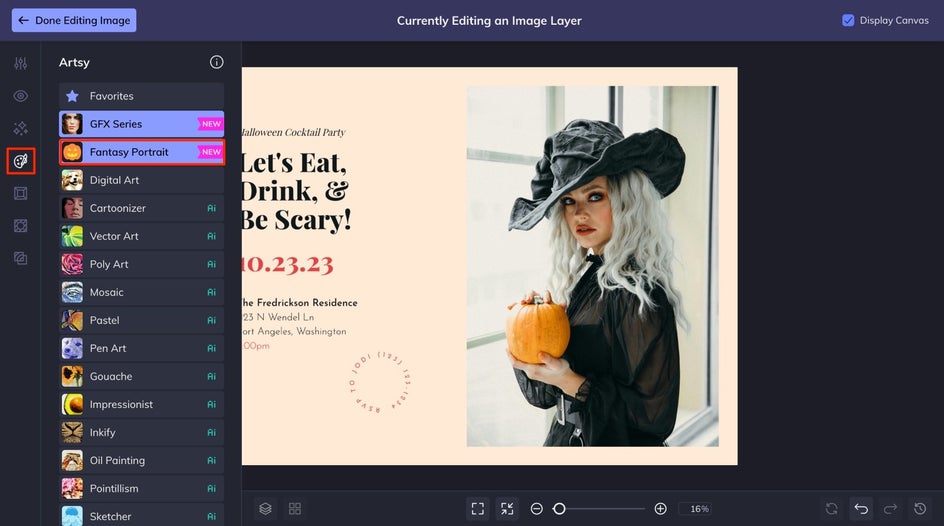
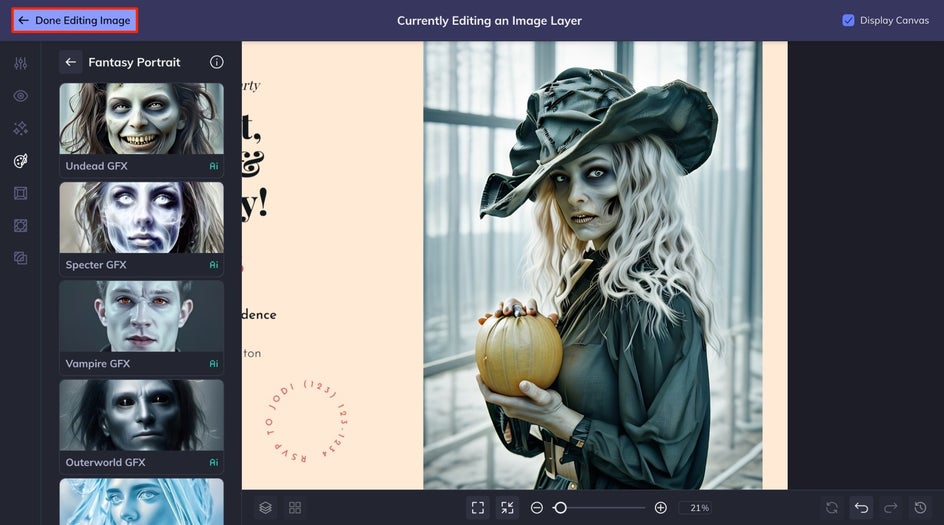
Next, click on the Artsy Effects tab, followed by Fantasy Portrait. Thanks to cutting-edge AI technology, turning your portraits into eerily lifelike artwork is a breeze. Whether you're inspired by iconic monsters or supernatural beings, we've got the perfect way to showcase your Halloween vibe.
From here, you can select the effect that fits your photo, invitation, and event the best! For this tutorial, we used the Undead effect. For further customization, you can click the Settings icon and adjust the amount, fidelity, and variation until you find your desired results. When you're done customizing the effect, click Apply.
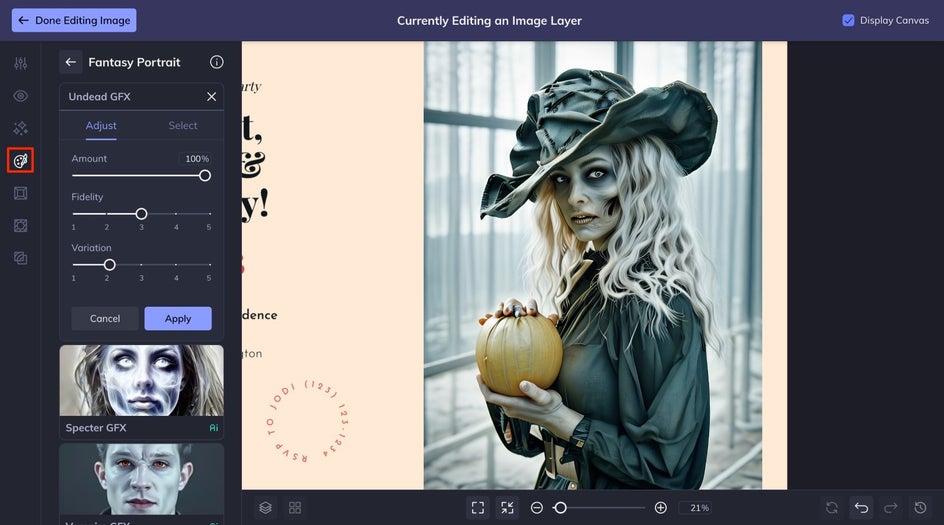
Once you are done editing your image, click on the Done Editing Image button at the top of your canvas to return to the Graphic Designer to continue editing your Halloween party invitation.
Step 3: Customize the Rest of Your Halloween Party Invitations
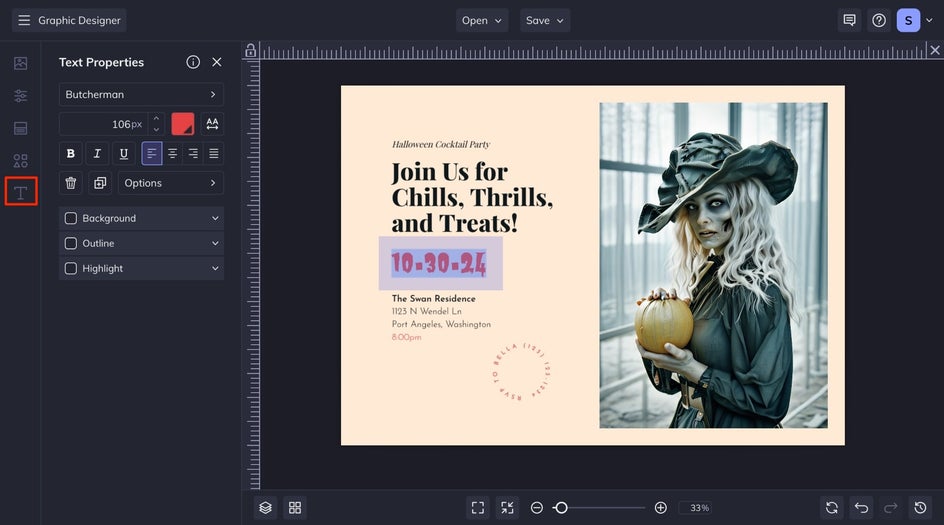
Customize the text for your event by clicking on the text box, and you can add all your own details! You can even change the color and font of your text from the Text Properties menu.
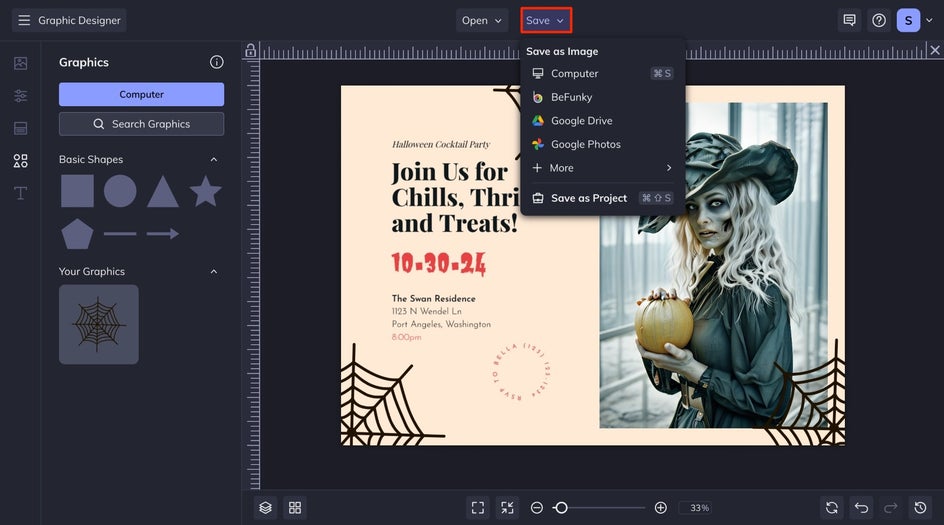
From the Graphics tab, click on the Search Graphics box and search for "Halloween." Once you've chosen your graphics, return to the Graphics Library and drag your graphic onto the canvas.

Step 4: Save Your Halloween Party Invite
When your Halloween invitation is perfect, click the Save button at the top of the Designer to download it to your computer. You can either print it to hand out in person or share the digital version with your guests.
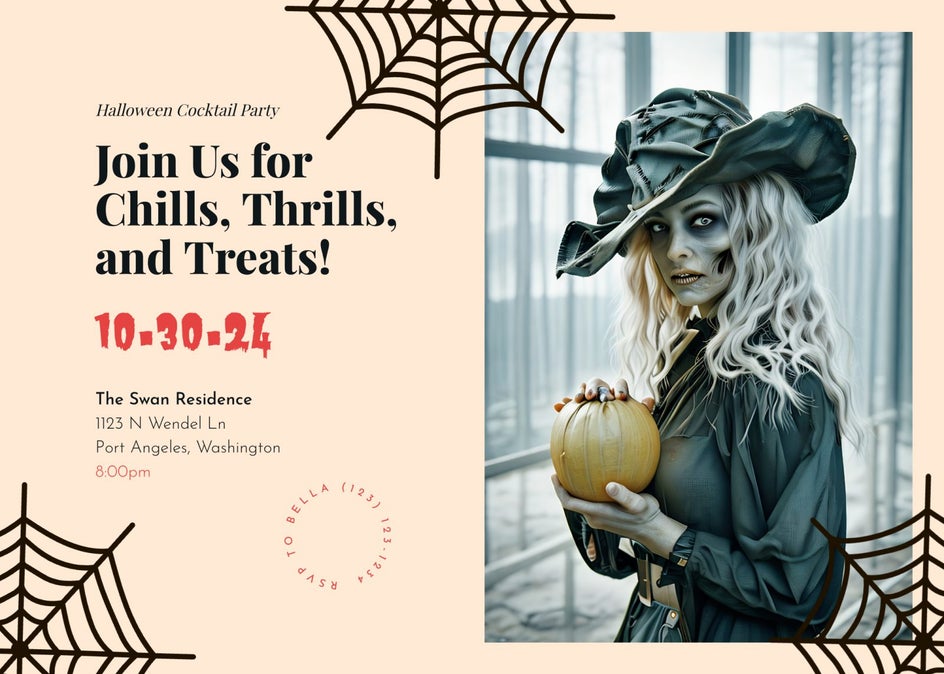
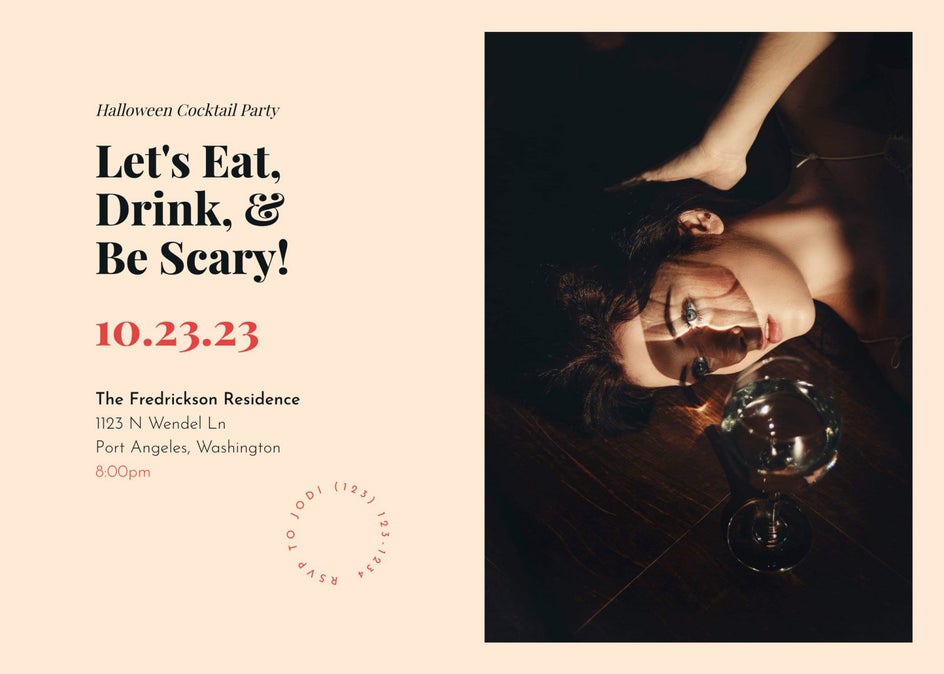
Final Results: Your Spooktacular Invitation Is Ready
With your Halloween invitation finished, your spooky celebration is one step closer to becoming a reality. Take a look at how the personalized design captures the essence of the party, getting your guests excited for the fun ahead!
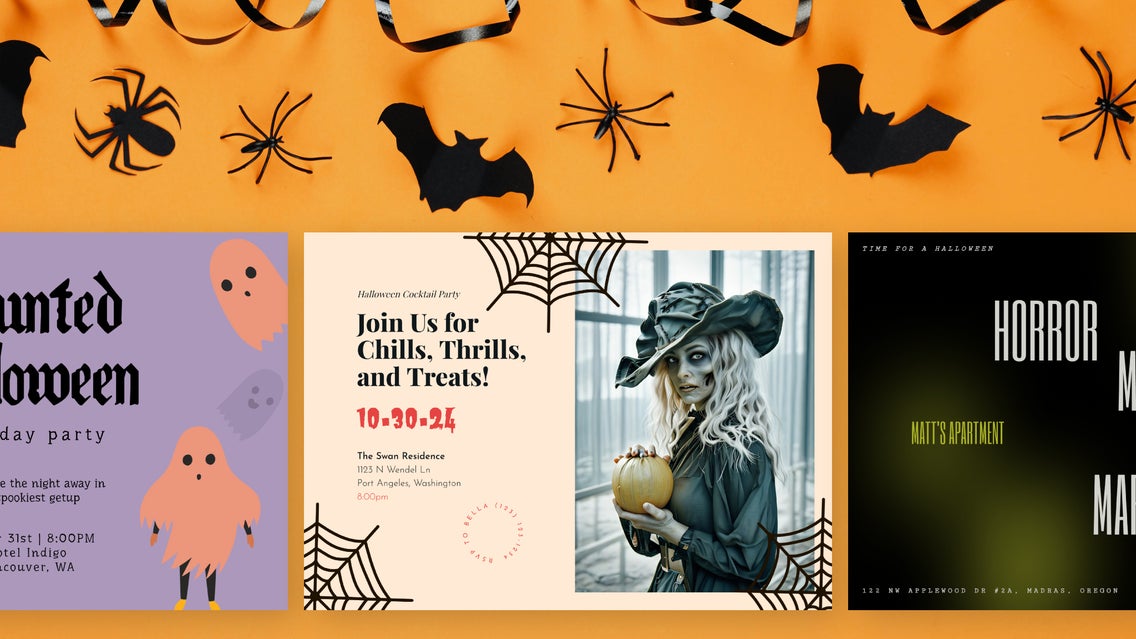
Get Creative with Halloween Invitation Ideas
Looking for more inspiration to create unique Halloween party invitations? Consider different themes to set the tone for your event. Whether you're hosting a Halloween birthday party, a kids' costume bash, or a haunted movie marathon, there are endless creative possibilities to explore for your next invitation design!
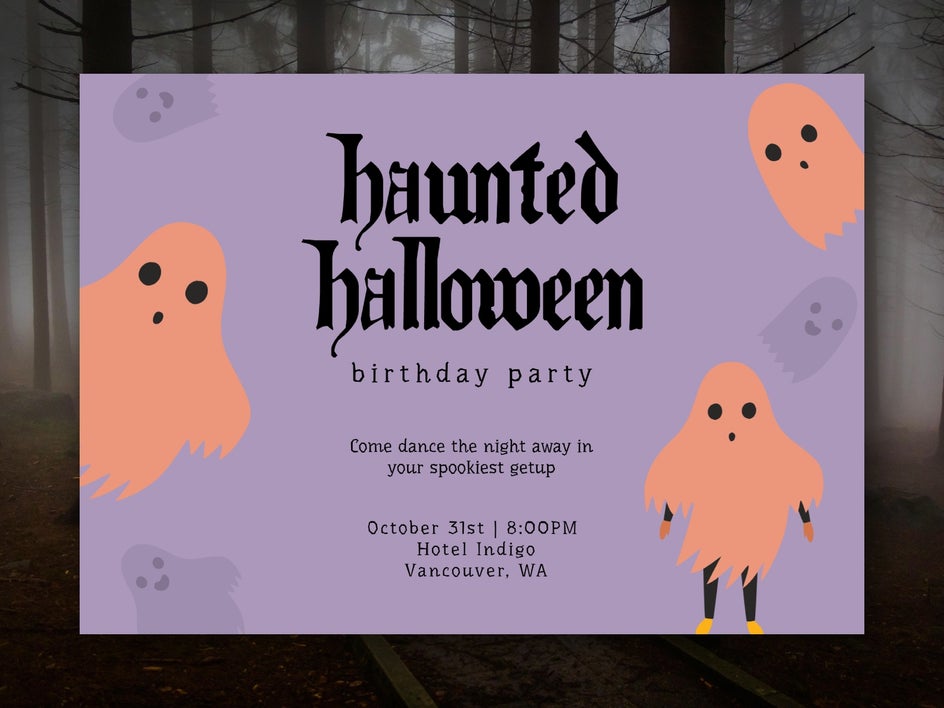
Halloween Birthday Party Invitation
Halloween birthday invitations combine the fun of a birthday celebration with the spooky excitement of Halloween. These unique invites set the tone for a themed party where costumes, games, and eerie decorations create a memorable experience for guests.
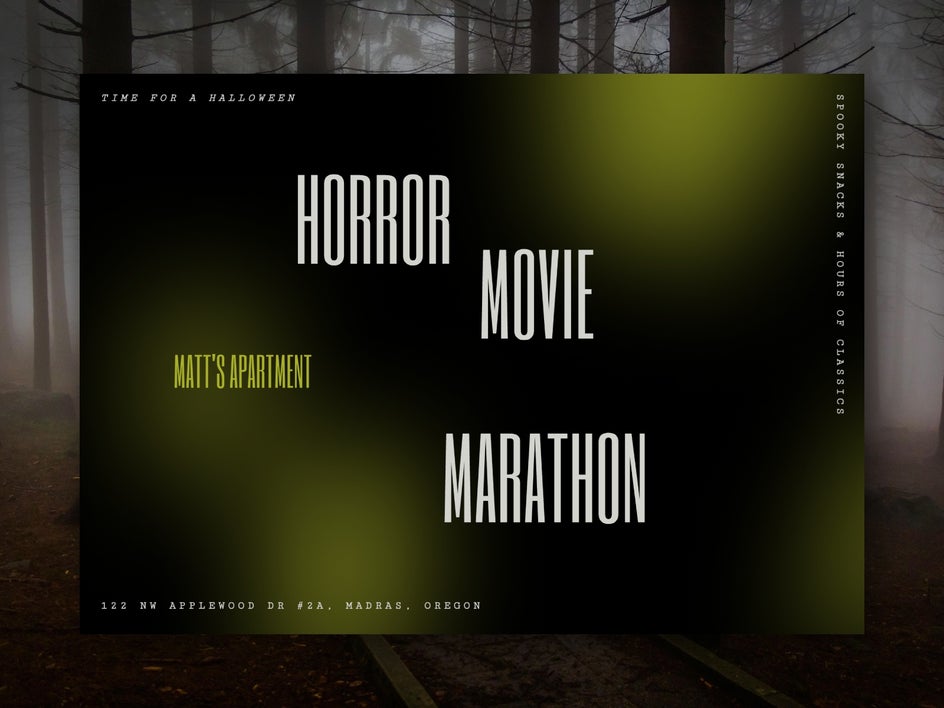
Haunted Movie Marathon Invite
Halloween horror movie party invitations are perfect for setting the mood for a spine-chilling night of frights and thrills. With creative designs that feature iconic horror imagery, these invites entice guests to join in on the fun of watching classic scary films in a festive atmosphere.
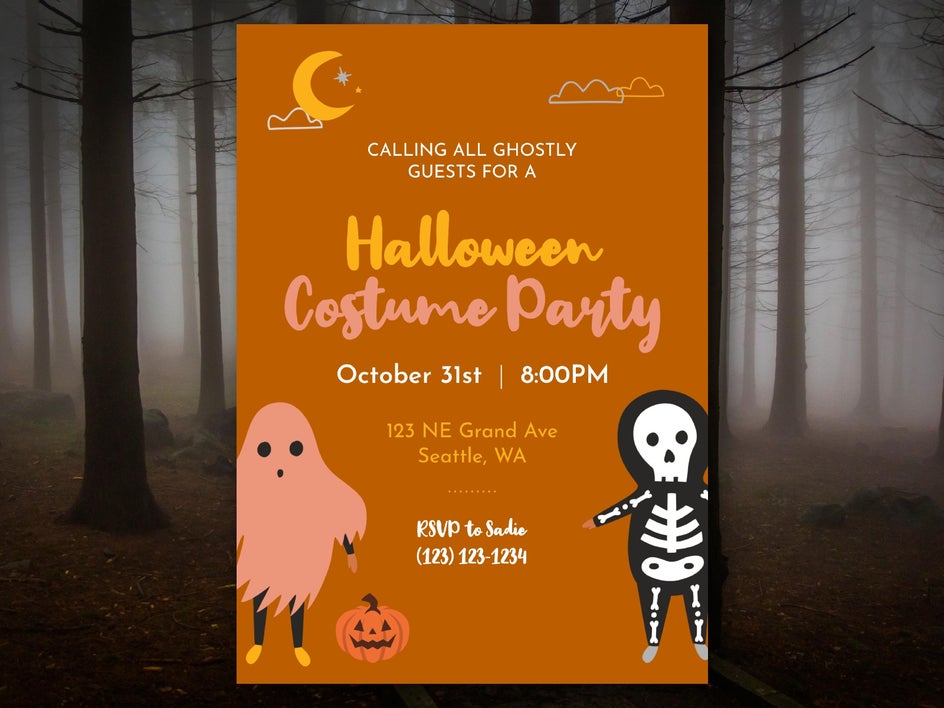
Halloween Costume Bash
Halloween costume party invitations invite guests to unleash their creativity and showcase their most imaginative outfits. With playful designs that highlight costumes and festive elements, these invites build excitement for a night of fun, games, and spooky camaraderie.
Create Your Own Frightastic Halloween Party Invitation
As you gear up for your Halloween festivities, remember that the right invitation can set the tone for an unforgettable celebration. By harnessing your creativity and utilizing tools like BeFunky, you can craft unique invitations that reflect the spirit of your event, whether it's a thrilling horror movie marathon, a whimsical costume bash, a haunted house spectacular, or a spooky birthday party. So get inspired, let your imagination run wild, and prepare for a night filled with fun, laughter, and a touch of fright! Create your own invitation today!