Aesthetic Edit: How to Master the Glitter Effect on Your Pictures

What’s cool on social media often changes as quickly as the photos populating your feed. From mastering minimizing and authenticity, to maintaining a curated feed, there are so many ways to master creativity on Instagram.
We’re sure within your time scrolling, you’ve come across at least one glitter edit. These photos are a creative way to edit your photos by adding glitter to certain elements of the photo, such as on the clothing of the subject of your photo or somewhere within the frame. While this effect can seem complicated, it can easily be achieved using BeFunky’s Photo Editor and Cutout tool! We’re revealing everything you need to know to capture this aesthetic effect below!
What is a Glitter Edit?
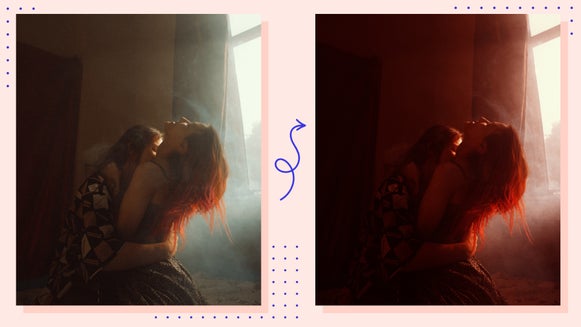
A glitter edit is achieved by taking a traditional photo and using the editing process to replace elements in the photo with glitter texture. This helps to give photos the feel of being “cutout” and scrapbook like, adding new interest to your images.
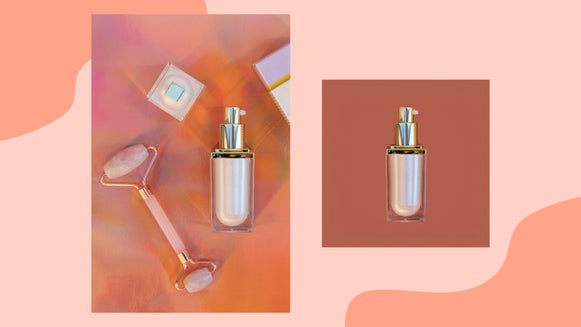
You can use a variety of different types of photos to create glitter edits. Clothing or fashion photos are a great first example, because clothing is an easy thing to cut out and replace with a glitter texture when you’re editing your photos.
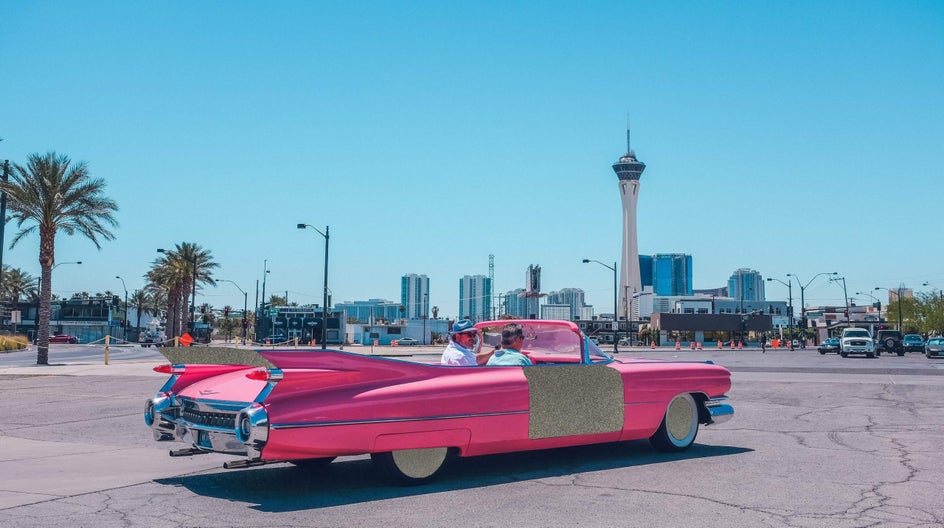
Another great type of photo to use is anything that has a retro vibe. These old objects, such as vintage cars of televisions, can be made modern and all the more aesthetic by adding glitter to certain parts of the car, or even on the TV screen!

If you’re ready to learn how to make your photos pop with a dreamy glitter aesthetic, follow our tutorial below!
How to Glitter Edit Your Photos in BeFunky
To begin your glitter edit, start by opening the BeFunky Photo Editor and uploading the photo that you want to add a glitter edit to.
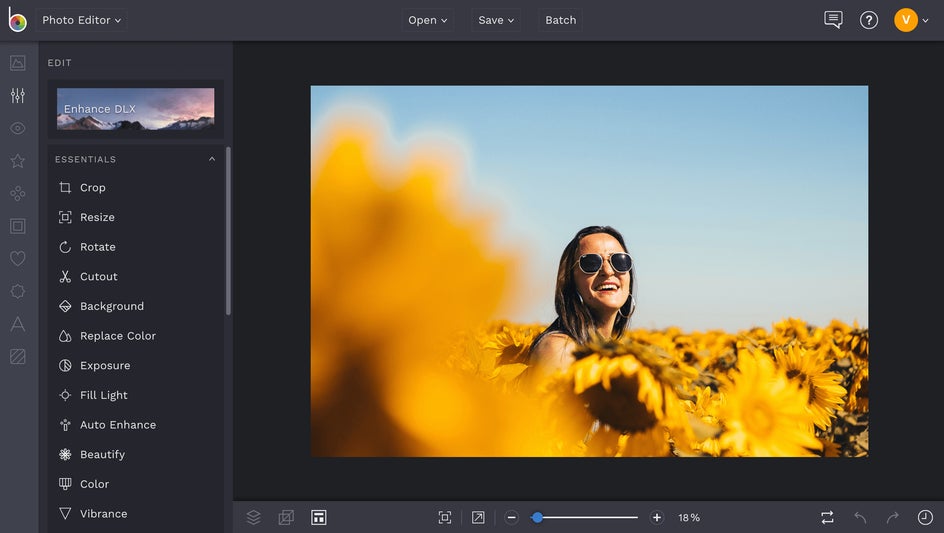
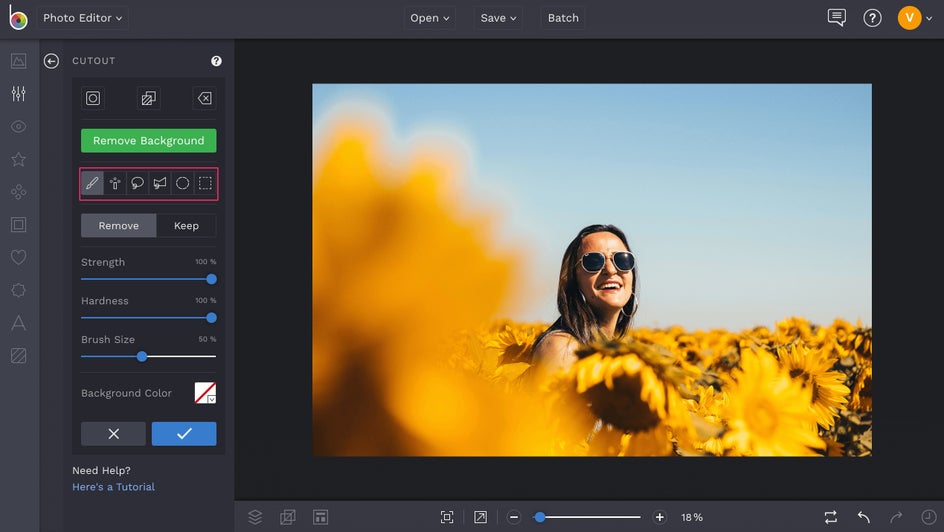
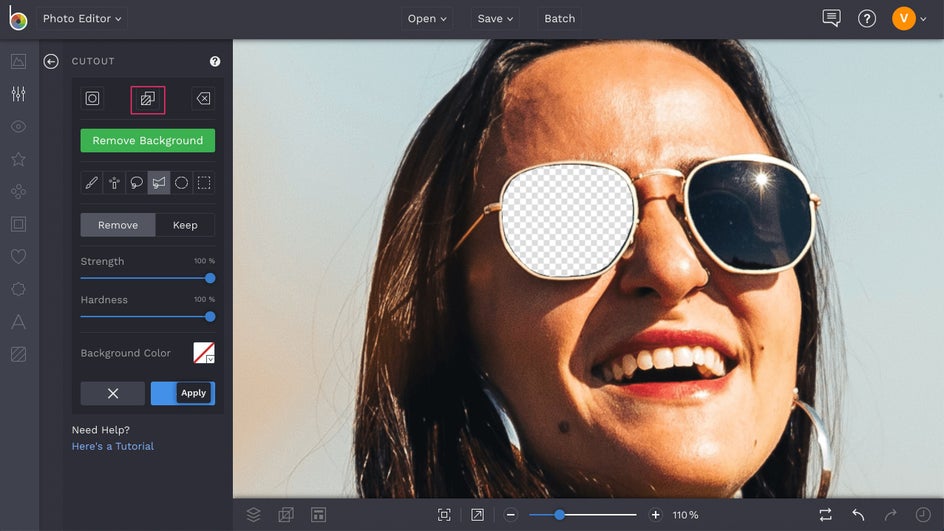
Next, find the Cutout tool in the left hand menu. Underneath the green Remove Background button, you will find a variety of tools to use to cut out the part of your photo that you are planning on replacing with the glitter. Since we are going to cut out a part of angular sunglasses for this tutorial, we are going to use the Polygonal Lasso tool.
Zoom in on your photo so that the part of the photo you’d like to cut out and fill with glitter is entirely in frame. Using whatever cutout tool you’ve decided on, outline the borders of the area that you’d like to cut out of the photo. Try to stay on the lines as much as you can to ensure a clean cut.
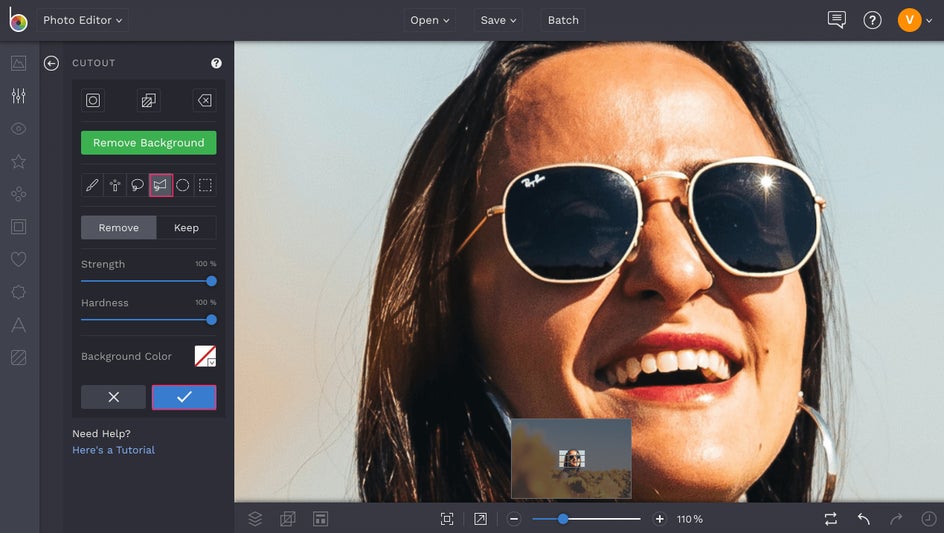
Once you’ve drawn a fully connected parameter around what you want to cut out, click the button that says Invert Selection in order to isolate what you’re cutting out, then click the blue button to apply these changes.
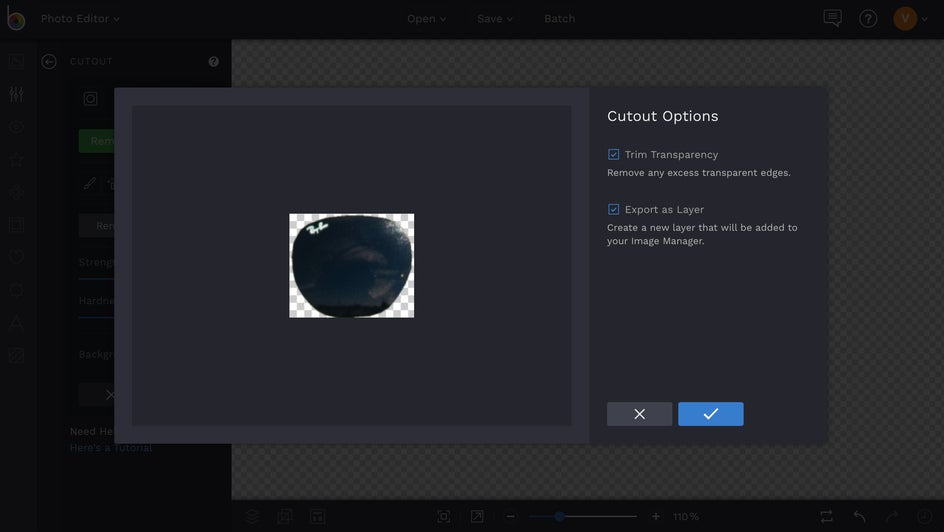
You’ll then be prompted with the Cutout Options menu. Make sure that you check the box next to Trim Transparency and Export as a Layer. Accept the changes by clicking the blue button.
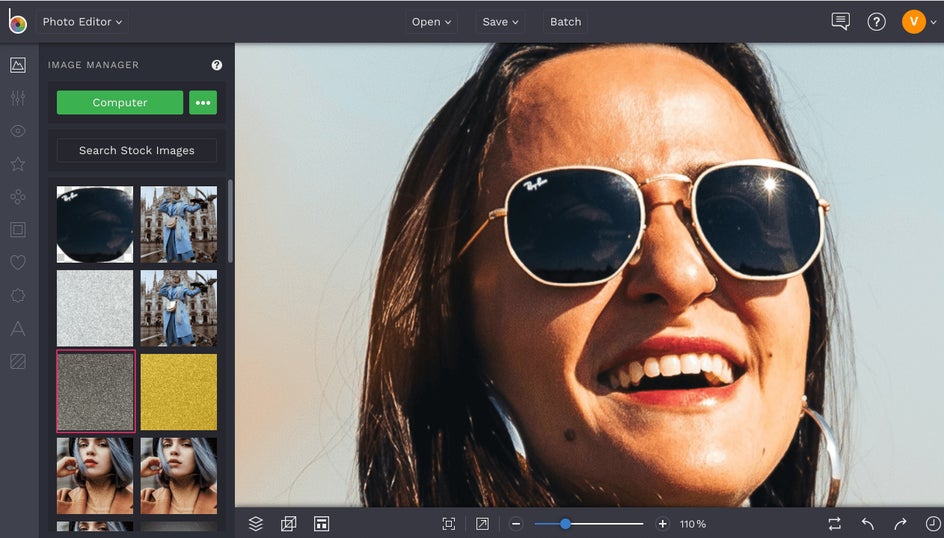
Next, you’ll be brought back to your Image Manager menu. Here, upload the glitter texture image that you would like to use to replace the part of your photo that you just isolated. You can find tons of glitter images by typing “glitter” into the search bar and select your favorite to use for the texture.
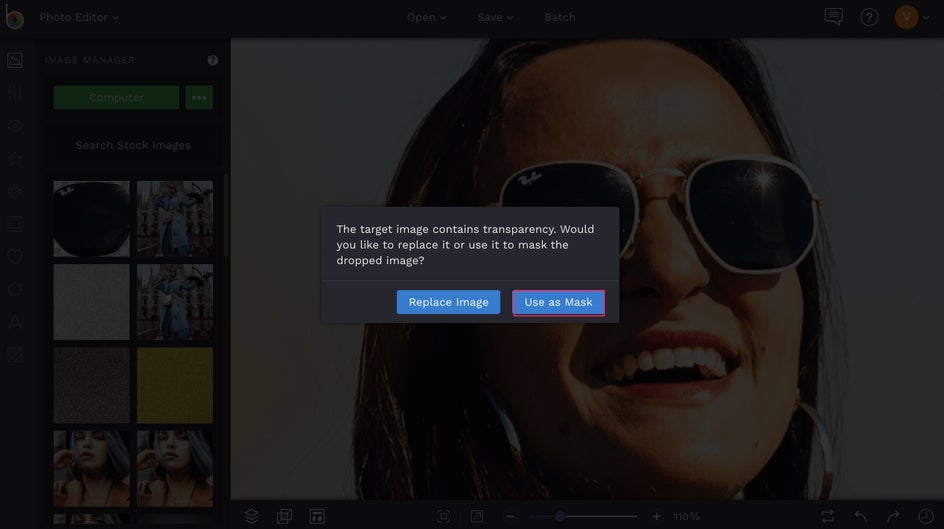
Once the photo is uploaded, drag it from the Image Manager into the space. Click the button that says Use as Mask. It’s as simple as that! Now your glitter texture will fill the space of whatever object you chose to cut out of your photo. For the sake of our tutorial, we’re going to repeat the same steps on the other lens of the sunglasses.
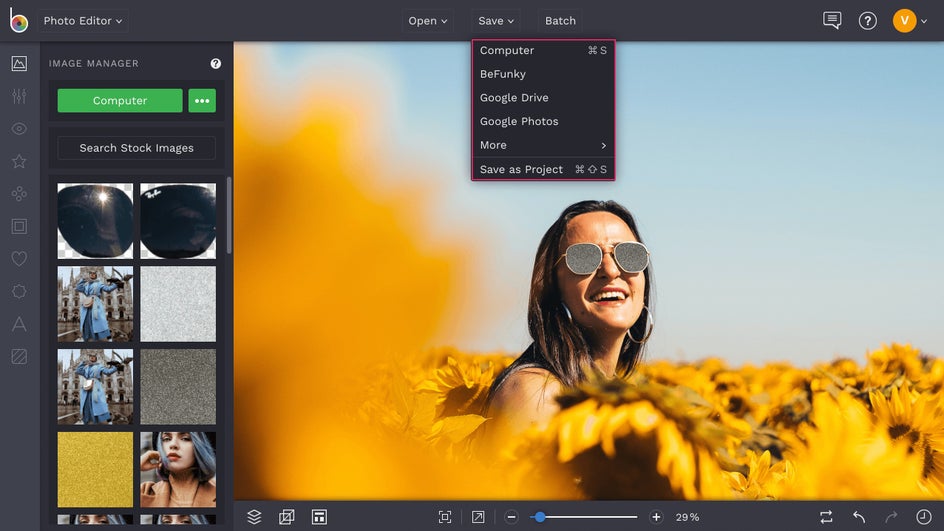
Once your edit is perfected, click on Save at the top of the screen and select which destination you wish to save your image to, including your Computer, Facebook, Dropbox, and more.
Final Results


Why go boring when you can go bold on your photos? Start creating your next masterpiece using our tools now at the link below!