


How to Make a Free Digital Photo Album
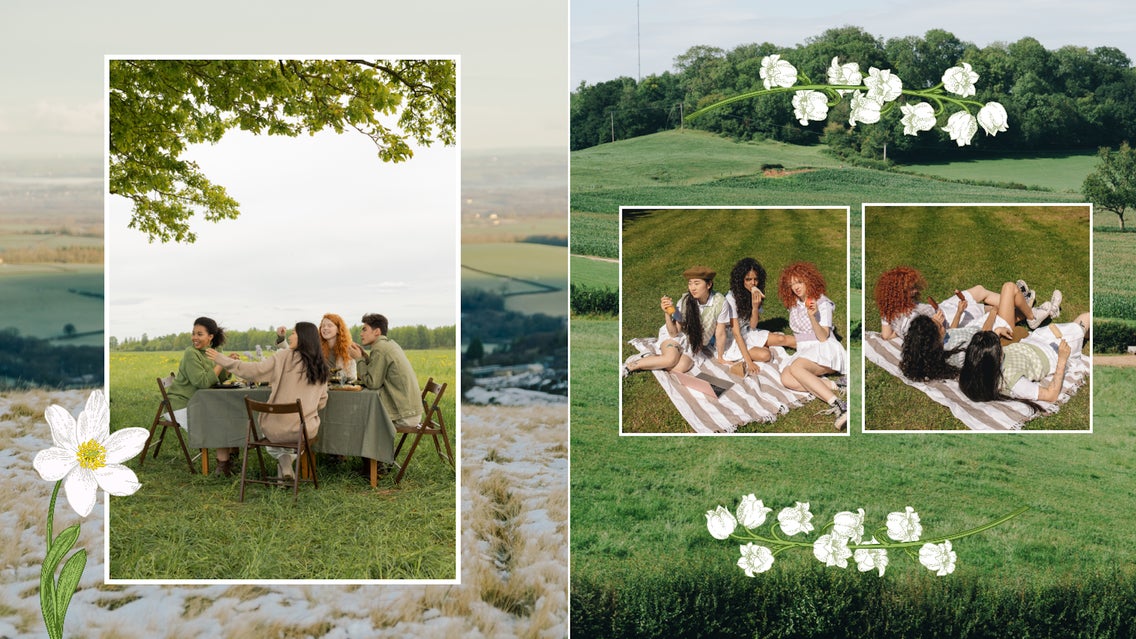
Photo albums are perfect for recording an event, a person, or an era in your life. But simply printing out individual photos and sliding them into a plastic sleeve doesn’t do your memories justice, and printing an “aesthetic” photo book using an online service is costly. So how do you create a unique, beautiful photo album without spending hundreds of dollars?
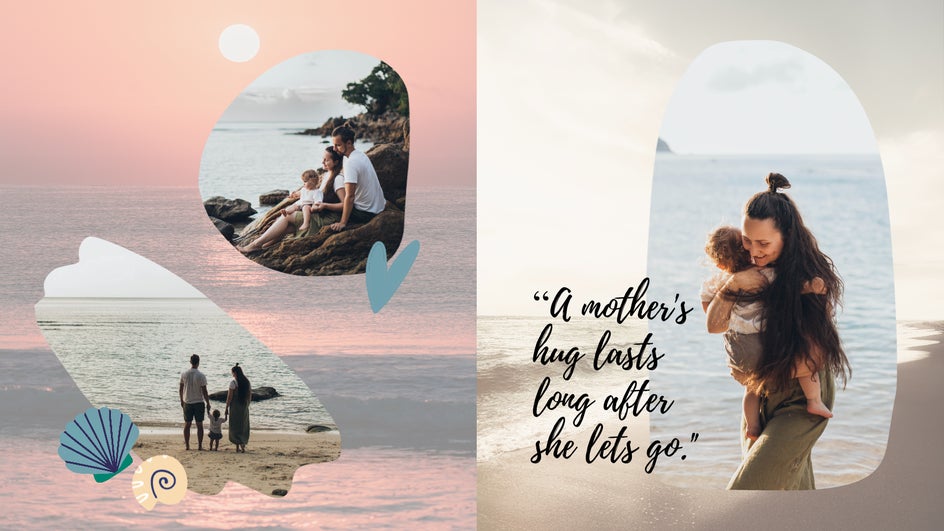
This is where the Graphic Designer comes in. The Designer allows you to upload a ton of images at once and arrange them in the way that best suits you. Frames allow you to cut your photos into interesting shapes. You can add graphics, text, and patterned backgrounds:
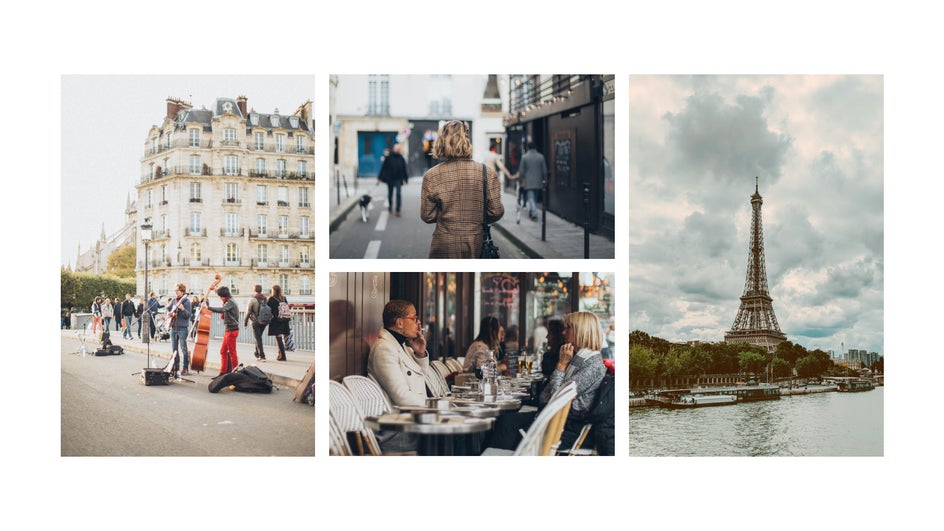
Or you can keep it simple:
You can even edit photos right in the platform. And best of all? It’s free!
Tips on Designing Photo Album Pages
Using the Designer to make a photo album online is simple, fun, and doesn’t cost a thing. But since it’s DIY, here are a few tips for ensuring you have the best results possible:
1. Think About Canvas Size
If you’re printing out these pages for a physical photo album, you’ll need to make sure that your canvas size matches up with the size of your album. Picked the wrong size to start with? No worries. The Smart Resize tool allows you to resize and reformat your canvas with just one click.
2. Don’t Crowd the Page
The average photo book has around 20-40 pages, with 1-3 photographs per page. Since this is DIY, you can decide to include however many photos you want. However, keep in mind that 3 photos or fewer will allow for the best visibility. Having 4-5 photos works as well, but you’ll be sacrificing some detail in the smaller images.

3. Share Online
If you’d prefer to keep your photo album strictly digital, or make a copy to share with friends and family online, a great way to do so is using Google Drive. With the Graphic Designer, you can save all your finished pages to Google Drive directly!
4. Use Design Principles
You don’t have to be a designer to create the page layout for your photo album, but it helps to know a little bit about composition. These first 2 of these 5 Design Principles will be your best friend when it comes to making your photo album.
How to Create a Free Digital Photo Album
After you’ve opened a blank canvas in the Graphic Designer, it’s time to design the first page of your photo album. Once you get familiar with the Designer’s tools, making the rest of your album will be a cinch!
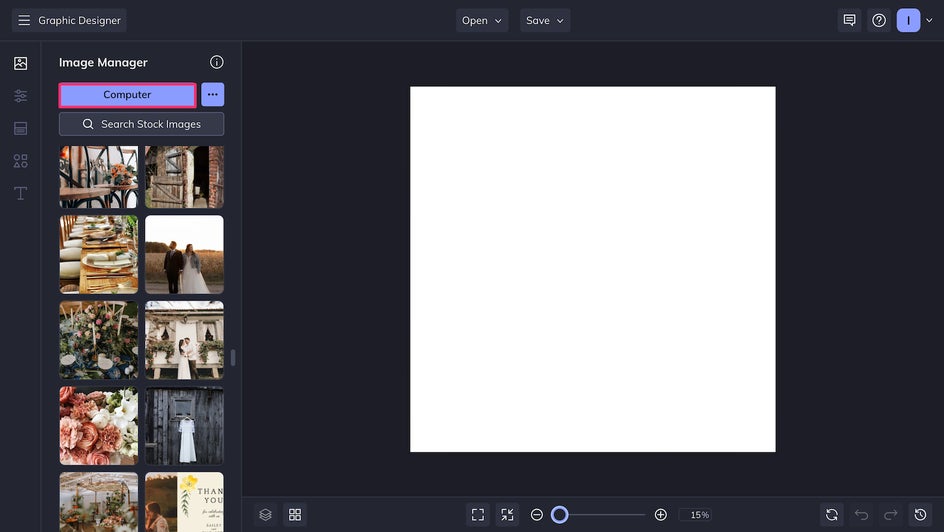
Step 1: Upload Images
Once you’re in the Designer, you can click “Computer” in the Image Manager and batch upload the photos you want to add to your photo album. Or, you can click and drag them directly from your desktop!
Pro Tip: If you want to edit a photo, you can click it and use the “Edit Image” button to open it in the Photo Editor, or you can batch edit all your photos before uploading.
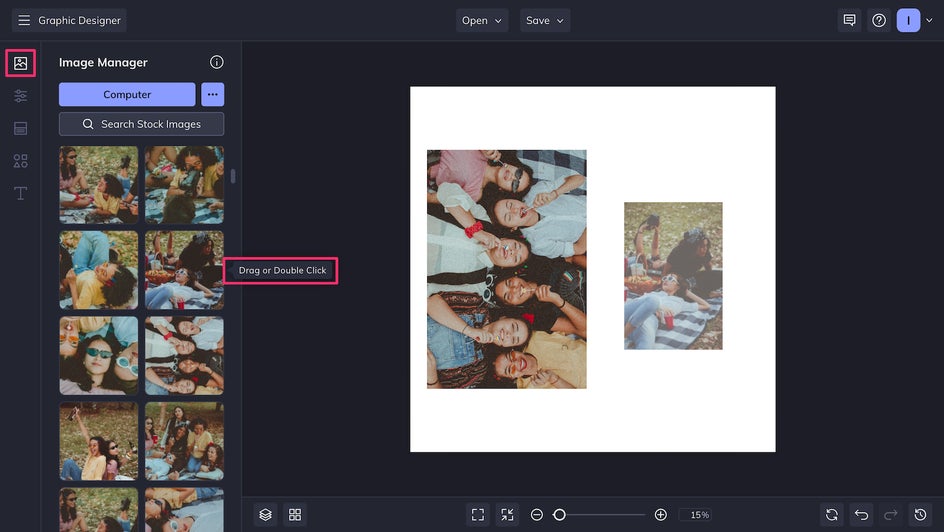
Step 2: Arrange Your Page
To create a simple layout, just double-click the photos you want to add to the page, or click and drag them directly.
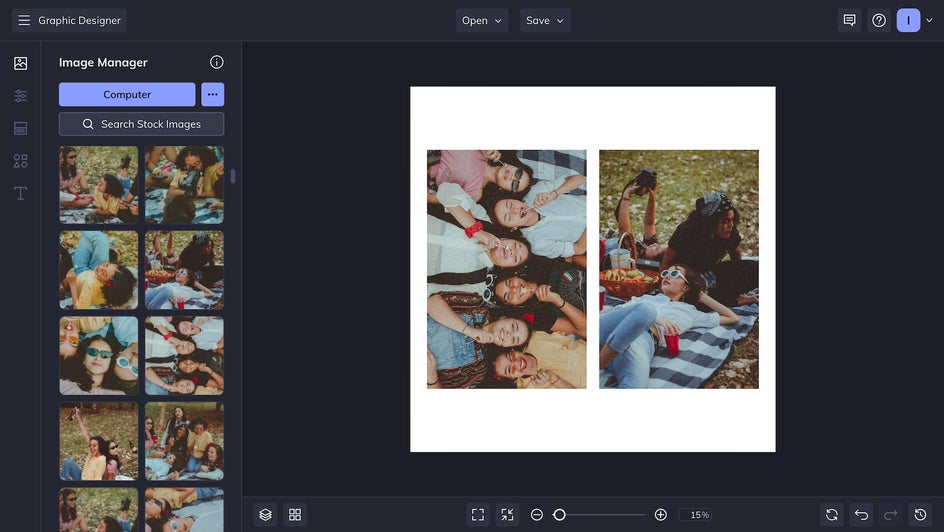
For a minimalist look, you can save your page just like this!
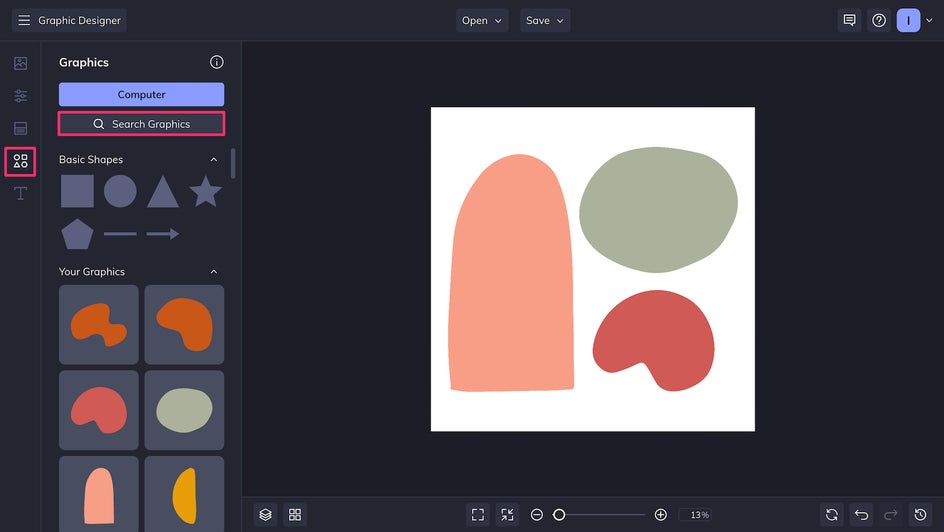
To create a layout with more unique shapes, you can use the Search Graphics tool to browse our enormous Graphic Library. Abstract and geometric shapes work well as frames for your images – simply click them to add them to your personal library.
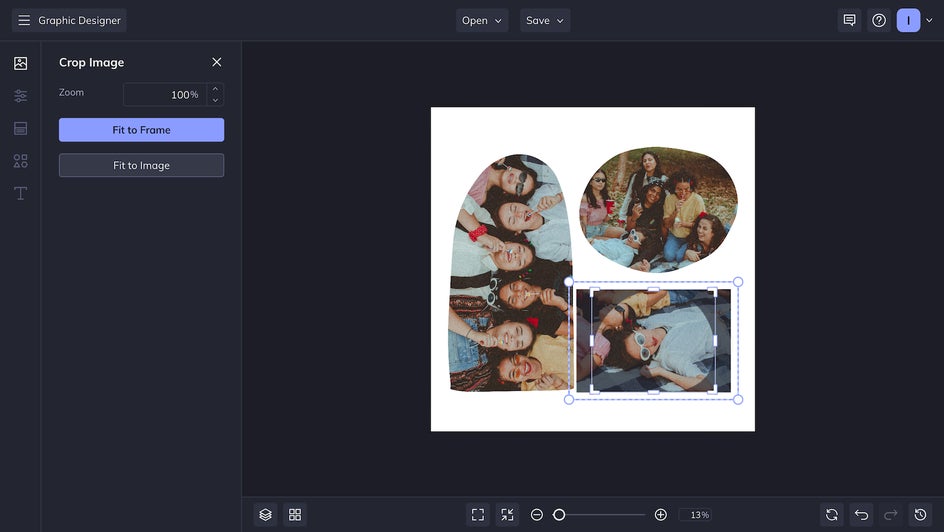
To frame your photos, just click and drag them from the Image Manager onto the graphics.
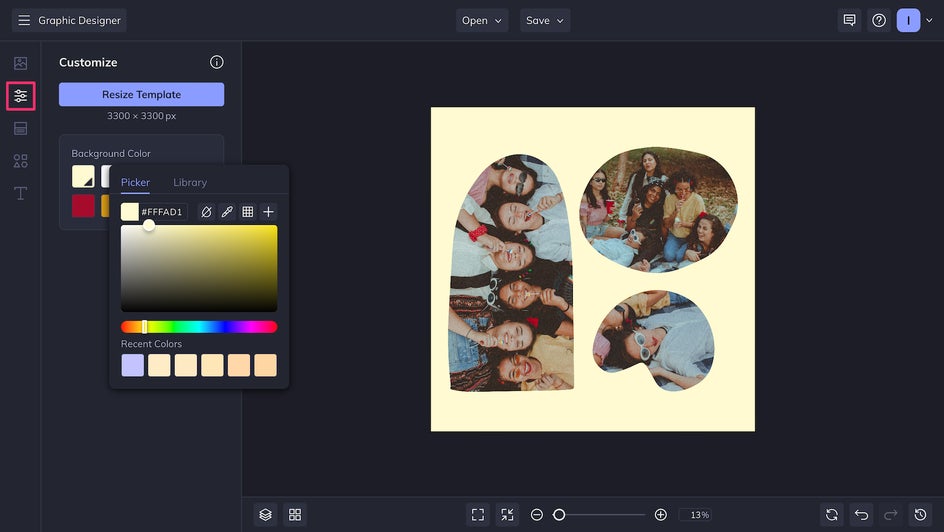
Step 3: Change Background
If you want, you can change the color of your page background in the Customize tab.
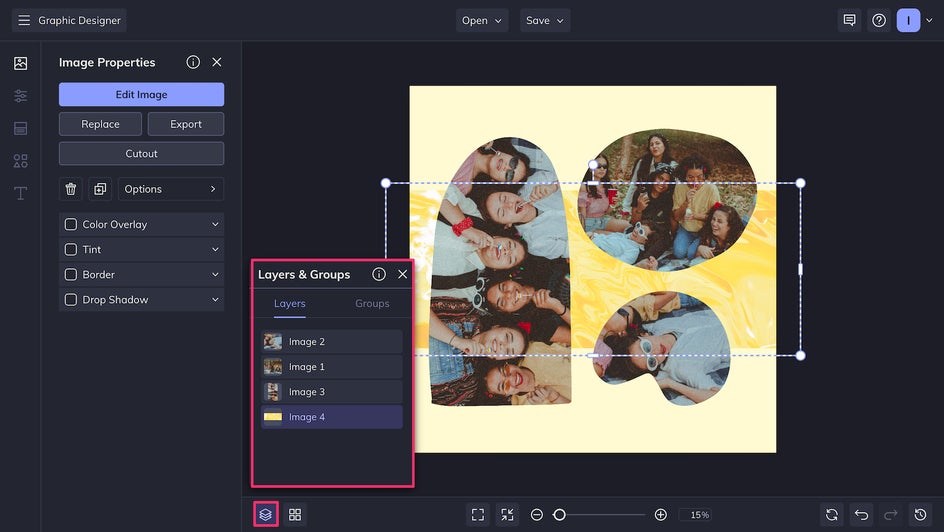
You can also add more visual interest by searching for “[Color] + Texture” in the Image Manager’s Stock Image Library.

To move this texture behind the images, just click the Layers in the lower left corner and drag it to the bottom of the stack.
Now you’ve got a beautiful setting for your photographs!
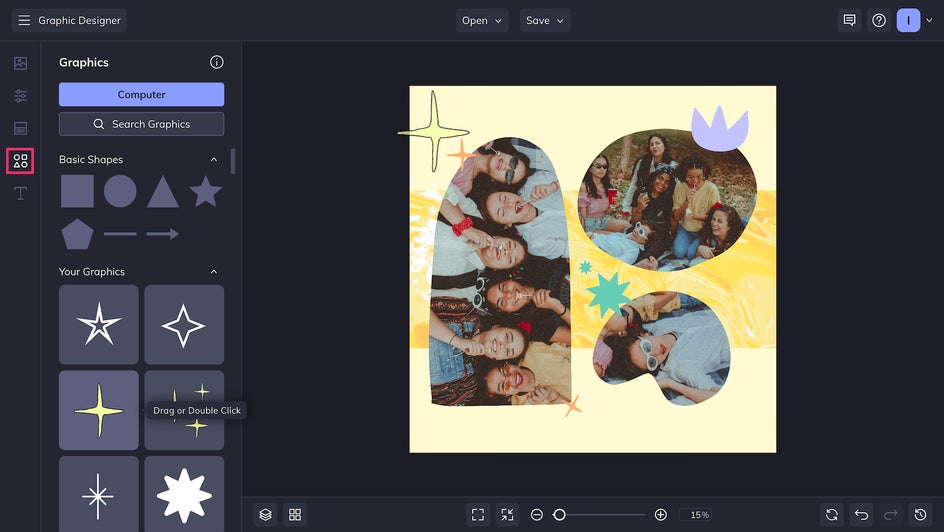
Step 4: Add Graphics
In addition to using graphics as frames, you can use them to decorate your page. Make sure to use them sparingly so that they don’t distract from the photos themselves.
Step 5: Add Text
Besides graphics, you may want to add some text to your page. There are hundreds of fonts available to use for quotes, phrases, and more.
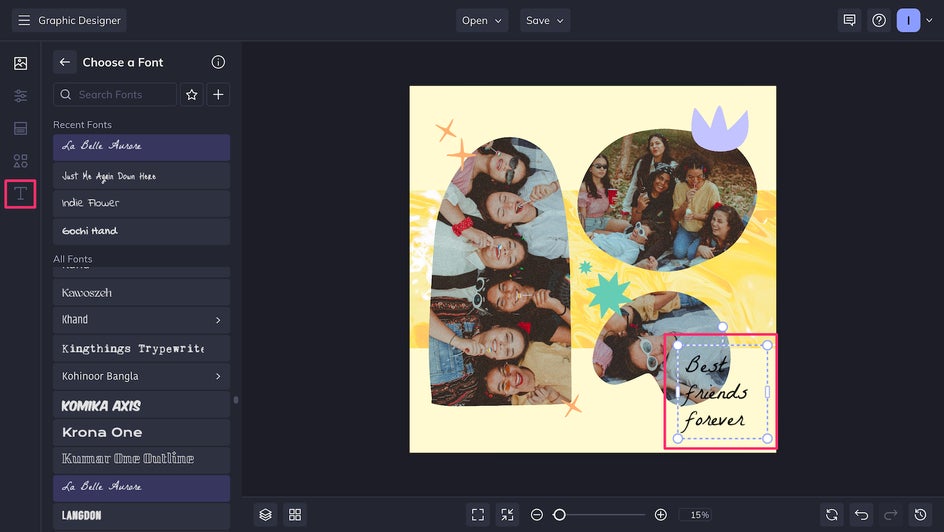
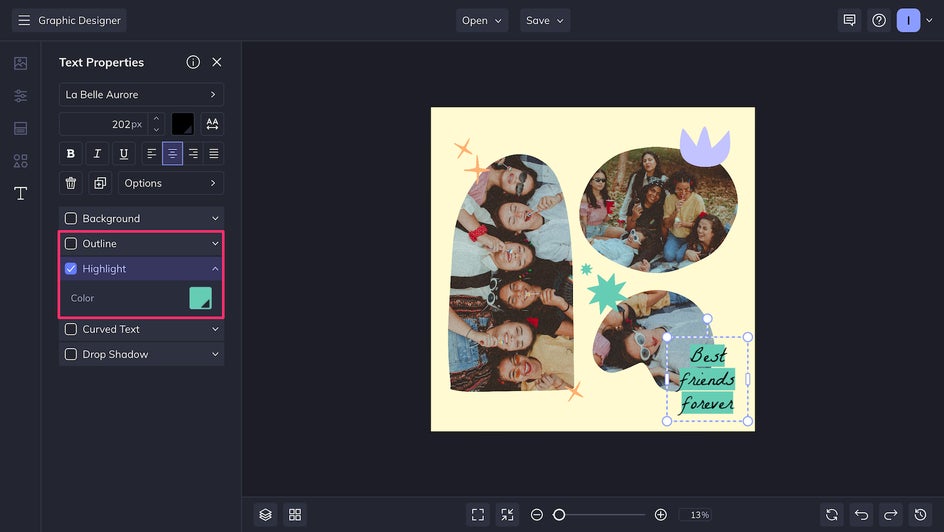
It can be hard to see words on a busy page, so you can use the Outline or Highlight tool to make your text stand out.
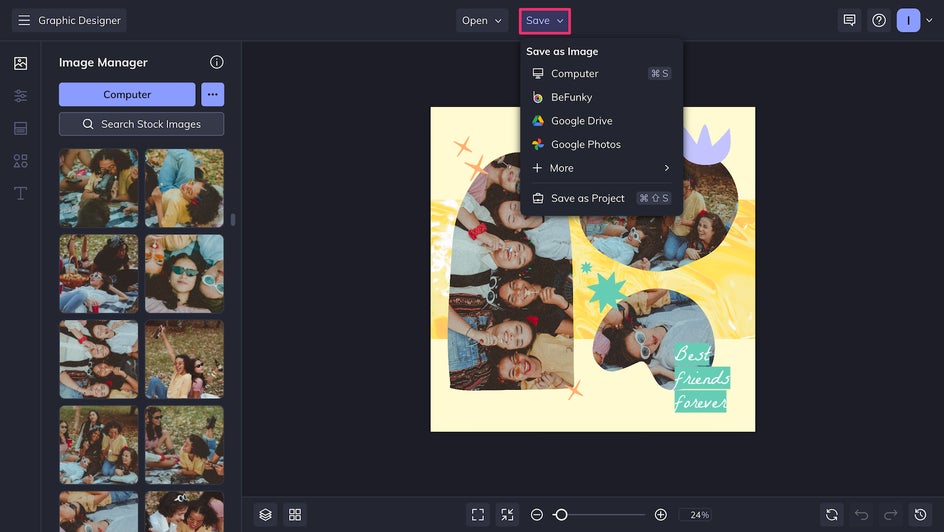
Step 6: Save and Share
And that’s it for your very first photo album page! Click the Save button at the top of the screen to save, either as a high-quality PNG (for sharing online) or a print-quality PDF (for printing). You can also Save as Project if you want to come back to edit it later.
Cherish Your Memories for Life With Digital Photo Album Pages
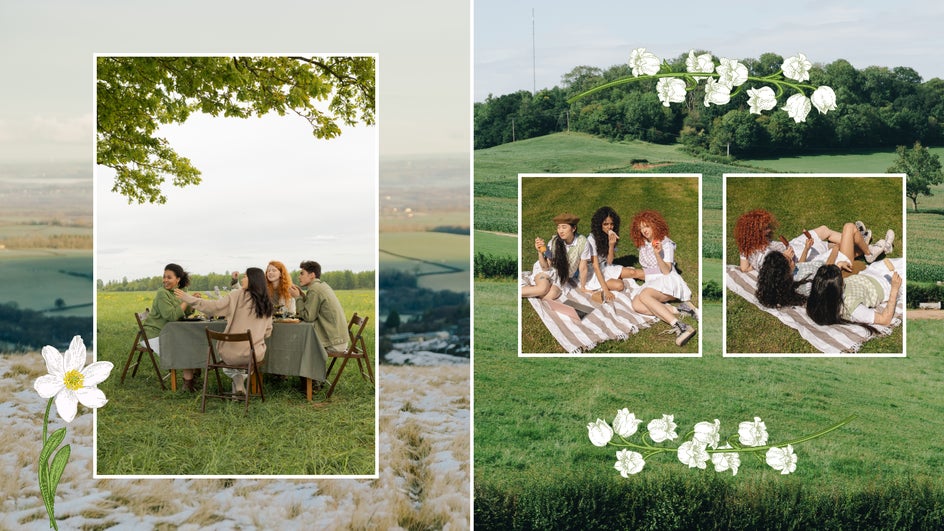
You don’t need to spend hundreds of dollars to get a unique, professional-quality photo album. Just check out this beautiful page we made in just a few minutes:

You can create your own photo album pages today in the Graphic Designer!


