


Creative Educational Brochures for Classrooms, Nonprofits, and More
If you work in any educational role, you know that creativity comes with the territory – whether you're developing lesson plans, creating student resources, or building materials for a workshop or training session. The easier this process is, the more time you can dedicate to what matters most: teaching, engaging, and inspiring others.
BeFunky’s Brochure Maker helps make that process simple. With a variety of fully customizable brochure templates, you can quickly create professional, print-ready designs tailored to your needs – whether you're teaching in a classroom, running a homeschool program, designing educational content for your business, or putting together a community resource. Educational brochures are a fun, effective way to blend visuals and text, making any topic more accessible and memorable.
You can easily update your template with new subjects, adjust layouts for different audiences, and save your work as a reusable project file. That way, whether you’re prepping a student science guide or a health and safety pamphlet for your organization, your brochure is always just a few clicks away.
How to Design an Educational Brochure Online
Follow along with our tutorial to see just how easy it is to set up an educational brochure for your classroom!
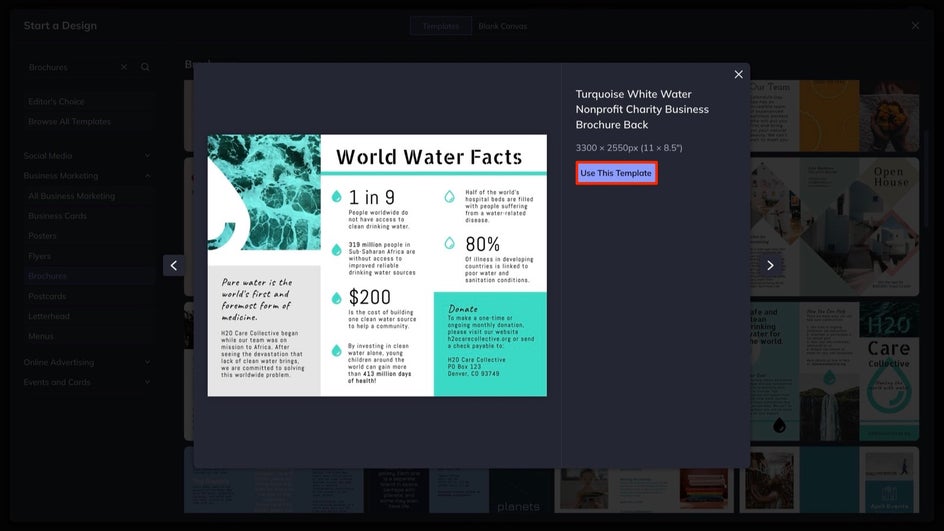
Step 1: Choose a Template
To get started, head to the Brochure Maker. Find a template you like, and then click the Use This Template button to start working on it.
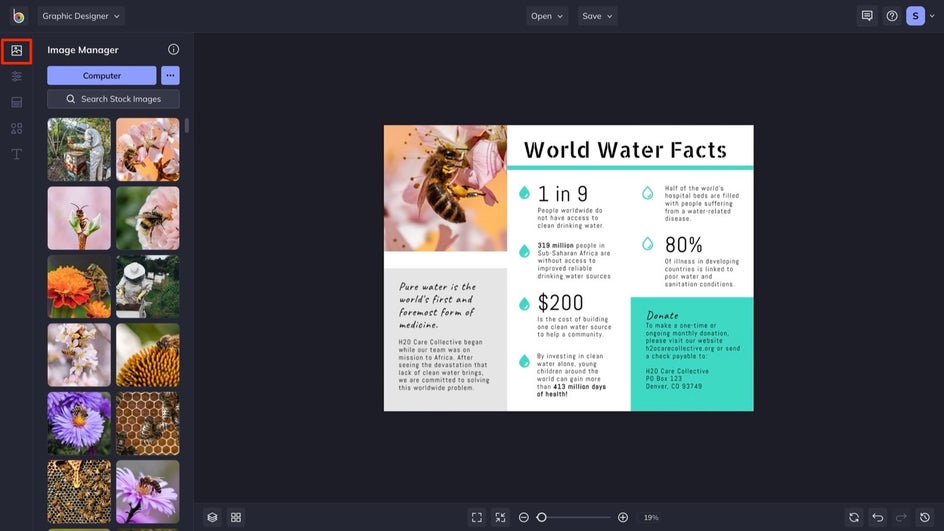
Step 2: Add Your Own Images
To get your images into BeFunky, start in the Image Manager. Here, you can upload files from your computer, drag and drop them into your Image Manager, or browse our massive Stock Image Library for more.
Step 3: Customize the Layout
Now it’s time to make the brochure your own. Head to the Customize tab to change the background color and adjust any existing design elements.
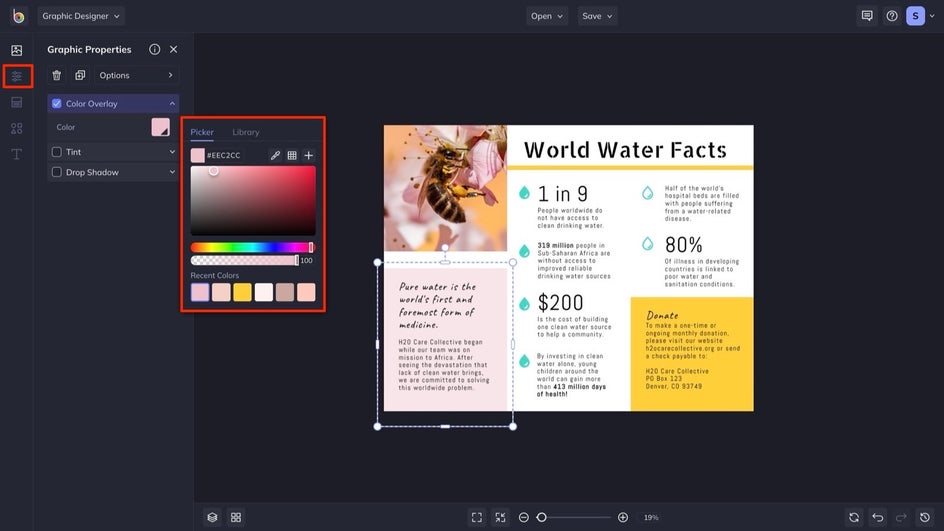
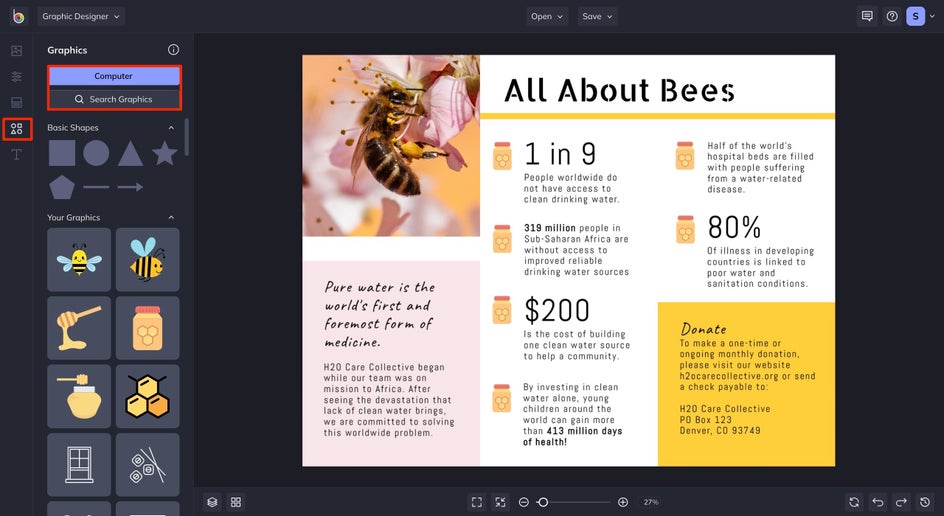
To add new graphics, go to the Graphics tab. You can upload your own or search BeFunky’s massive Graphic Library to find illustrations and icons that match your topic – from science and reading to geography, safety, or classroom expectations.
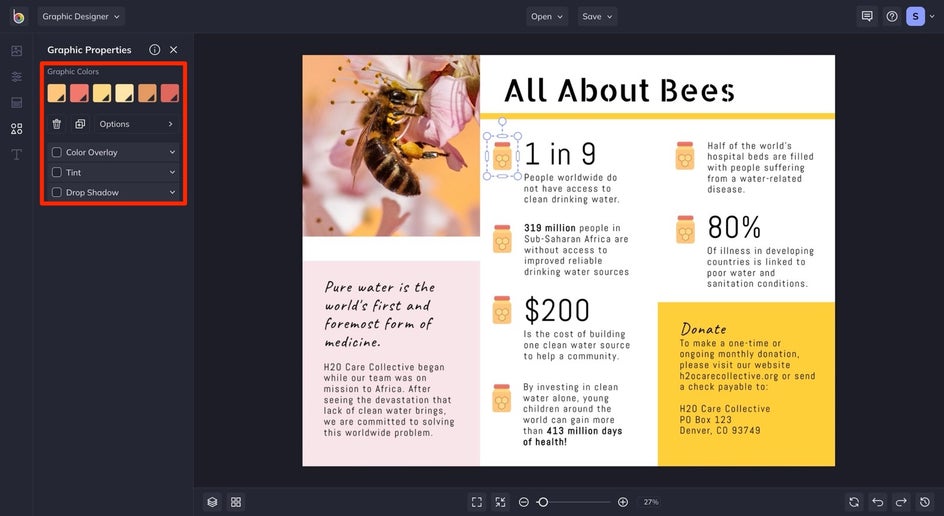
Click on a graphic to open the Graphic Properties menu, where you can tweak the color, add a tint, or layer in shadows for depth.
Step 4: Add Original Text
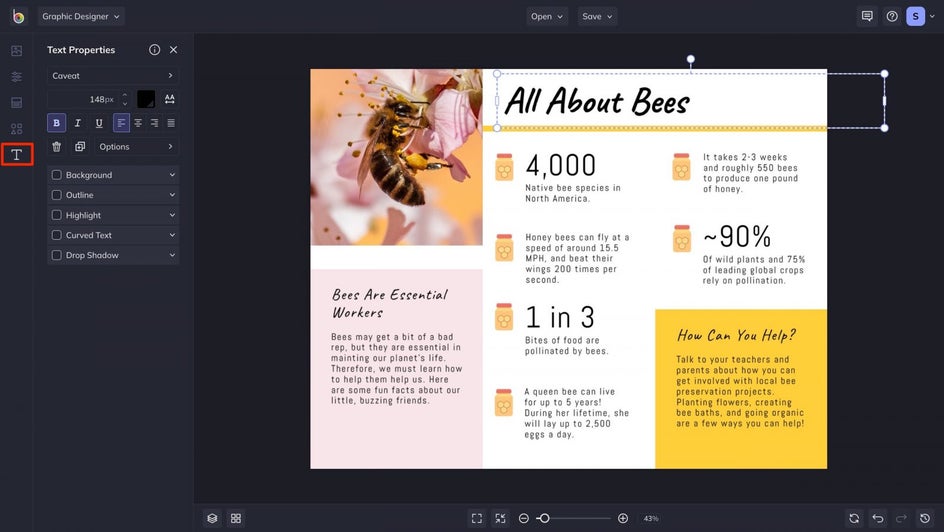
To edit text, simply click on any text box in the template. The Text Properties menu will appear, allowing you to change fonts, colors, alignment, size, and more. You can also open the Text tab to add additional text boxes wherever you need them.
This step is great for adding custom headings, facts, activity prompts, or step-by-step instructions based on your brochure’s purpose.
Step 5: Save Your Brochure As a PDF
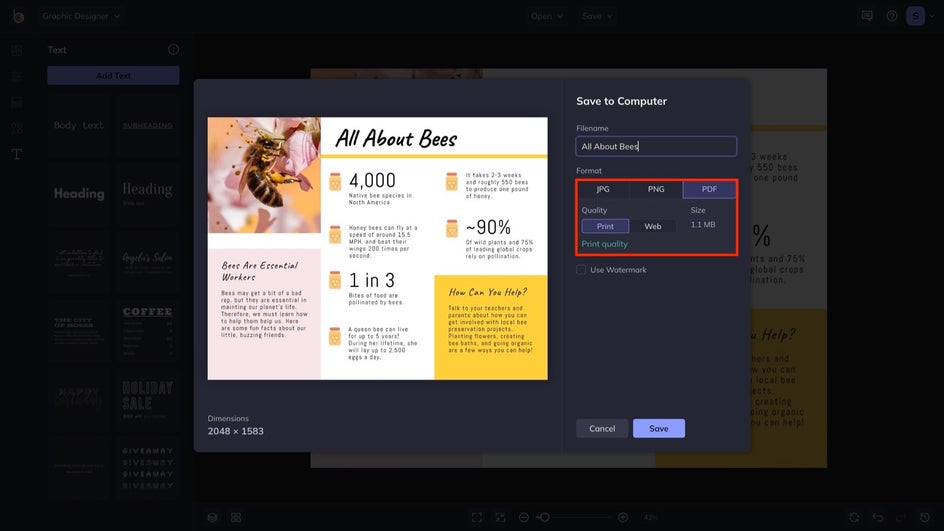
Once your brochure looks just the way you want it, head to the Save menu and choose your preferred location – whether that’s your computer, Google Drive, or another destination. For printed brochures, be sure to save as a PDF and select Print Quality for the best resolution.
If you're designing a double-sided brochure, now's the time to finish the opposite side. Just head back to the Brochure Maker, open the matching front or back template, and follow the same steps to complete your layout. You can reuse colors, fonts, and imagery from the first side to keep everything visually consistent.
Easily Design Educational Brochures!
For any kind of educator, having easy-to-customize brochure templates for the classroom can be an invaluable asset. Whether you’re doing a special feature on science, learning about United States history, or making math as fun as it can be, BeFunky’s got you covered with completely unique, pre-made templates ready to go. You could even use them for arranging classroom procedures or etiquette, daily schedules, and more. To get started, head over to BeFunky’s Brochure Maker.
Educational Brochure Ideas for Any Audience
No matter where learning happens – in a classroom, museum, nonprofit, or community event – brochures are a powerful way to inform, inspire, and connect with your audience. Here are a few creative ways to tailor your brochure for different educational settings:
Museum or Exhibit Brochures
Perfect for galleries, science centers, or traveling displays, exhibit brochures provide visitors with context, visuals, and takeaway knowledge. Use images of key artifacts or installations alongside brief descriptions, timelines, or QR codes for further exploration. These brochures can enhance the visitor experience and give people something to bring home.

Event or Program Brochures
Whether it’s a STEM night, community literacy fair, or summer camp, brochures help set expectations and build excitement. Include your event schedule, featured speakers or sessions, and activities available to attendees. Add contact details, registration instructions, or sponsor shoutouts in a clean, organized layout that’s easy to scan.

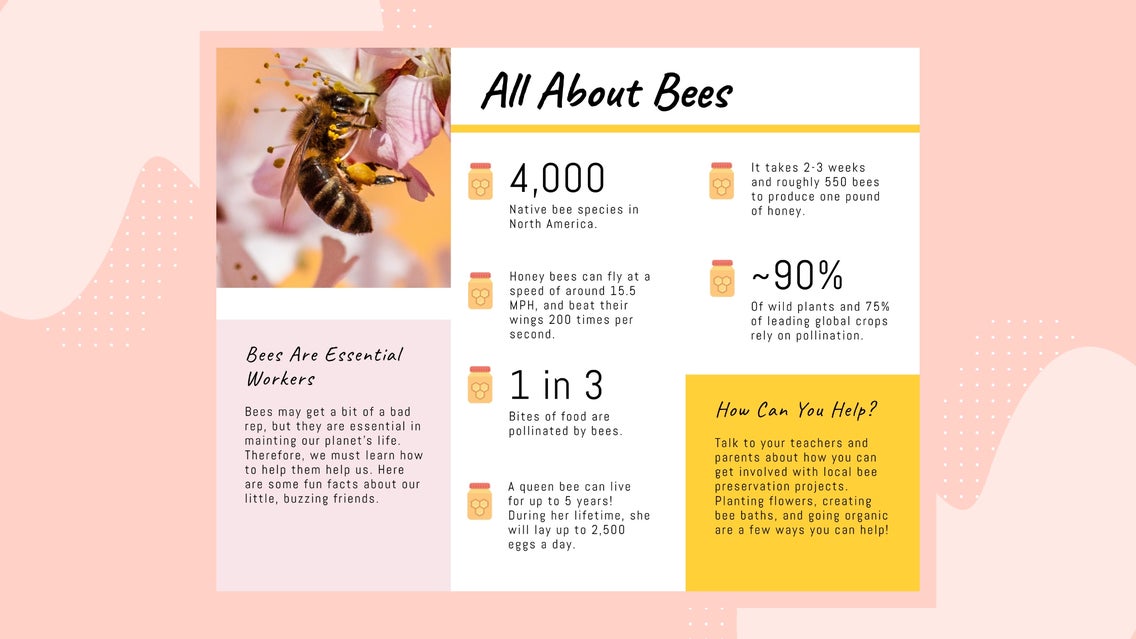
Informative Nonprofit Brochures
If your organization is focused on literacy, environmental education, youth programs, or public health awareness, brochures are a great way to communicate your mission. Use them to highlight who you serve, how your programs work, and the impact you’ve made. Include volunteer opportunities, donation info, and testimonials to help build trust and support.


