The Easy Way to Remove Backgrounds for Better Marketing Content

In the digital age, a strong marketing strategy is necessary to promote your goods and services, whether you have a brick-and-mortar or an eCommerce site. Not only do you need to create digital ads to promote your business, but you also have to create social media posts for engagement and email assets for communication.
If you’ve ever tried to use your product photography in marketing materials, you will know how frustrating finding the right photo can be. Sometimes, you need to remove something from the foreground, and sometimes you need to remove the entire background. Luckily, BeFunky’s Background Remover is the perfect tool for removing backgrounds to create effective marketing assets. Built entirely by our in-house team, the Background Remover uses artificial intelligence to automatically detect the main subject in your image and remove your background in just a few seconds.
How to Create Marketing Materials With the Background Remover
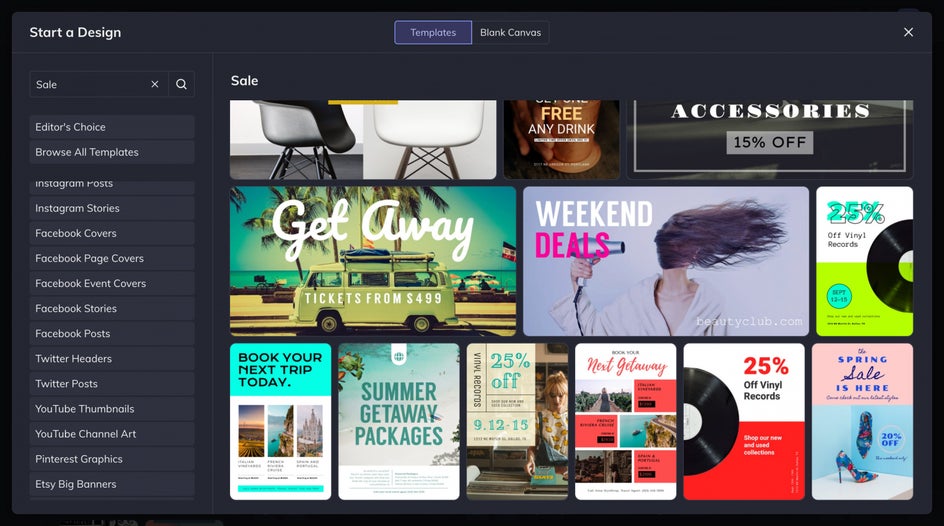
First, you'll want to choose one of BeFunky’s many templates in the Graphic Designer. For this tutorial, we will be creating a large rectangle web ad for a local thrift shop. Before you start removing backgrounds, customize the template to fit your brand by adjusting the background color, typeface, and copy.
Now let’s remove the background of our selected image so that we can add it to our design. Head to BeFunky’s Photo Editor by selecting the top left hamburger menu and clicking on Photo Editor. Your design will be safe in the Designer while you do what you need in the Photo Editor.
Step 1: Customize Your Template
Start by opening the Graphic Designer and choosing a template that fits your marketing needs. Update the background color, fonts, copy, sizing, and more to match your branding and business aesthetic.
Step 2: Add Your Images
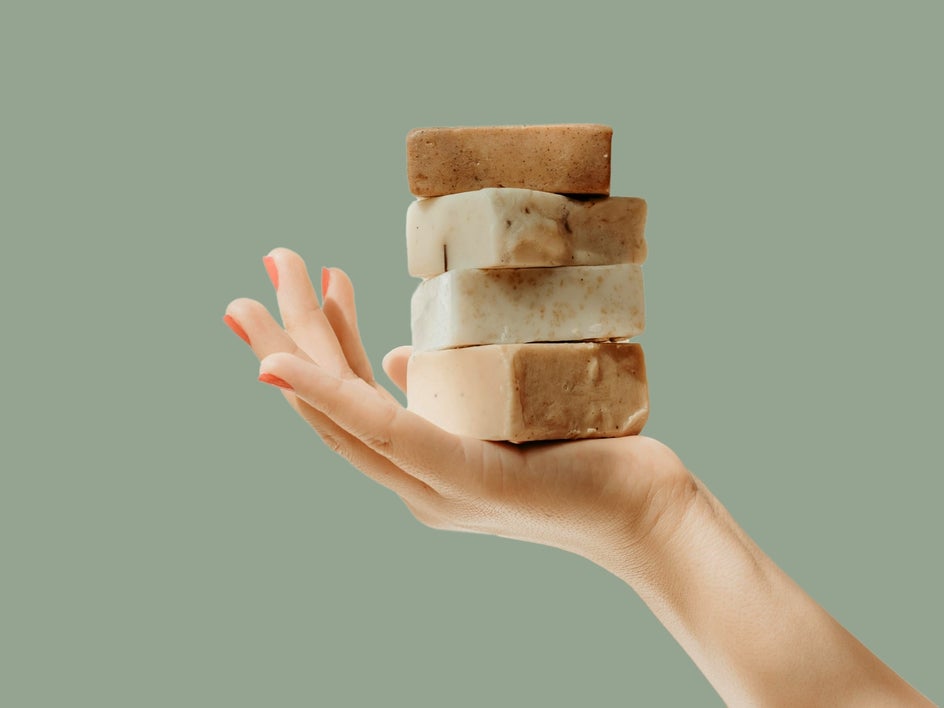
Next, head to the Image Manager or drop your image directly onto the canvas. Images with a clearly defined product and clean edges work best.

Step 3: Remove the Background
Click on your image layer in the template. With the layer selected, click on the Cutout/Remove BG button in the Image Properties menu.
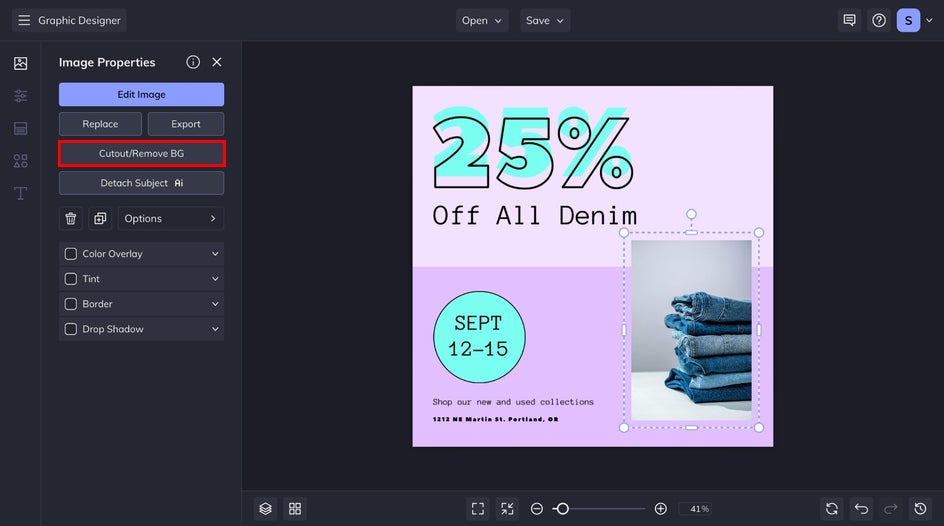
Next, click Remove Background and our AI will automatically detect and isolate your subject, removing the background in seconds. Make any adjustments you need using the corresponding sliders and brushes.

Note that the background will default to transparent. If you want to create a solid background instead, choose your favorite hue from the Color Picker.
Step 4: Finalize Your Design
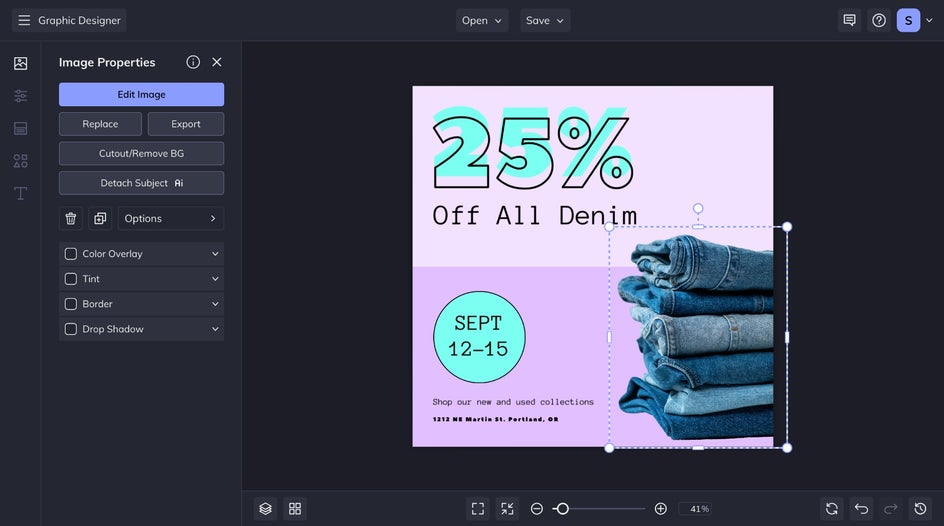
Once you’re happy with your cutout, click Apply and make any final adjustments. You can resize, rotate, or reposition the cutout image as needed.
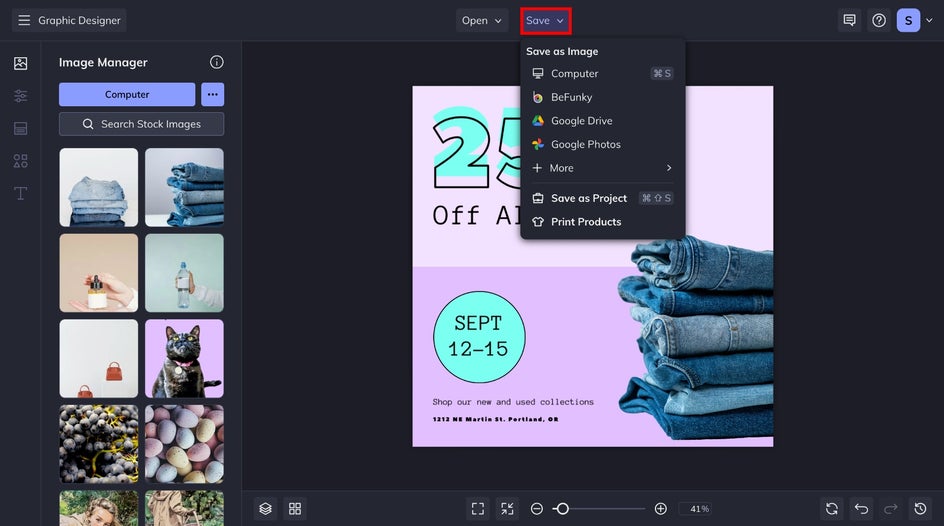
Step 4: Save It!
When your design is ready, head to the Save tab. Save your final graphic as a JPG or PNG for web use, or PDF for print. If you’d like to come back to your design later or reuse it for future campaigns, save it as a project file instead.
Easily Remove Backgrounds for Better Marketing
In just a few clicks, we transformed a product photo into a polished, promotional web ad. With the Background Remover, you can keep your visuals clean and consistent while highlighting your products in a way that grabs attention. It’s especially helpful for spotlighting high-ticket items, seasonal collections, or limited-time offers.

More Ways to Use the Background Remover for Marketing
No matter your niche, the Background Remover can help you turn everyday product shots into standout marketing assets – fast. Here are a few impactful marketing materials ways to use it:
Product Spotlights
Showcase your products with a clean, distraction-free background to make them pop. Whether you're designing a feature section on your website or highlighting new inventory in an email campaign, a cutout image ensures the product is the center of attention. This works especially well for items like accessories, apparel, or handmade goods where visual details matter.

Social Media Promotions
Create branded, eye-catching social media graphics that stand out in any crowded feed. Use background-free product shots in carousel posts, seasonal promos, or stories to give your content a polished, cohesive look. Mix and match your cutouts with Artsy effects, filters, and more for an extra creative look!
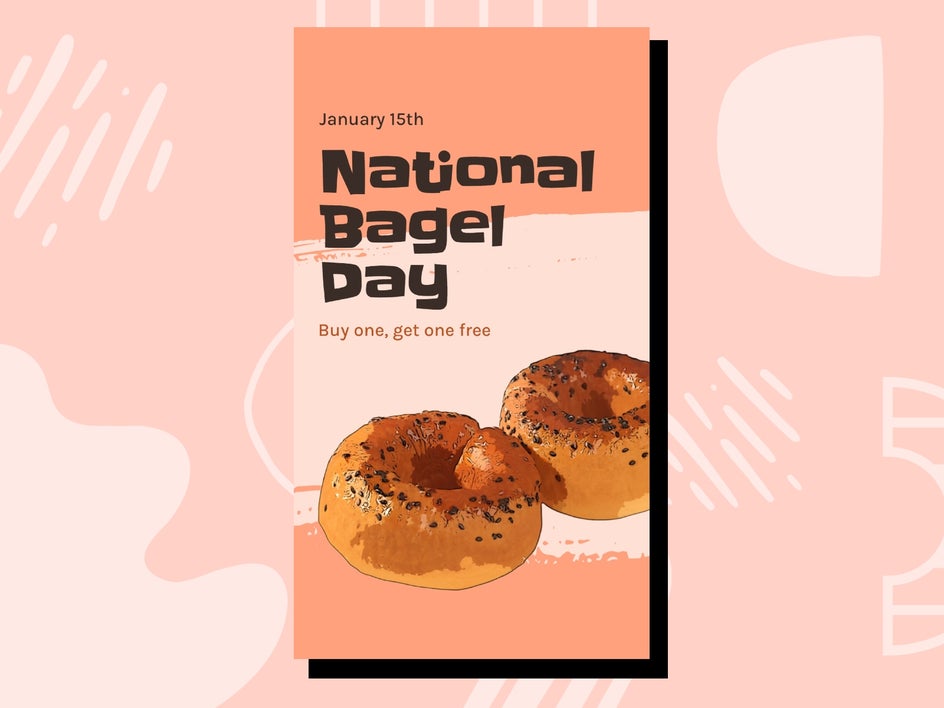
Print Materials
Design flyers, posters, postcards, and signage that look professionally made. Removing the background from product photos allows you to easily integrate them into layouts with bold colors, text overlays, or patterned backgrounds without clashing.