


How to Create T-Shirt Design Mockups
If you’ve ever researched “how do you make your own t-shirt design?”, then you may have come across something known as a mockup. A mockup is an artistic depiction of a design or product that demonstrates how it would look and function in real life. When designing a t-shirt, for example, it allows you to see how your design would look on a three-dimensional t-shirt, rather than on a two-dimensional shape.
Therefore, a mockup is an essential piece of the puzzle when designing your own t-shirt. But how do you design one without expensive software or advanced design skills? Thankfully, BeFunky’s Graphic Designer has everything you need to create realistic t-shirt mockups, minus the learning curve!
To learn more about what you should and shouldn’t do when creating a t-shirt design mockup, keep reading. Plus, we’ll show you how to make a t-shirt mockup the easy way!

What to Consider When Creating a T-Shirt Mockup
There are a few important factors you’ll want to take into account before designing your t-shirt mockup. We delve into each of these below to help you get started.
The Purpose of Your T-Shirt
One of the most important things to consider is the purpose your t-shirt will serve. For example, is it an artistic design for personal use only, or is it for promotional purposes to market your business? Perhaps the t-shirt design is for internal use within your business team, so everyone can establish one another’s names and roles.
This purpose will play a large part in your t-shirt’s overall design and determine what elements are necessary.
Your Audience
Closely tied to your t-shirt’s purpose is also its audience. In other words, who is meant to see and interact with this t-shirt? For a t-shirt with marketing purposes, for example, its intended audience might be the general public (for boosting brand awareness) and potential customers. When designing a t-shirt for personal use, you might have your own interests in mind, as well as your friends and family (since they’ll likely get to see it up close). Finally, for a t-shirt being designed for internal business use, your audience would be your co-workers.
What the T-Shirt Will Feature and Where
Consider which logos, brand names, images, and/or graphics your t-shirt will feature. Will it be minimalist in design and only feature a logo, or do you want other text or imagery to accompany this?
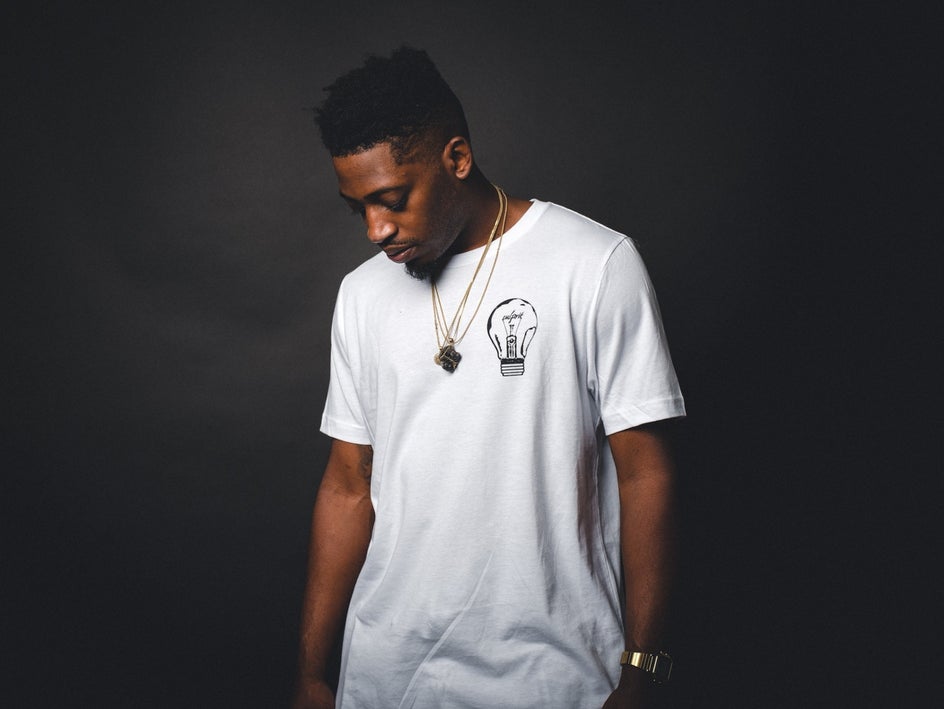
Once you’ve determined what information or imagery should appear on your t-shirt, then you’ll also need to determine where they will be placed, and why. Again, this will largely come down to the purpose of your t-shirt. As a general rule, however, logos are often placed on the front left or right side of a t-shirt or as a larger logo on the back center. How you choose to place other graphics, images, or text around this logo is up to your design preferences. Just be sure to keep it looking cohesive and not cramped, however.
Overall Design
Finally, you will also want to ensure your t-shirt design will look great once it’s finally printed. Pay close attention to any text you place on your design. Is it large enough to read from a distance? Is the font clear? Do you use no more than just 1-2 complementary fonts?
Additionally, what colors do you use in your design, and do these pair well with your chosen color of t-shirt? As tempting as it can be, try not to go too crazy here. Using too much color can create a design that’s too “busy” to comprehend – while driving up the price it costs to have your t-shirt printed.
How to Create a T-Shirt Mockup (Front and Back) Using BeFunky
Ready to make your own t-shirt mockup? To get started, head to the Graphic Designer.
Step 1: Have a Transparent Logo Ready
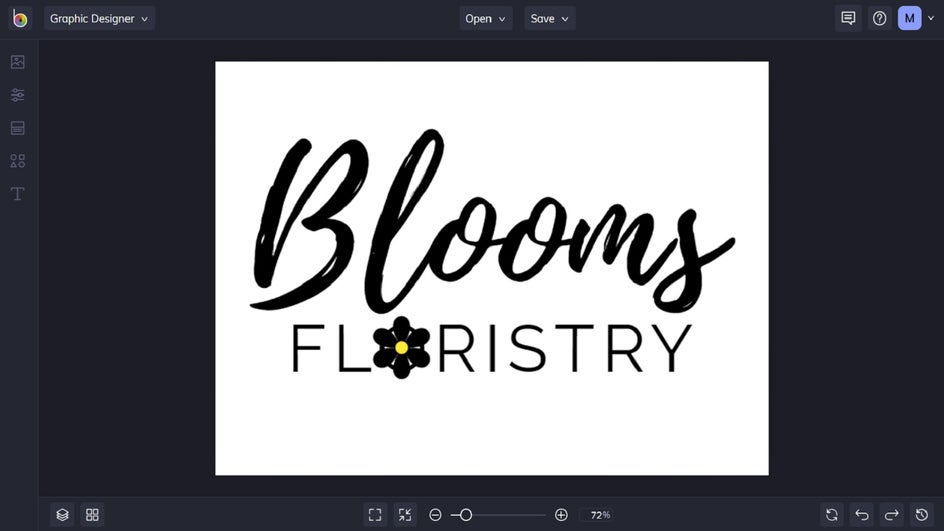
Before you design your own t-shirt, especially one for promotional usage, then you’ll want to have a logo that’s ready to place on your design. Some of you may already have this as a PNG file, but for those who don’t, creating one is easy to do.
Simply create a logo in the Graphic Designer, or insert your existing logo as an image onto a Blank Canvas. You can then use the Cutout tool in the Graphic Properties menu to remove the background surrounding your logo. Then, be sure to select the check boxes next to Trim Transparency and Export as Layer. Here’s a helpful tutorial that shows you how to do all of this.
Your logo will then be added to your Image Manager, so it’s ready to drag and drop onto your t-shirt mockup. We’ll walk you through these steps below.
Step 2: Choose Your Front T-Shirt Mockup Image
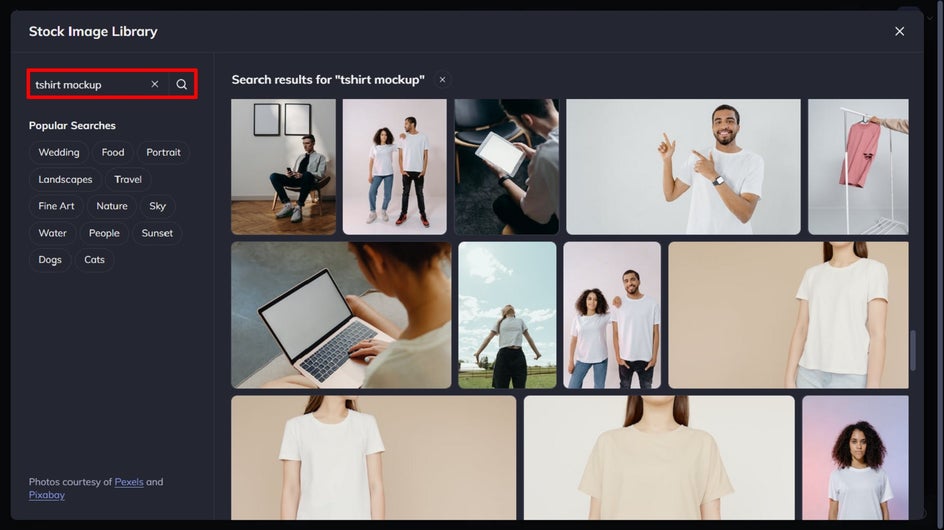
Start with a Blank Canvas in the Graphic Designer, before navigating to the Image Manager from the main menu on the left. Click Search Stock Images to search for and choose a t-shirt mockup image for your design.
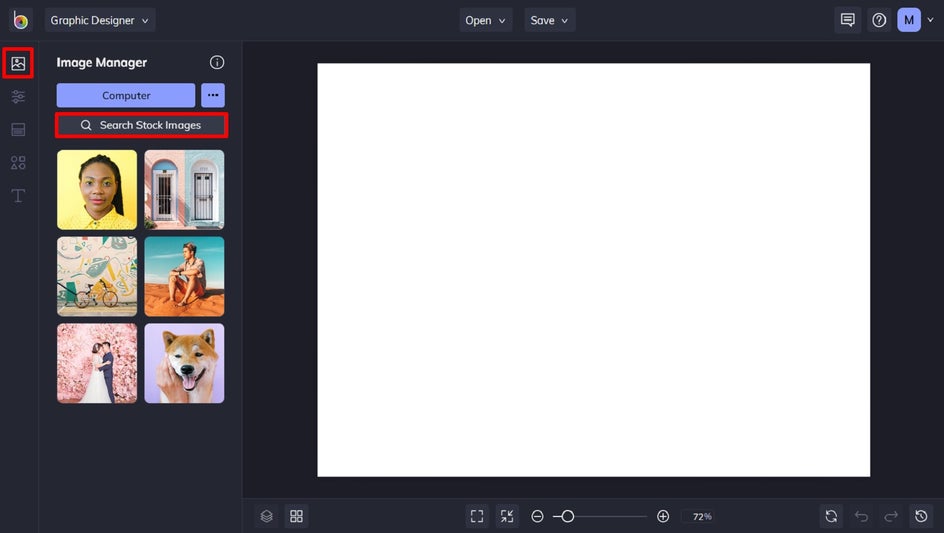
BeFunky’s Stock Photo Library is filled with plenty of helpful mockups. Simply search “tshirt mockup” in the search bar in the top-left to find one that you love. Click on any image you wish to use, then close the Stock Photo Library to find your selections in your Image Manager.
You can then add your stock photo to your canvas. Resize it by dragging its outer corners, so it fills the entire canvas. Or, right-click and choose Fill Canvas.
Step 3: Place Your Logo on the Mockup
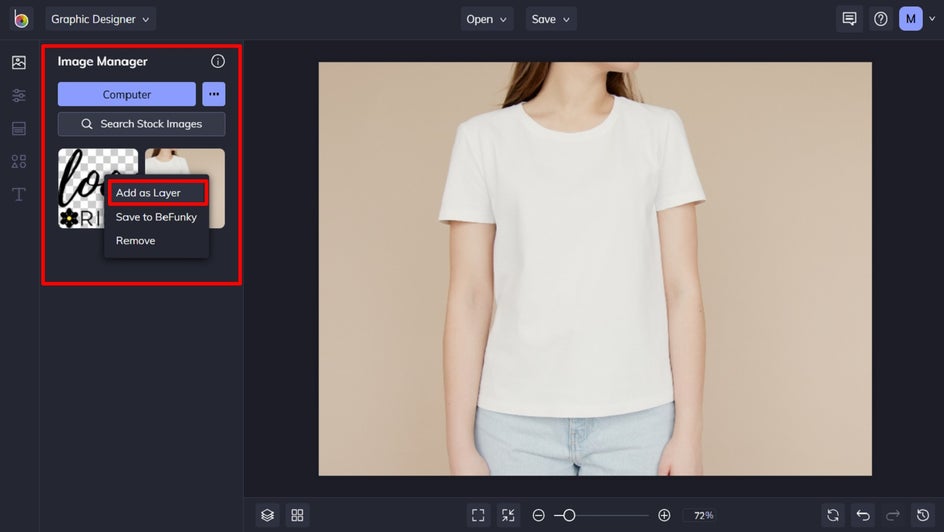
Your logo should also be in your Image Manager from Step 1. If not, just click Computer to upload it from your files. You can then drag and drop it from your Image Manager onto your t-shirt mockup. Simply click your logo and drag it with your cursor to reposition it on your shirt. You can also resize your logo by dragging its corners inwards to make it smaller or outwards to make it larger.
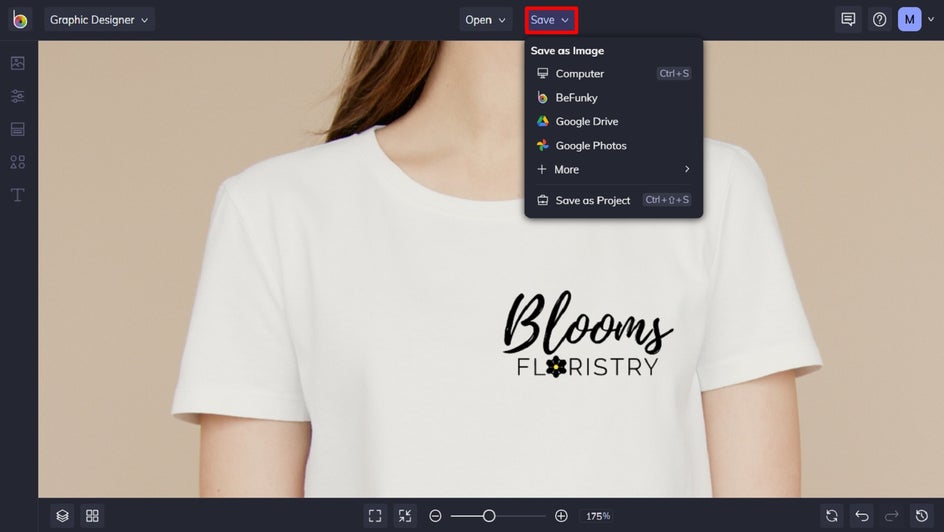
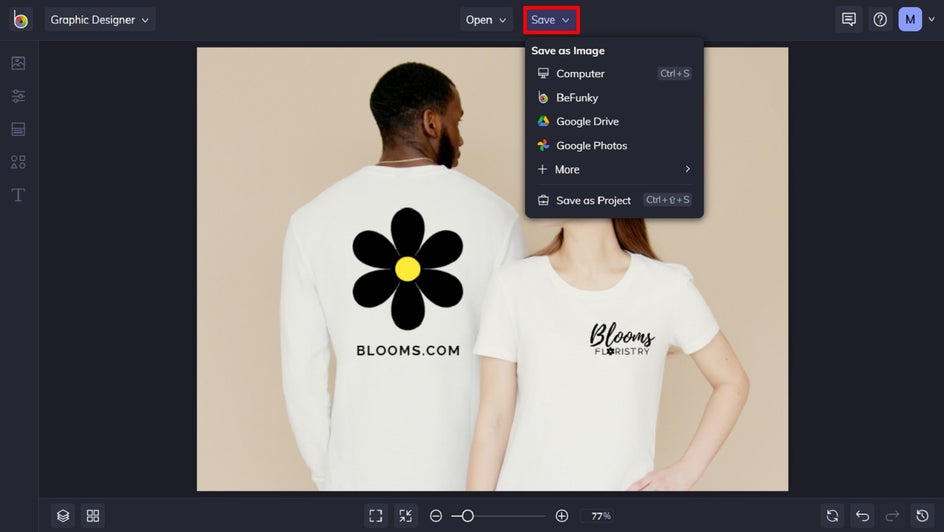
Step 4: Save Your Front T-Shirt Mockup
Once you’re happy with how the front of your t-shirt mockup looks, it’s time to save it. Click Save at the top of the screen, then select your desired location and file format. You can even use the Save As Project option to save your t-shirt mockup as an editable BFD file. This is useful if you want to make any tweaks to it at a later stage.
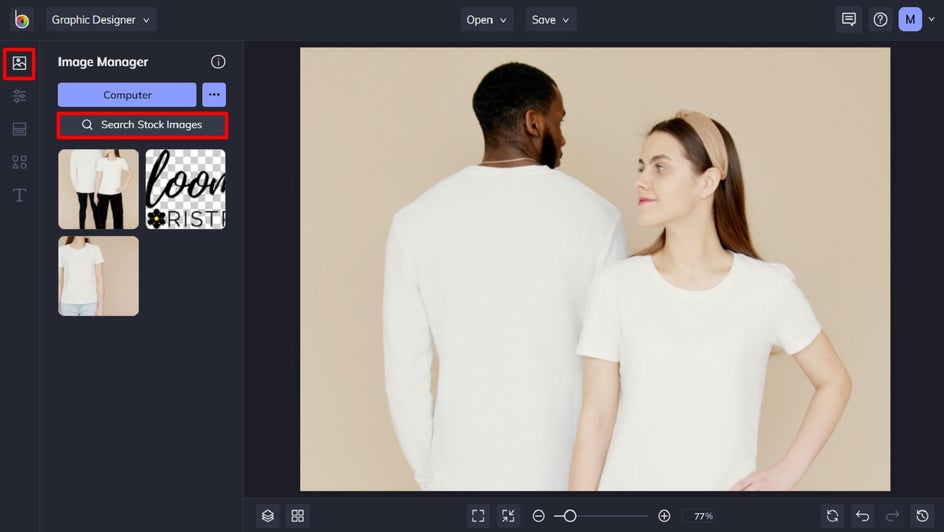
Step 5: Choose Your Back T-Shirt Mockup Image
Start with another Blank Canvas, but this time you’ll want to use a mockup image featuring the back view of a t-shirt. We’ve managed to find a stock photo that features both the front and back of a t-shirt, allowing us to visualize our design from both sides at once.
Repeat Step 2 to find your mockup image and add it to your canvas.
Step 6: Add Your T-Shirt Design
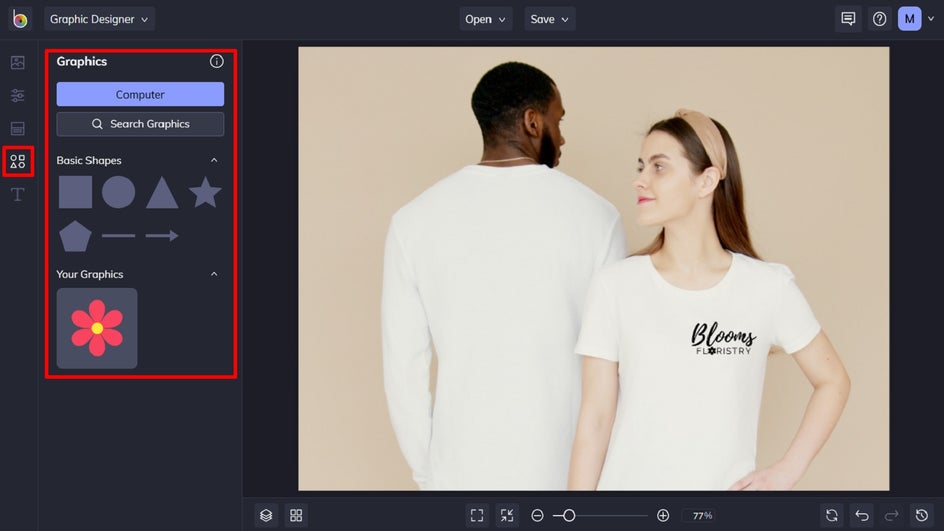
Now it’s time to design the back of your t-shirt. If you already have a design ready, proceed to Step 9. Otherwise, BeFunky’s Graphic Library is home to every shape, symbol, line, or other graphic that you could need. To access it, navigate to Graphics from the main menu on the left, then click Search Graphics. Any graphics you select will be added to the Your Graphics section. From here, you can drag and drop them onto your t-shirt mockup.
Step 7: Adjust Graphic Colors, If Necessary
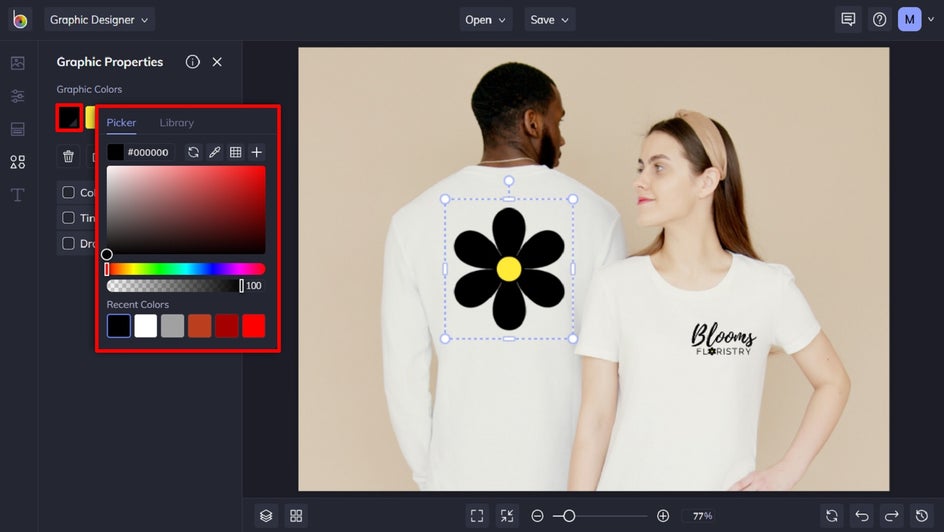
You can use the blue circles around each graphic to resize and rotate it, as well as use the Graphic Properties menu that appears to customize elements such as color, opacity, and more.
To change the color of your graphic, click on the corresponding squares for Color Overlay or Graphic Colors (this will depend on your graphic). Then, choose your desired color from the Color Chart, use the Eyedropper Tool, or type in the Color HEX Code if you know it.
Step 8: Add Text
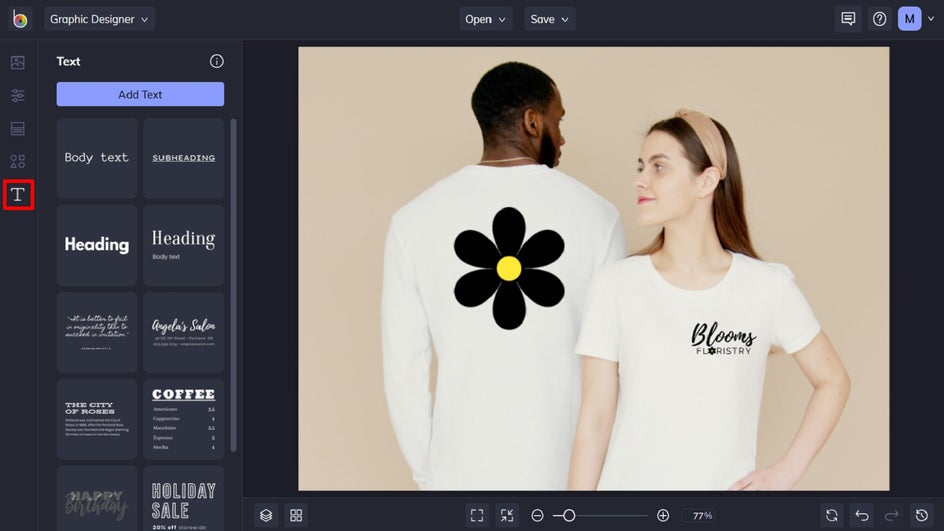
If you want to add some text to your t-shirt design, then you can do so by navigating to Text in the main menu on the left. Click Add Text to add a new text box, or select one of the text patches featured below.
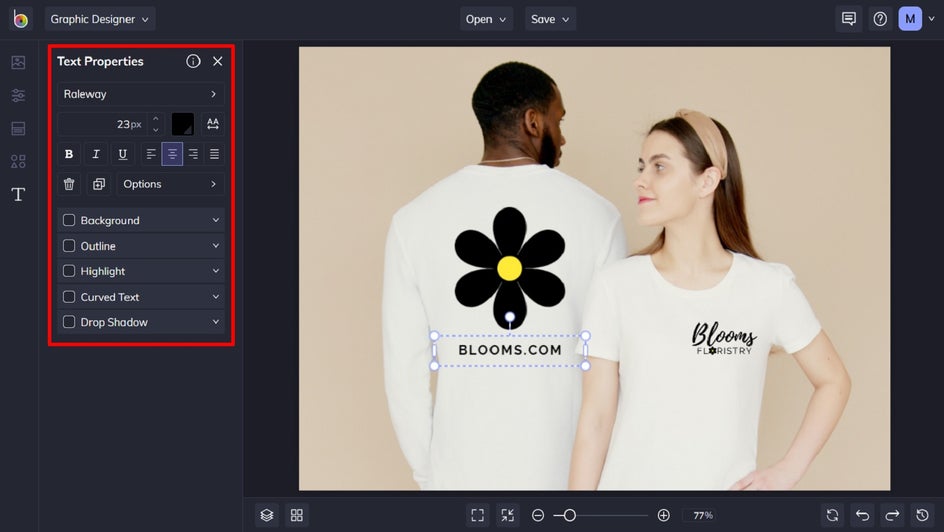
When you select the text box, a Text Properties panel appears where you can also adjust things such as the font, size, color, spacing, and more.
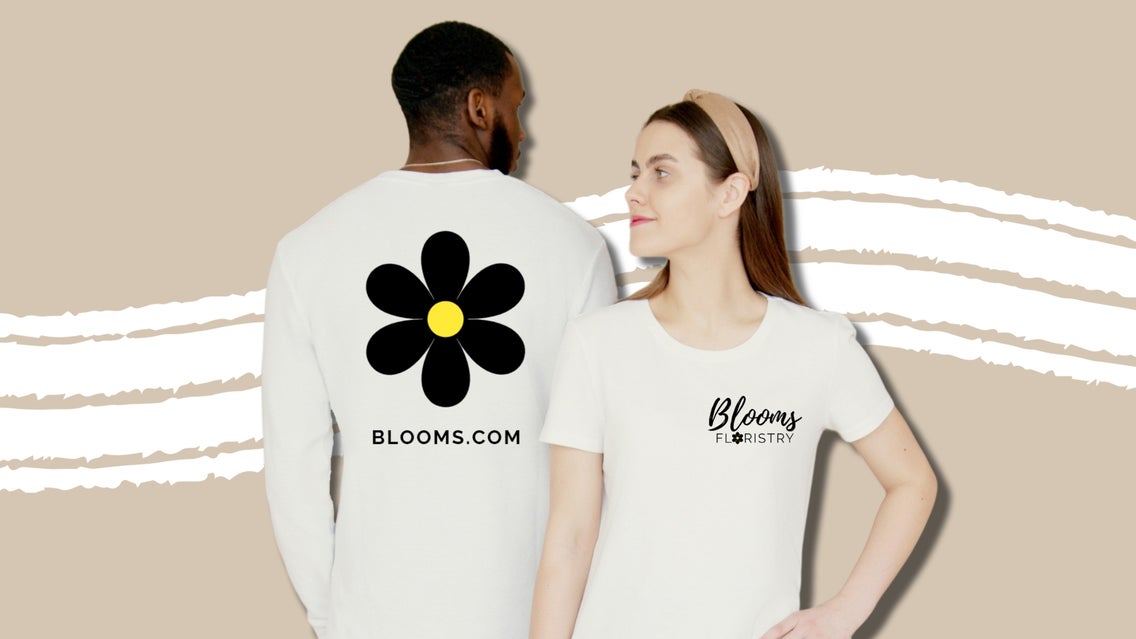
In this example, we’ve added a website address to boost the t-shirt’s promotional power, but you can add any text you want to.
Step 9: Save Your Back T-Shirt Mockup Image
Once you’ve finished designing your t-shirt, it’s time to save it. Click Save at the top of the screen, then repeat the save steps from earlier.
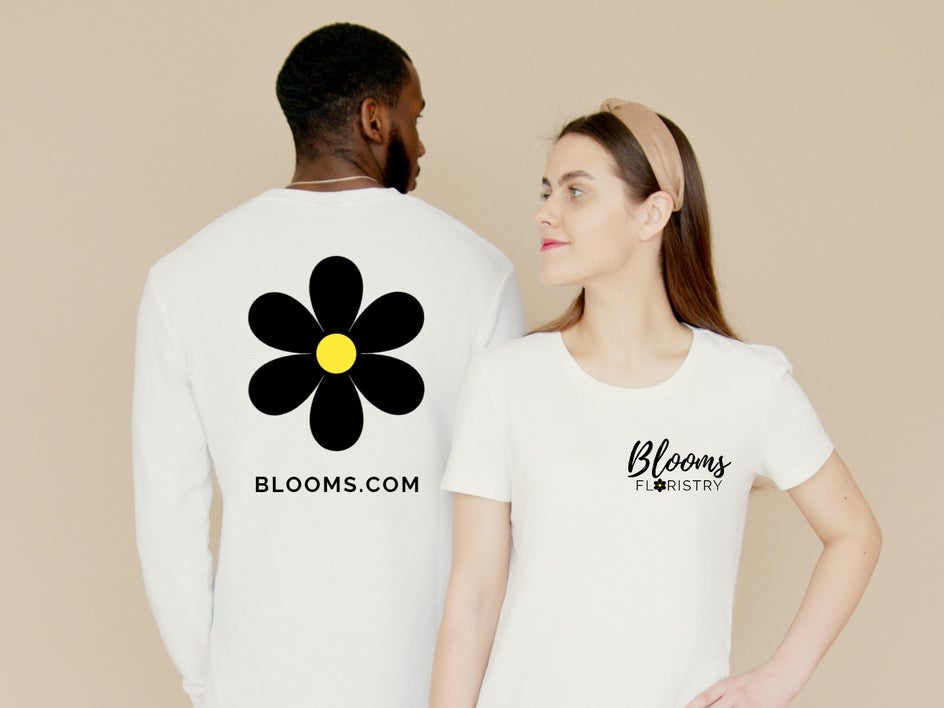
Final Results
There you have it—your very own t-shirt mockup, including front and back designs. Think of the Graphic Designer as your very own t-shirt mockup app!
Design Your Own T-Shirts!
You don’t have to be a professional designer to create your own t-shirt mockup. Next time you’ve got a great idea for a t-shirt or have to create one for business or marketing purposes, give the Graphic Designer a spin! Ready to create a t-shirt mockup? Head to the Graphic Designer to get started today.


