Resize vs. Upscale: What’s the Difference?

Do you need to resize an image without any expensive software? The Photo Editor has got you covered with two essential features: The Resize tool and the Upscale tool. Both of these tools allow you to enlarge images that you’ve uploaded to the Image Manager. However, they work in different ways and shine best in different scenarios. So if you’re having trouble deciding which one to use, read on to learn the difference!
The Resize Tool
Resize is a classic tool that you might be familiar with from other photo editing platforms. All you have to do is put in your desired pixel size and voila! You can also resize photos based on the percentage of your current photo size; i.e., if you want to double the size, you can type in “200%” into either the Y-Scale or the X-Scale.

Resize allows you to shrink images as well as enlarge them. This is especially helpful when you want to upload a photo to social media or any other platform with a file size limit.
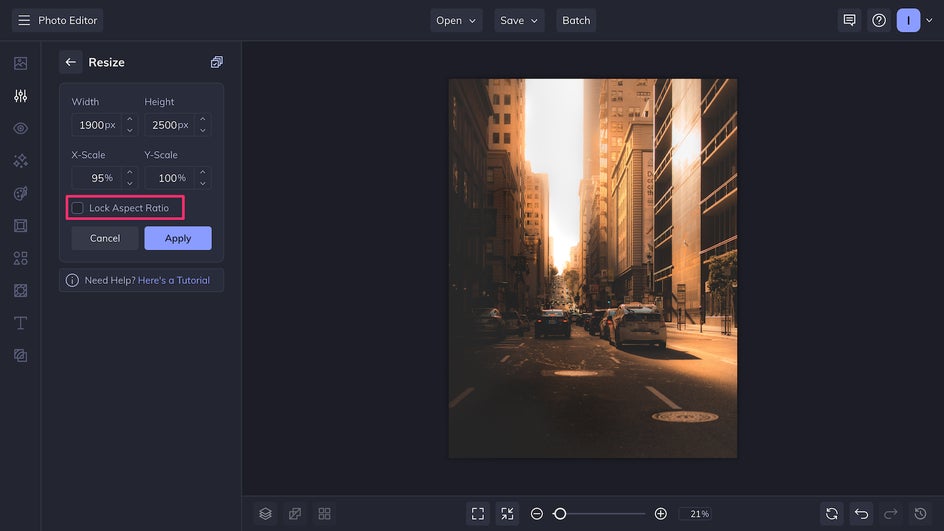
Resize also allows you to adjust the dimensions of your photo independently of each other. All you have to do is uncheck the Lock Aspect Ratio box. This is helpful when you’re trying to achieve a very specific dimension, though it will stretch or squash your image slightly.
When enlarging images, using Resize will result in a slightly lower resolution photo than what you started with. You’re essentially exchanging quality for size. This is completely fine for high-resolution images, images that are large to begin with, and when you want to increase the size by just a few hundred pixels. For example, the photo below started at 1200x600 px and was resized to 1600x900 px.
However, when you’re starting with a smaller or lower resolution image, for whatever reason – maybe it was taken using an older digital camera, or you only have access to compressed files – then enlarging a photo can result in a significant loss in quality.
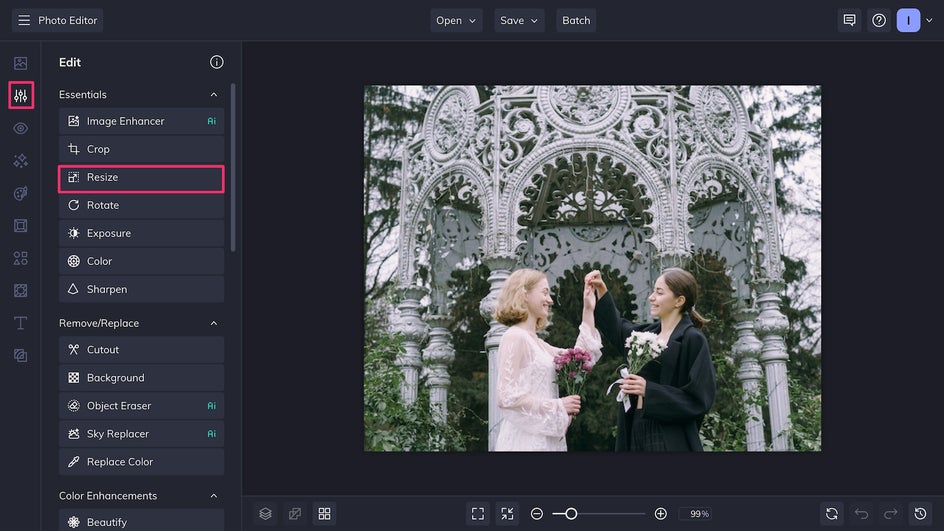
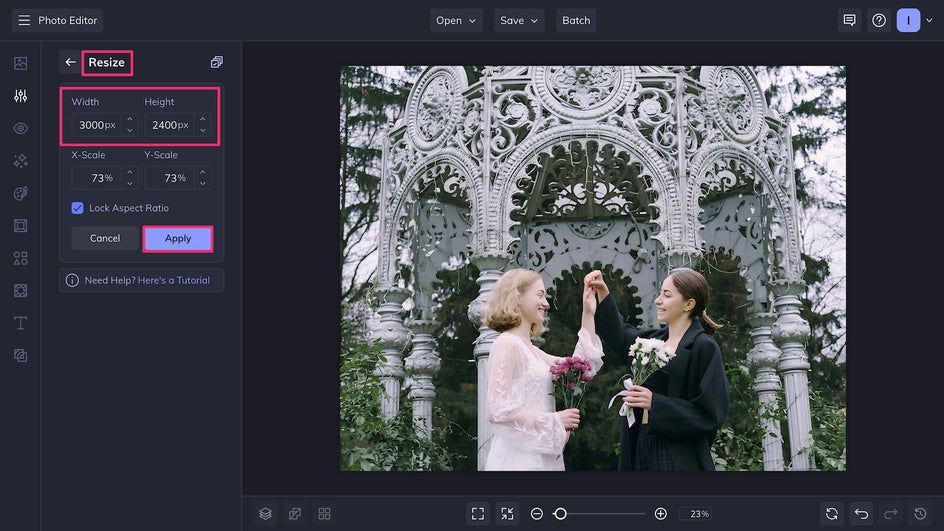
For instance, take the photo below. It’s a small image at 700x560 px, but we want to print it and hang it up. Let’s open it in the Photo Editor, then try out the Resize tool in the Essentials section of the Edit tab.
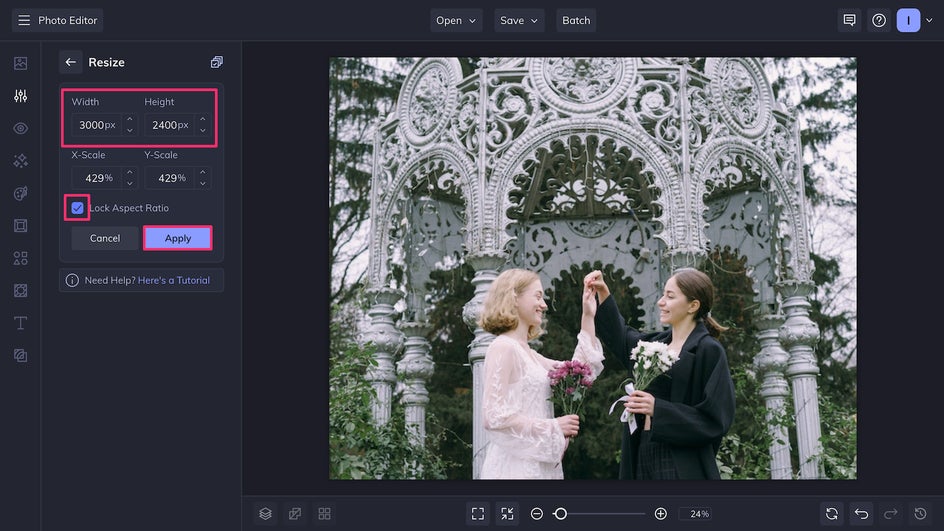
The ideal pixel size for an 8” x 10” print is 2400x3000 px, so we’ll change the dimensions to that.
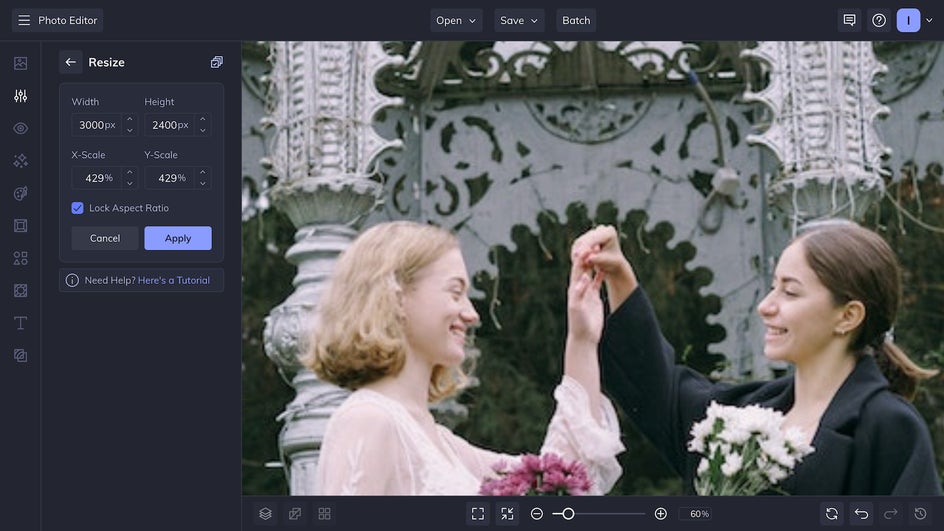
While this resized photo might look fine from a distance, zooming in reveals that it is blurry and pixelated, especially around the finer details. This will show in person if the photo is printed at a size as big as 8x10”.
So while Resize works for making photos smaller, enlarging high-quality photos, and creating specific photo dimensions, it can’t create high resolution where there was none. Trying to scale it 430% will result in a visible loss in quality. The finished product can be posted online, but won’t work for printing at such a big size.


You may find that the Resize tool suits your current needs just fine. It allows you to make small adjustments to any photo and is great for reducing image size. It’s also the best option if your photo needs very specific dimensions.
However, if you want to significantly enlarge a photo, the Photo Editor has you covered with the Upscale tool.
The Upscale Tool
The Upscale tool uses A.I. to enhance an image as well as enlarge it. It’s not as customizable as the Resize tool, but makes up for it in its simplicity – one click and you’re ready to go! Plus, it can be used in tandem with Resize if you’re looking to create specific dimensions.
To use this unique feature, just scroll down to the Detail Enhancements section of the Edit tab and click Upscale.
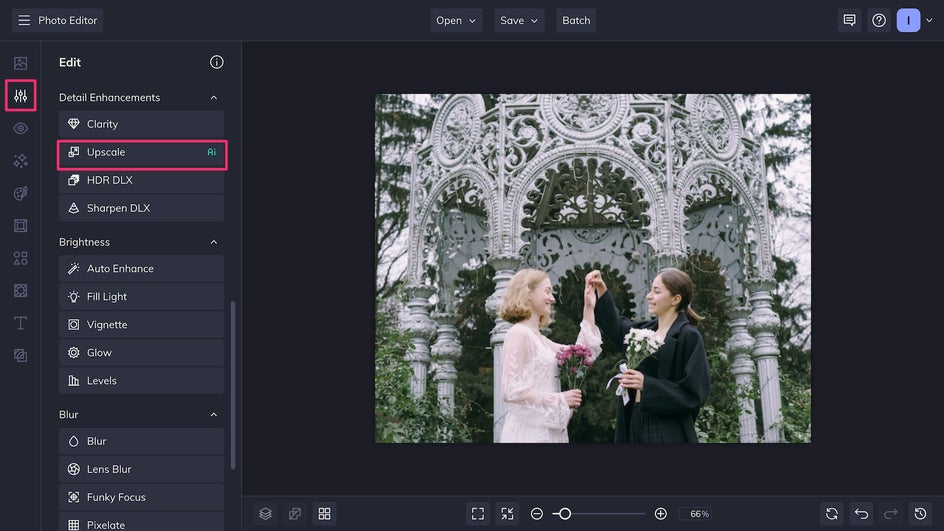
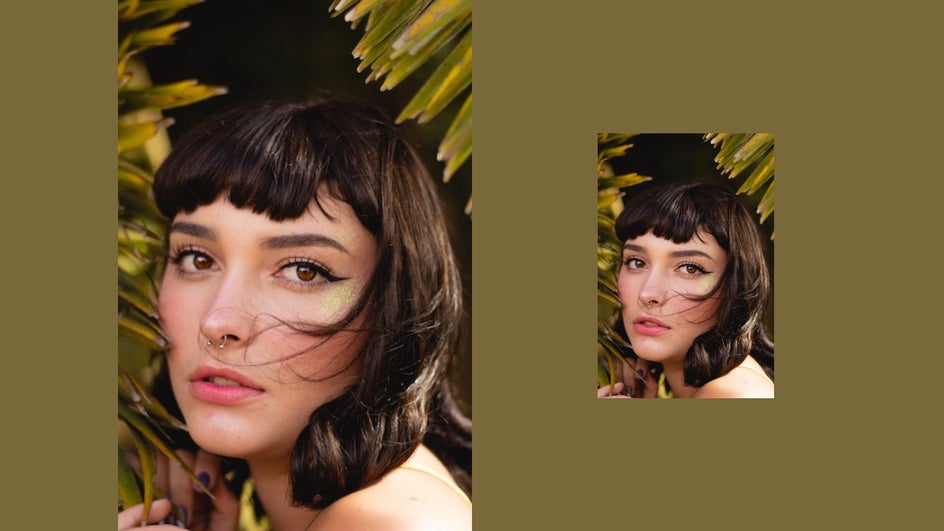
Upscale will automatically enlarge your photo by 4x, while also clearing up any pixelation or blurriness. Just look at the before and after!
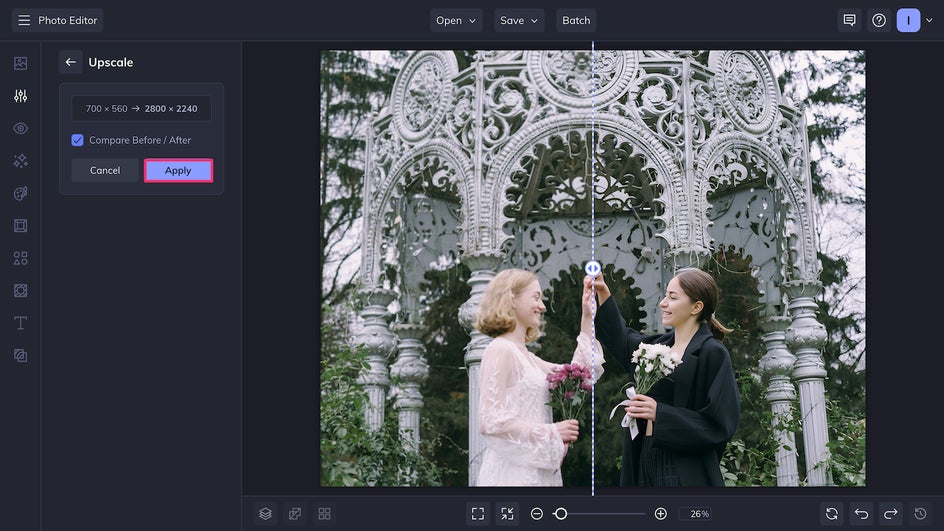
You can re-apply the tool as many times as you’d like to make the image bigger without any loss in quality. The maximum size in the Photo Editor is 4088px. So after using the tool twice, we’re able to use our handy Resize tool and make it our ideal size of 2400x3000px.
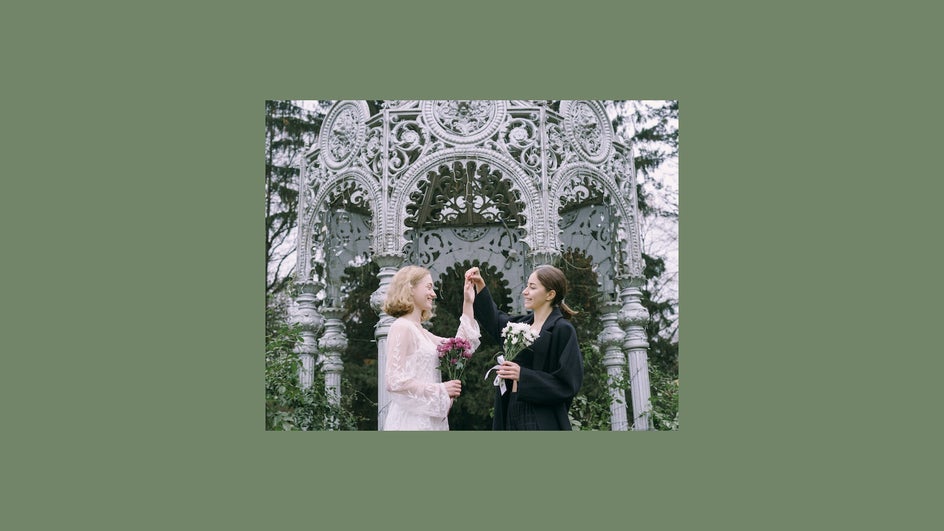
This photo can now be printed out without having to worry about any blurriness. It will look great hung up or in a photo album.

Resize, Enlarge, and Enhance Your Images with BeFunky
And there you have it! Now, you know the difference between Resize and Upscale, and how to use them together to get the best of both worlds. Have photos you need to enlarge? Try out the Resize and Upscale tools in the Photo Editor today.