A Beginner’s Guide to Creating Postcards

Whether you’re a yoga instructor or coordinating marketing for your own company, postcards are a strategic and creative method of getting the word out about your services. You can use colors, shapes, and images to make professional postcards that are eye-catching to potential customers. Here at BeFunky, we know that designing expert postcards from scratch can be a daunting task. That’s why we’ve created a collection of templates to make the entire process just a little bit smoother.
BeFunky’s Graphic Designer is loaded with postcard templates for all kinds of industries and services. This guide is a detailed step-by-step look at how to design excellent postcards. Get creative and bring in new customers with these professional and eye-catching postcard templates.
How to Design Your Own Postcard
We strive to ensure making stunning designs is easy for designers of all skill levels. Our postcard templates are no different. Choose your postcard template then play around with visuals, graphic elements, text, and more. Keep reading for how to create your own postcard.
Step 1: Select Your Template
When you open BeFunky’s Graphic Designer, you’ll land on the Start a Design page, within the Business Marketing submenu, and in the postcard templates. Scroll through the postcard templates options available to you, keeping in mind that you will be able to make any changes once it appears on your canvas.
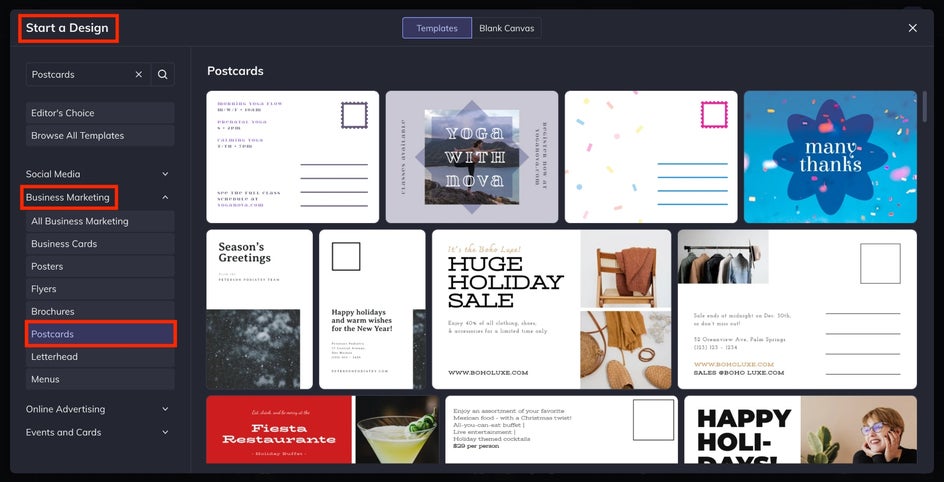
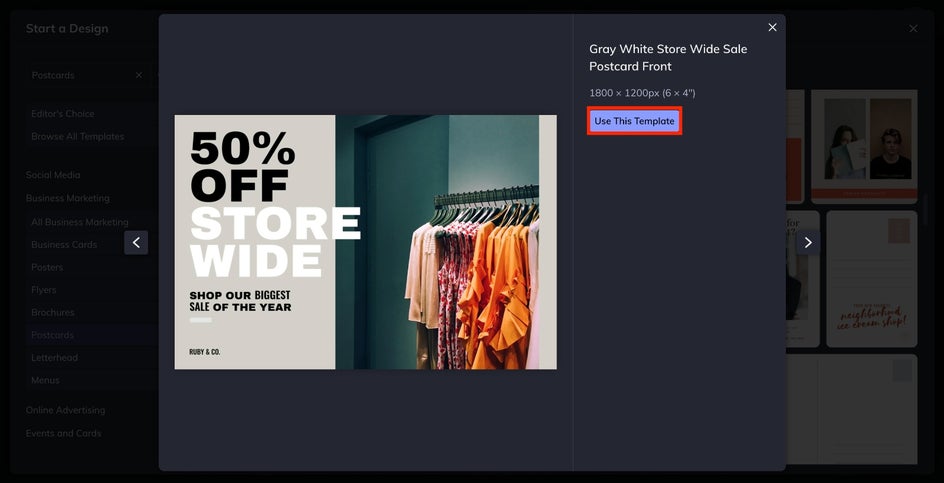
For this example, we’re going to make a postcard for a denim sale at a clothing store. Once you’ve chosen a template, click it. Then, click the blue Use This Template button when prompted. Now, you’re ready to start designing.
Step 2: Add Visuals
The visuals of your postcard are responsible for capturing the attention of your audience. You have a couple of options for how to add visuals to your postcard. Navigate over to the left-side menu and click Image Manager, the topmost icon.
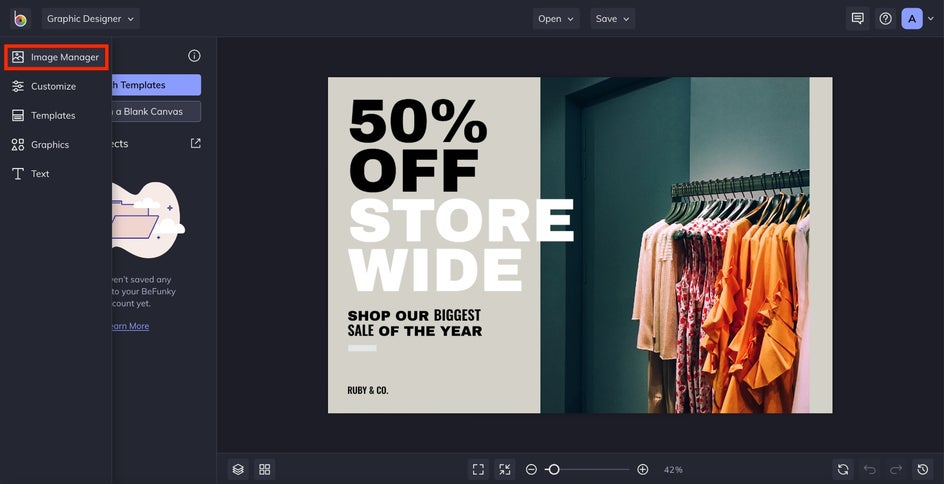
If you have an image of your own that you’d like to include, click the blue Computer button to upload it. And if you would like to choose from BeFunky’s diverse image library, click the Search Stock Images button. Here, we’re going to choose from the stock image library.
In the Stock Image Library, you can choose a category or search for a topic. We searched for “clothing” images. Scroll through the option and click the ones you want to use, keeping in mind that you can select more than one.
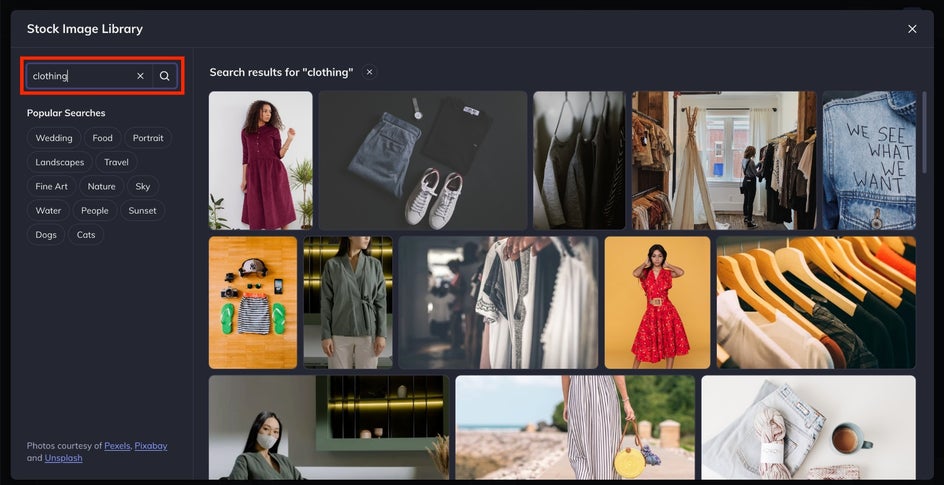
Your selected images will have a blue line around their border with a blue checkmark on the bottom right corner. Once you’ve selected which visuals you’d like to use, exit the image library. The images will now appear on the left side of the Graphic Designer.
Double click or drag the images to the postcard for them to appear on it. Click and drag or use the circles at the corners of the images to adjust their size and change the layout. Remember that no matter where you are in the Graphic Designer, you can always click the images to adjust them further.
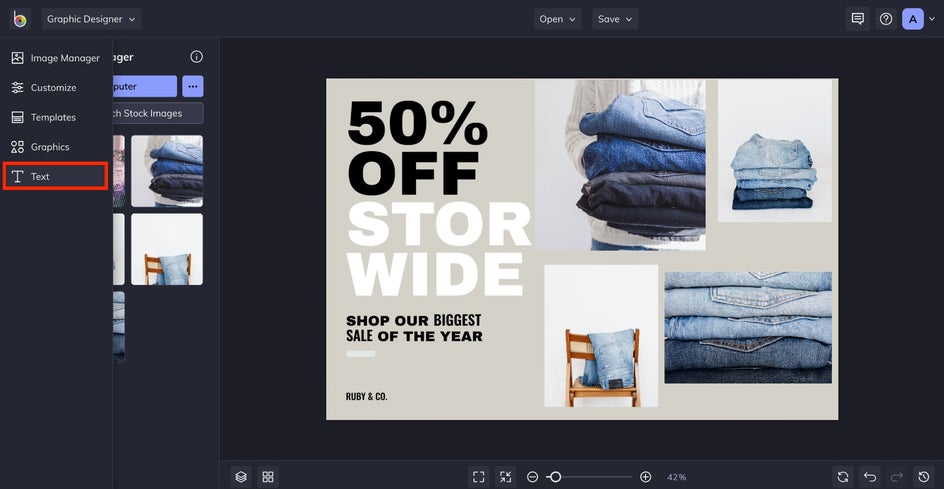
Step 3: Update the Postcard Text
The text of your postcard is one of the most important elements. It informs those who read it of the date, time, location, and other crucial information. To edit the text on your postcard, hover your cursor over the left-side menu. Click Text, the T icon at the bottom of the menu.
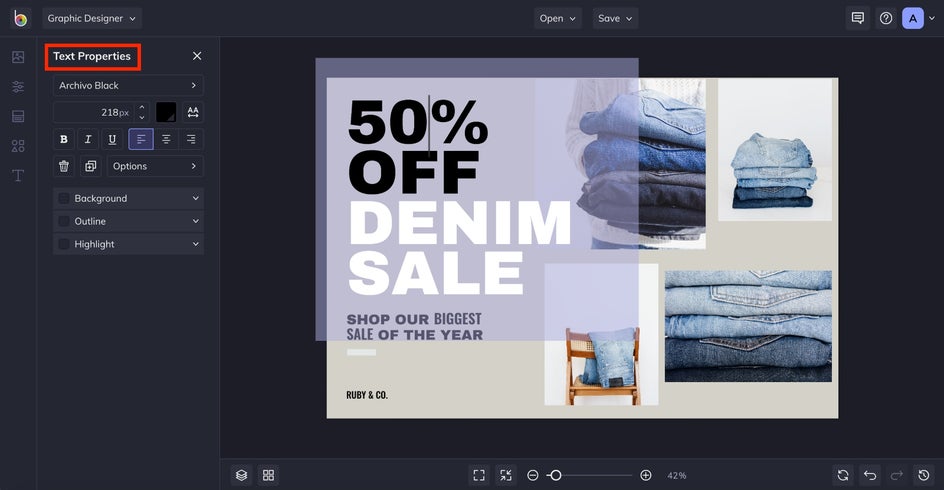
You can either add new text from the left list of fonts or use the ones already on the postcard template by clicking on them and typing. When you click on each text box, the Text Properties editor will appear on the left. Use this to adjust the size, shape, font, and other features of the postcard’s copy. Feel free to get creative with using the tint, drop shadow, highlight, and background features to make your text look unique.
Remember that you can continue to change the images as you make changes to the text. Once you have all the necessary information and images placed where they should go on the postcard, it’s time to add graphics.
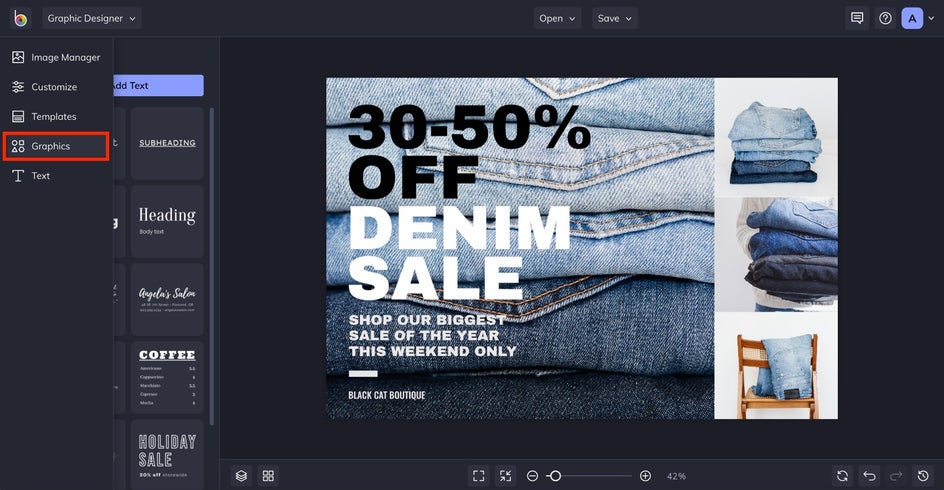
Step 4: Add Graphics to Your Postcard
Depending on your postcard design, graphics might only need to be the sprinkle on top to make it look professional. Be careful not to add too many as it can clutter the postcard and make it difficult to read. Return your cursor to the left vertical icon menu. Hover until you see Graphics. Click Graphics, the second icon from the bottom.
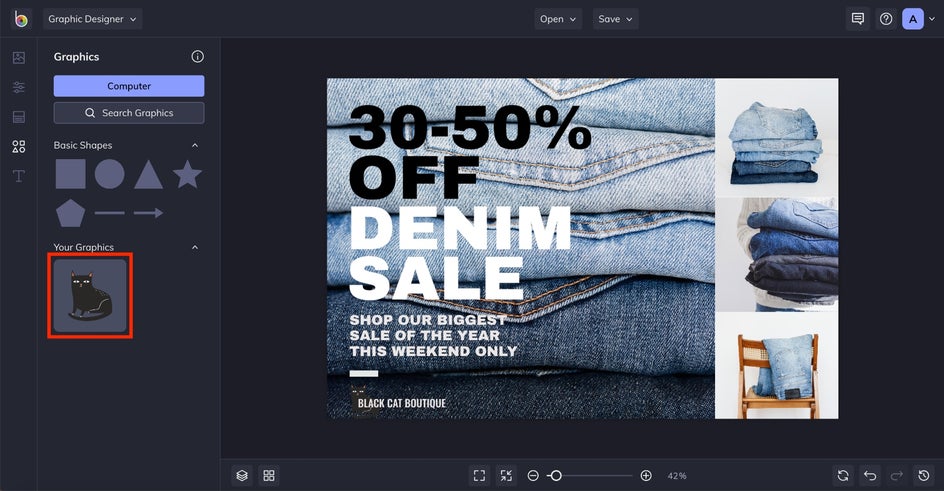
Just like when you upload images, you can either choose a graphic from your computer by clicking the blue Computer button or peruse BeFunky’s graphics library by clicking Search Graphics. Again, we’re going to choose a graphic from the graphics library.
Our postcard already has a lot going on, so we’re only going to add a small graphic to give it just slightly more character. Since the clothing store is called “Black Cat Boutique,” we’re going to look for a small cat graphic to add next to the business name. Either search for the graphic you want in the search bar or look through the categories provided. Once you’ve selected your graphic and exit the library, it will appear in Your Graphics.
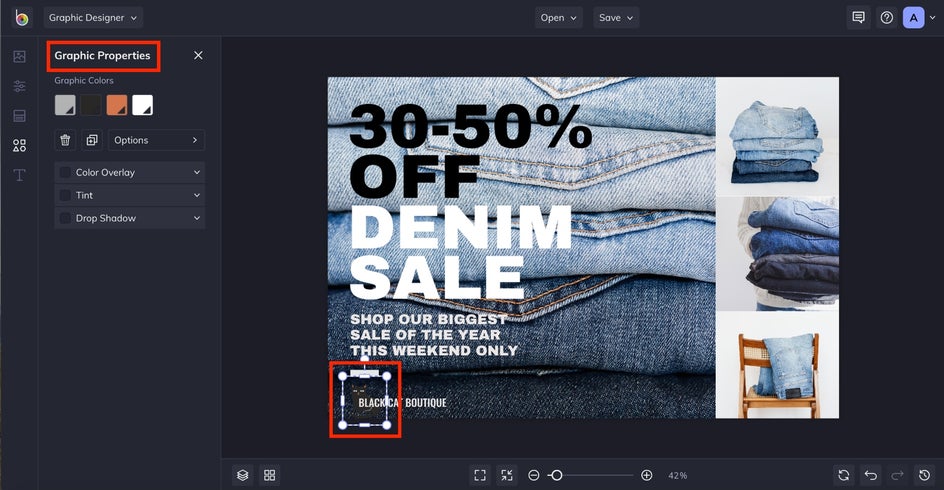
Double click or drag the graphic to have it appear on the postcard. Select the graphic to open the Graphic Properties menu on the left. This will allow you to play with the colors, drop shadow, tint, and more of the graphic. Use the blue dots around the graphic to adjust its size, shape, and tilt.
Step 5: Save Your Final Postcard
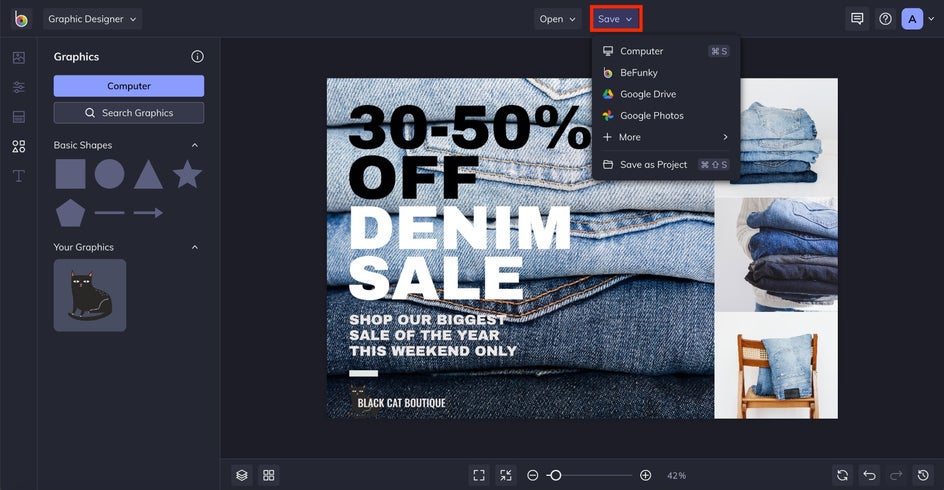
When all your images, graphics, and text are situated just right, it’s time to save your final product. Click Save at the top of the Graphic Designer to see a dropdown menu of options for where you can save your postcard.
Excellent work! You’ve just created a stunning postcard that will catch everyone’s attention.
Starting Sending That Stunning Postcard
Postcards are unique options to get the word out about sales, events, new businesses, and more. Get creative with how you use them and how you design them. Graphics, text, visuals, colors, fonts, and so much more can be used to make your postcard look professional and beautiful. Use this step-by-step to create your own postcard with BeFunky’s Graphic Designer.