How to Design Custom Wallpaper for Your Phone

Did you know we check our phones 58 times a day, on average? While it might not be a figure to brag about, it is a reason to make sure that what we look at is inspiring, at least. You see, your phone wallpaper is an opportunity to add some of your unique personality, whether you want a one-of-a-kind lock screen or home screen. Think a collage of your favorite photo memories, an uplifting artsy design, or a motivational quote that helps you get through those times of stress.

With BeFunky’s Designer templates, it’s so easy to create the look you’re envisioning for your phone wallpaper. Keep reading, because we’re going to show you how you can use these templates to create and customize your best phone wallpaper yet!
How to Design Custom Phone Wallpaper
To get started, head to the Graphic Designer and start a new design. In the Templates Library, click on the Blank Canvas tab up the top, followed by Social Media Story.
Our Social Media Story templates might be perfectly sized for Instagram Stories, but they’re also the exact same dimensions as a standard iPhone (1080 x 1920px). Be sure to check with your specific device, however, to determine the perfect dimensions for your phone wallpaper. If dimensions differ, simply input your Width and Height measurements at the top, then click Create.
Photo Background
With your blank phone wallpaper template, we’re going to show you how you can first add a photo as the background. Navigate to the Image Manager in the main menu on the left, then from here, you can click the three dots to upload a photo of your choice from your BeFunky account, Facebook, or Google Photos. Alternatively, click Computer to upload a photo from your computer’s files.
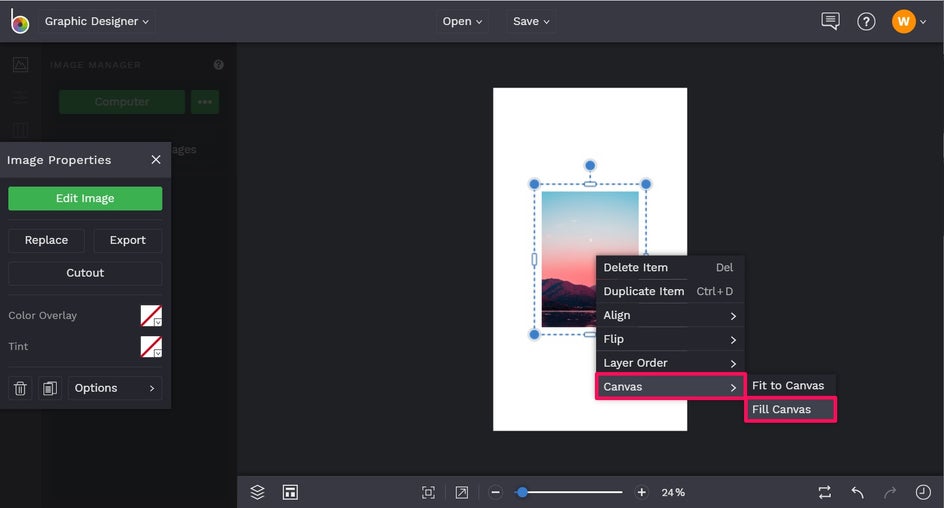
With your chosen image now in your Image Manager, simply right-click it, then select Add as Layer. Once on your canvas, right-click the image again, this time selecting Canvas > Fill Canvas. You now have a full-size photo!

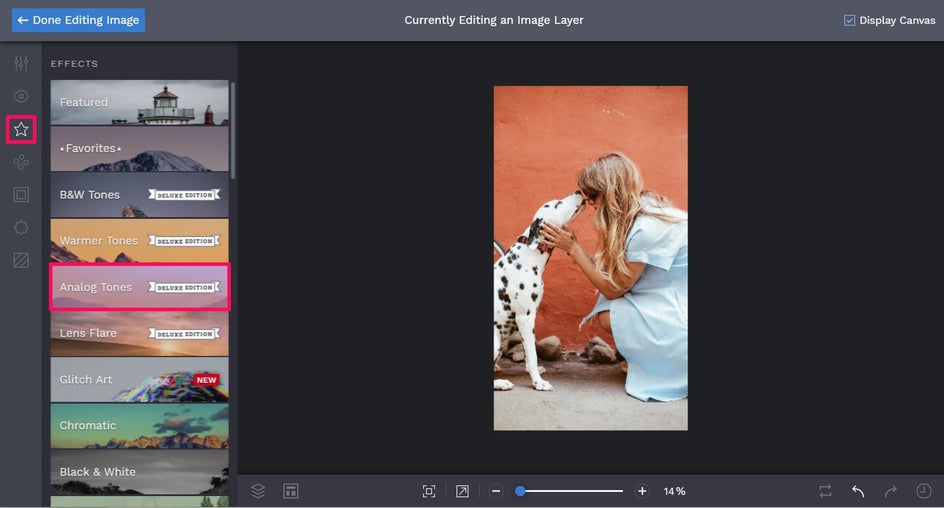
You can also add effects to make your photo background even more eye-catching. When you click on your image, an Image Properties panel appears. Click the Edit Image button and this will open your photo in the Photo Editor, giving you access to a wide range of photo effects. You can view these by navigating to Effects (the star symbol) from the main menu, then select an Effect category that takes your fancy.
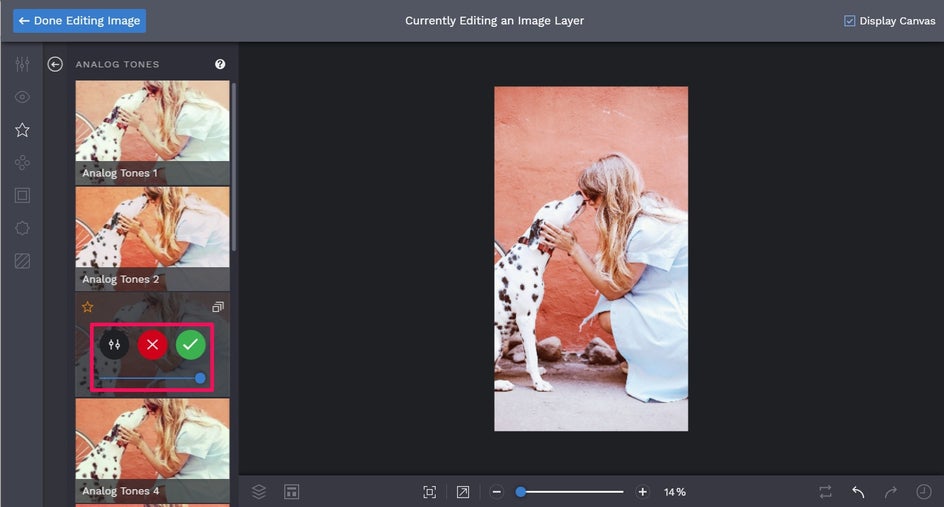
For this tutorial, we’re using Analog Tones 3. Click the green check button to Apply, the red cross button to Cancel, or the dark grey Settings button to make adjustments to the effect. Additionally, you can use the slider located underneath these buttons to increase or decrease the effect.
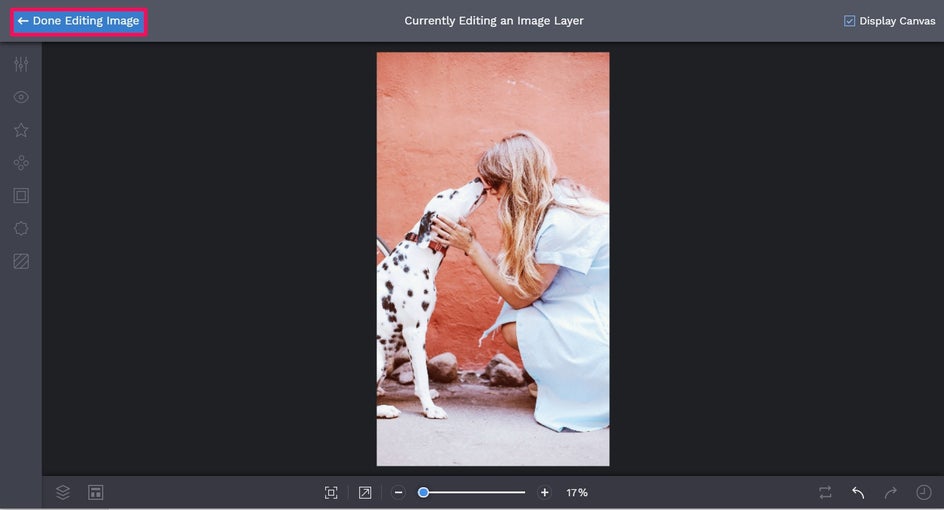
Once you’re done, just click Done Editing Image up the top to save your changes and return to the Graphic Designer screen.
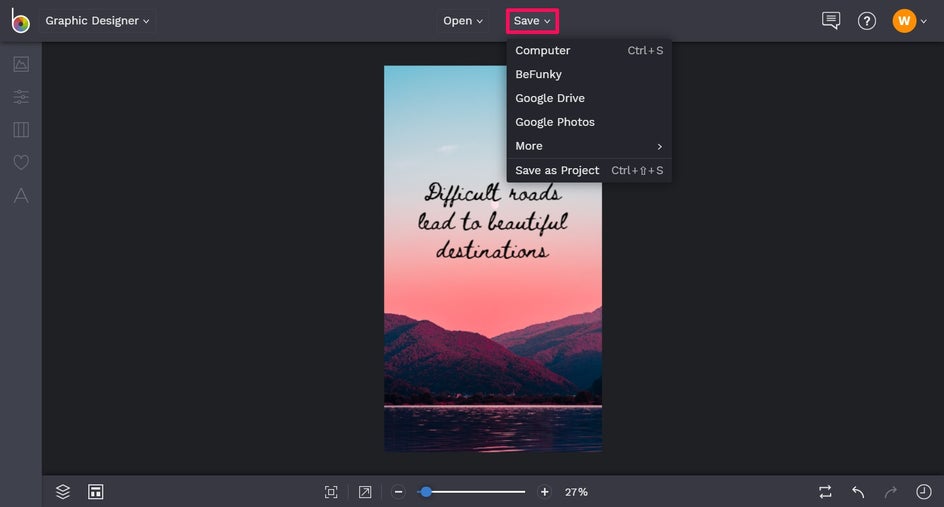
To save your photo wallpaper, click Save at the top of the screen, then select your desired save location.
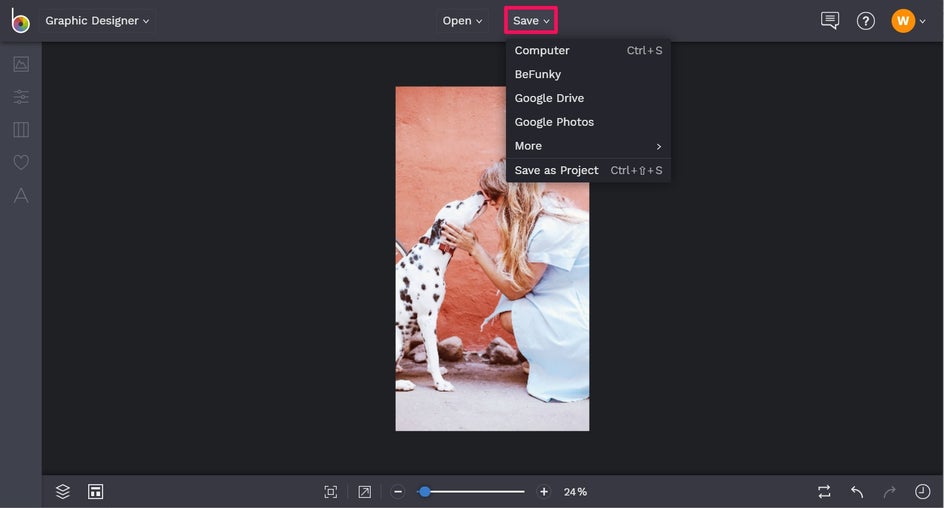
Photo Quote
Want to create a photo quote wallpaper for your phone instead? To do this, start with a blank Social Media Story template (or template sized to your own device), then repeat the steps outlined in the previous section to upload your own photo onto the canvas.
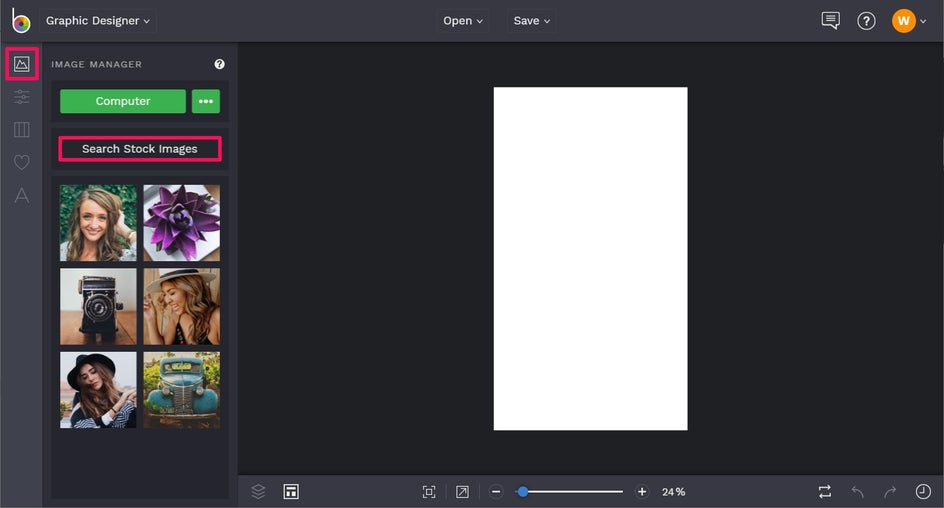
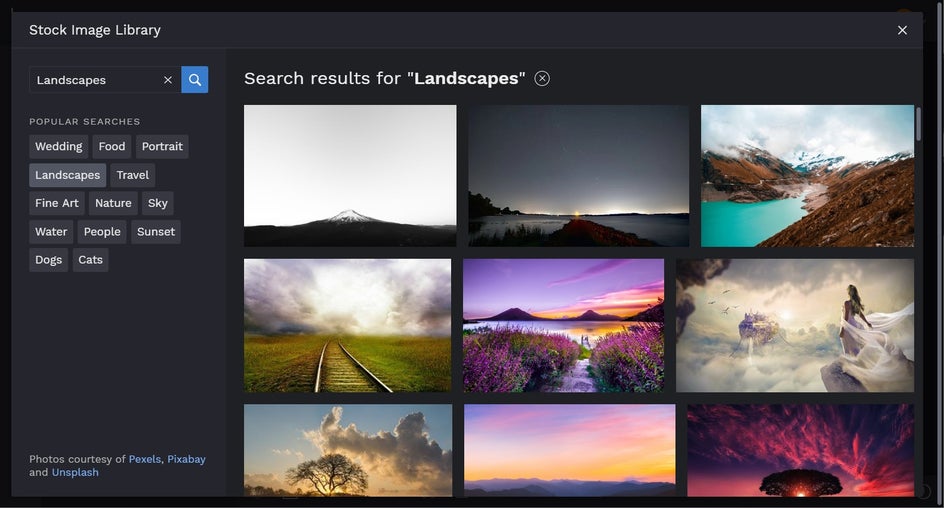
Want to use a stock photo instead? You can access BeFunky’s huge library of stock images by navigating to Image Manager, followed by Search Stock Images. Type your image search term into the search bar on the top-left or choose from popular search tags below. To add images from the Stock Image Library to your Image Manager, just click on them and a blue checkmark will appear in their bottom-left corner.
From your Image Manager, you can right-click your desired image and select Add as Layer, then once on your canvas, right-click again and select Canvas > Fill Canvas to make it a full-size image.
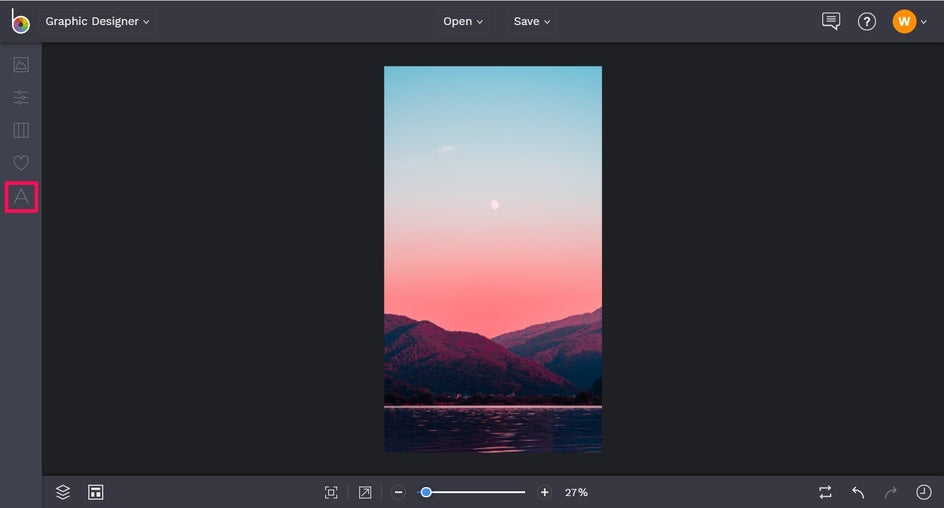
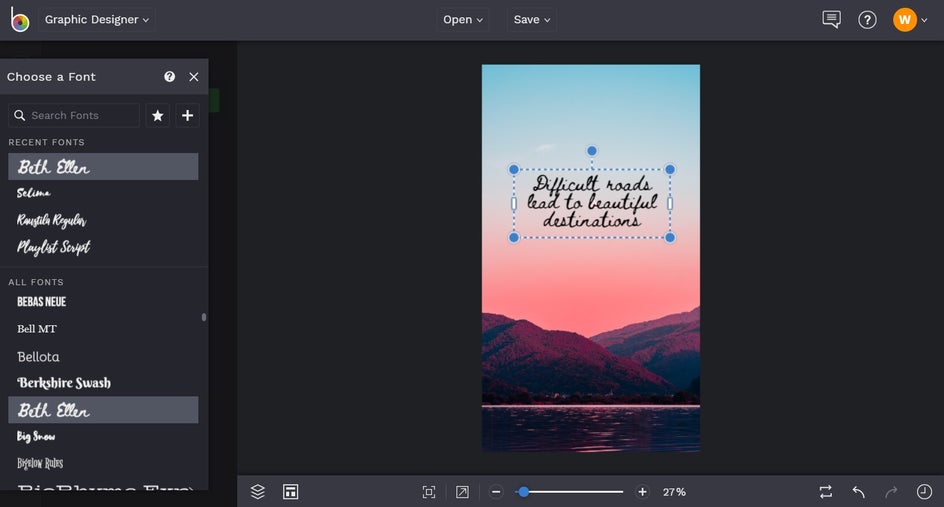
Next, it’s time to add your text. Click on Text (the ‘A’ symbol) in the main menu, followed by Add Text. This will add a text box onto your canvas, which you can double-click to edit what it says.
Type your desired quote, then use options from the Text Properties panel to customize it to your satisfaction, including changing the Font, Text Color, Spacing, Alignment, or more.
Once you love the look of your new photo quote phone wallpaper, it’s time to click Save at the top, followed by your desired save location.
Get Creative With Graphics
Finally, we’re going to show you how you can utilize BeFunky’s Graphics Library to create a fun, graphic-driven phone wallpaper instead. Again, start with a blank canvas in your phone’s required dimensions, but this time, we’re going to change the background to a plain color, rather than an image.
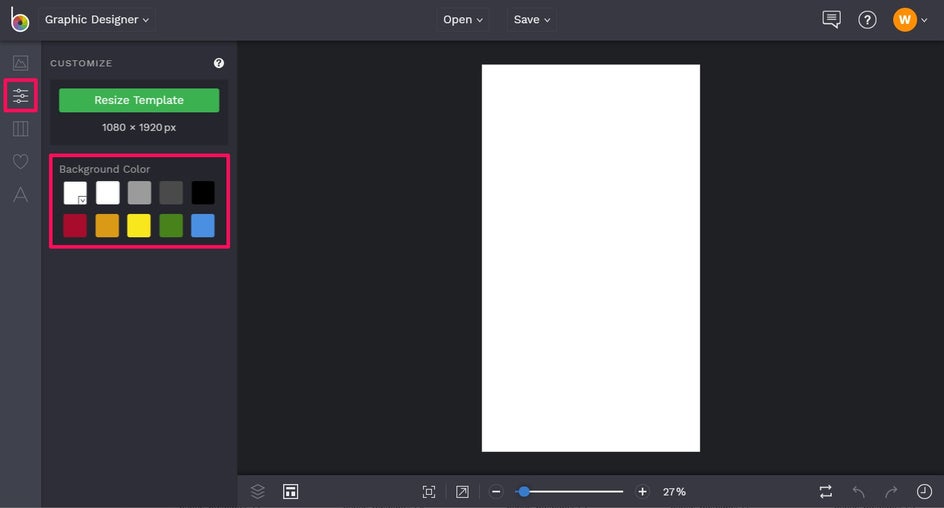
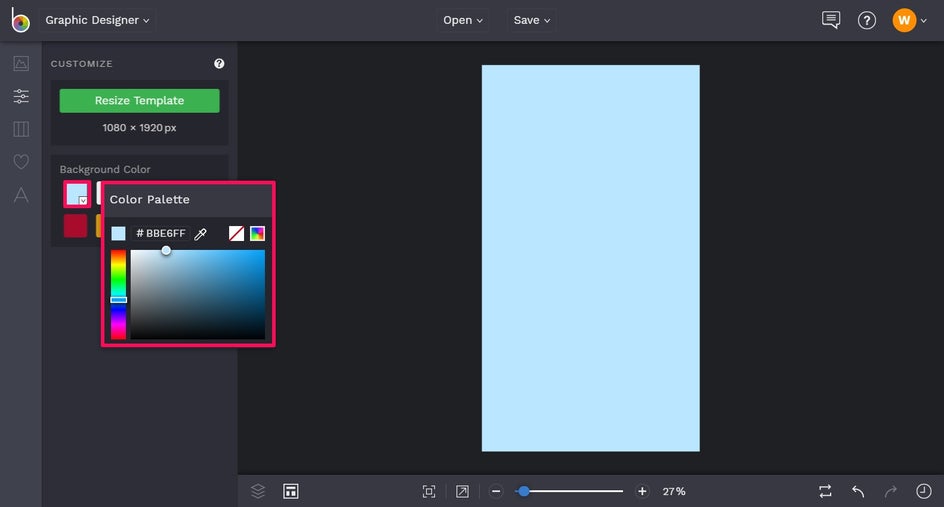
To do this, navigate to Customize in the main menu, then select a color from the different swatches featured, or click on the first swatch (the one with a small dropdown arrow on it) to open the Color Palette, from which you can select any shade you desire.
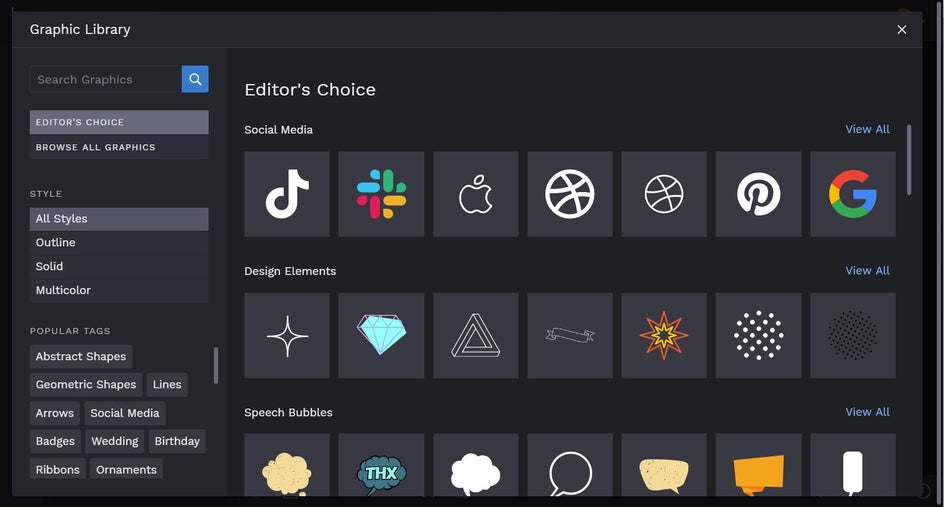
Then, navigate to Graphics (the heart symbol) in the main menu, followed by Search Graphics. This will open our incredible Graphics Library, which is filled with just about any graphic you could need. Type your search term into the Search Bar, browse our Editor’s Choice images, or choose from Popular Tags to get started.
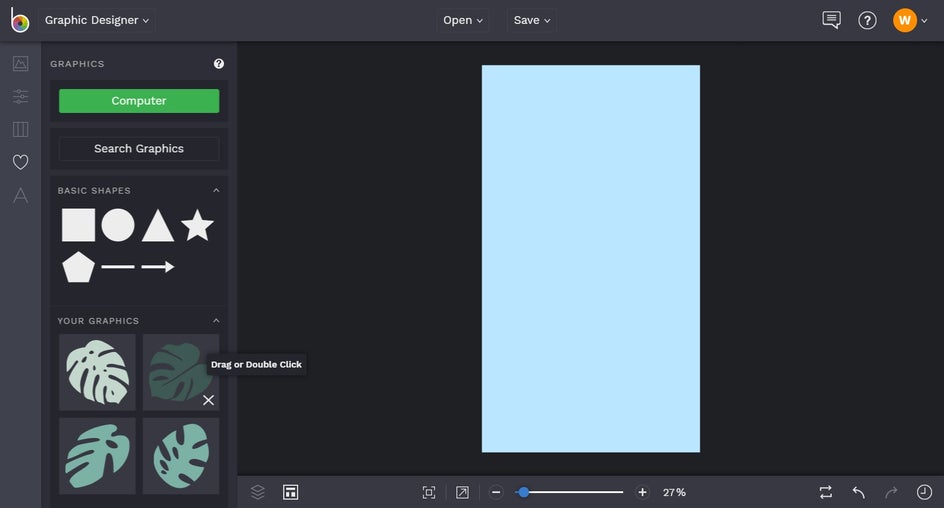
When you see graphics you’d like to add to your collection for use on your canvas, just click on them. Then, drag or double-click the graphics from your collection to add them to your canvas. You can also click and drag the graphics to arrange them into their desired place.
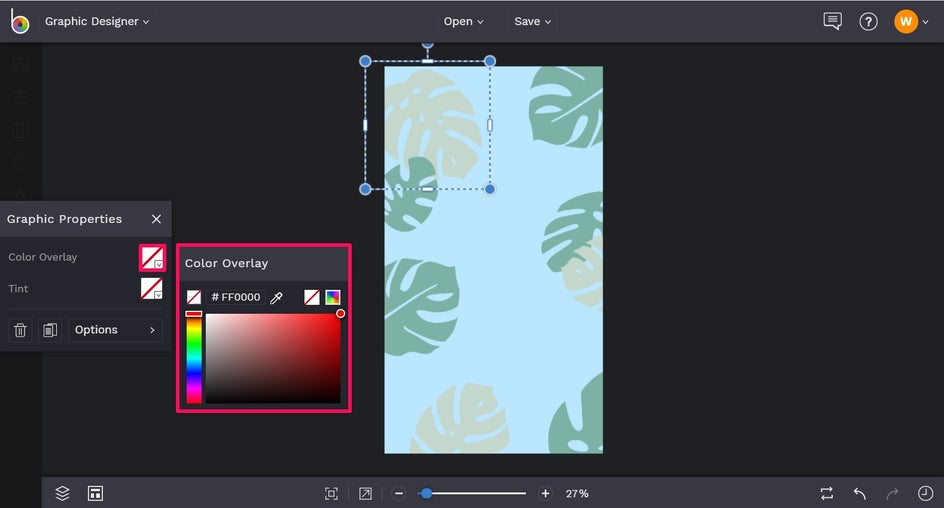
Additionally, you can change the color of each graphic by clicking on it once, then from the Graphic Properties panel that appears, click the square next to Color Overlay. From the Color Palette, select your new color. Alternatively, you can type in the color’s HEX Code (if you know it!) or use the Eyedropper tool to select a color already present on your canvas.
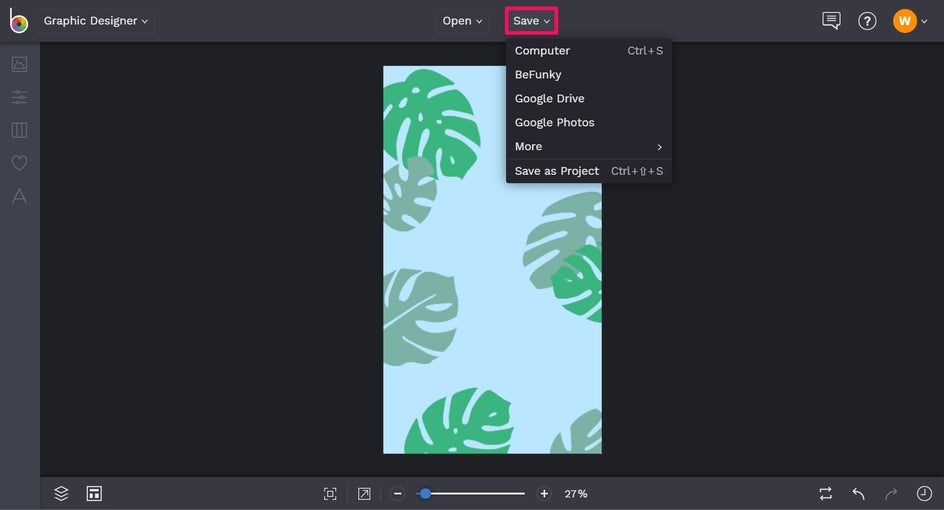
Once you’re happy with your new graphic wallpaper, just click Save, then select your save location. Wasn’t that easy?
Final Results
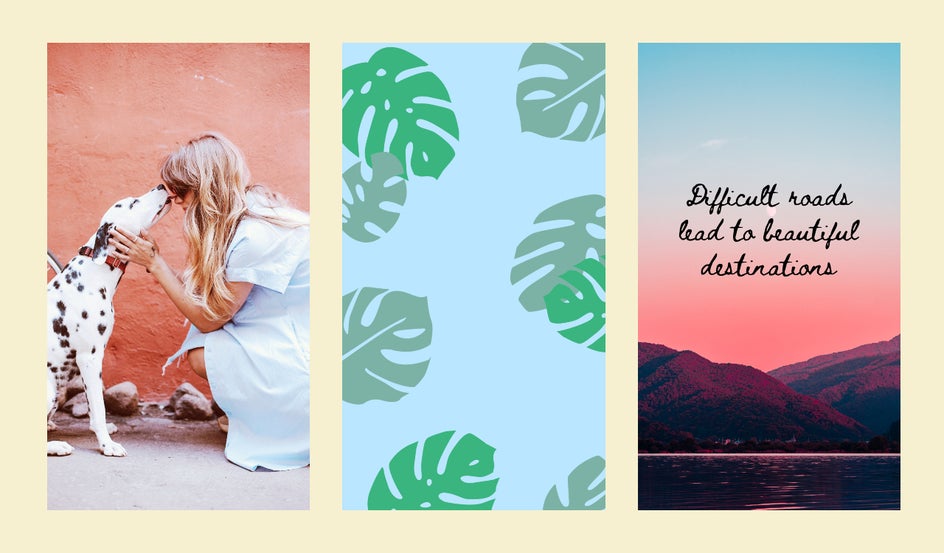
Forget generic phone wallpapers that do nothing for your spirit; make your phone full of good vibes with an uplifting background that’s as unique as you are!