


How to Create Personalized Letterhead Stationery
In the past, letterheads were an important part of business communications. Now, with everything going digital, most communications are also happening in digital form in the form of emails and online messaging platforms. Does that mean that letterheads are out of date? Not so much. Letterheads continue to be used as a way to communicate official messages to other businesses, as well as employees within a business, and function as the official word on matters such as employment, notices, invoices, offers, and internal communications between departments.
When creating assets for businesses, it was always difficult to find the right information for what I needed to include in certain designs and documents. We are going to discuss what a letterhead is, including what you should put on it, and then show you how you can make your very own using BeFunky’s Letterhead Maker.
What Is a Letterhead?
A letterhead is an official document, often from an organization or business, that includes important contact information along with a written letter. Letterheads are different from stationary in that they are more professional and typically include a logo, address, phone number, and other important contact information.
As stated above, these official documents are usually sent by a business to an individual or other organization to communicate important, professional information. You can also create a personal letterhead for yourself or your own brand. This helps to give you a professional look to those you are sending the letter to.
How Do I Create My Own Letterhead?
There are multiple ways to create your own personalized letterhead with BeFunky’s Graphic Designer. You can use one of our many free letterhead templates designed by our in-house team. And if you want to create a custom letterhead, without all of the added contact information, you can simply remove the body copy from any template or start with a blank canvas to start from scratch. This may be the option for you if you prefer to write your messages by hand.
Let’s get started by using a pre-designed letterhead template to make a blank, personalized letterhead.
Step 1: Choose a Letterhead Design
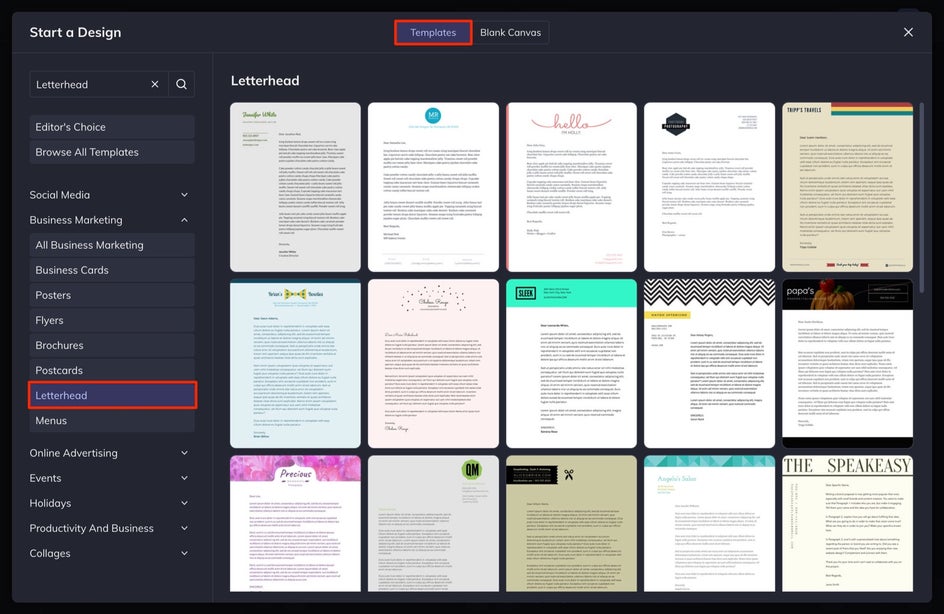
If you want to create your own letterhead, select the Blank Canvas tab at the top of the screen. If you are going to make one from a template like we are, select the Template tab, select Letterhead from the Business Marketing menu, and then choose the design you want. In the window that appears, select Use This Template.
Step 2: Customize the Text
First off, we need to remove the body copy since we are going to print some blank letterheads. That way, we can write our message directly onto the blank letterhead by hand or feed it through a printer when we need our official letter printed. To remove any text box, select the text and hit Delete on your keyboard.
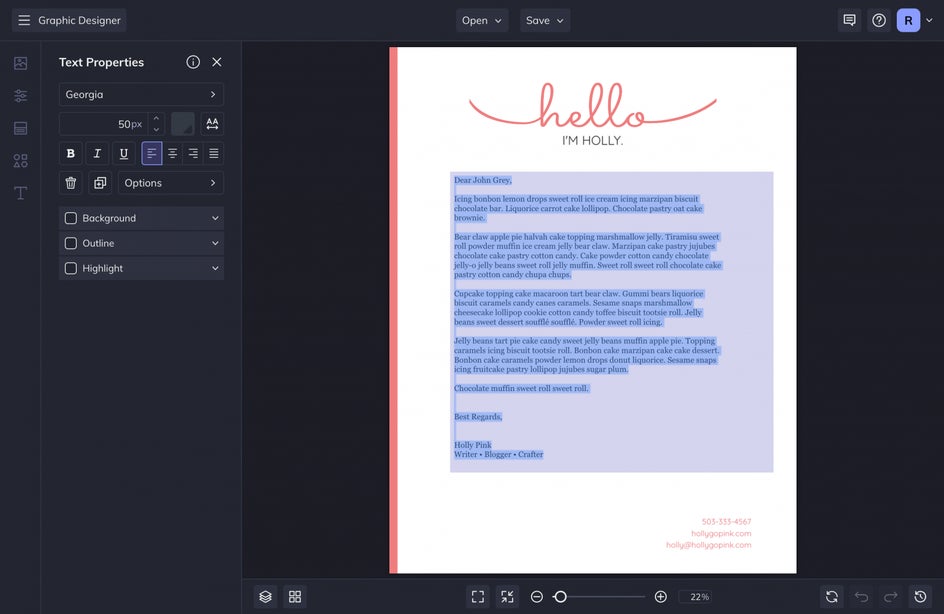
Now, let’s customize the text. To do this, select Text from the left-hand menu. From here, you can Add Text, or you can simply double-click into any text box on the screen to customize it in the Text Properties menu. We are going to change the text to match our name and contact information. I like the look of the Font, but we are going to change the sizing of the text to a smaller size. To do this, I simply select the text box I want to adjust and decrease the sizing in the menu on the left.
Once we have our text updated, it is time to add and adjust the graphics.
Step 3: Customize the Graphics
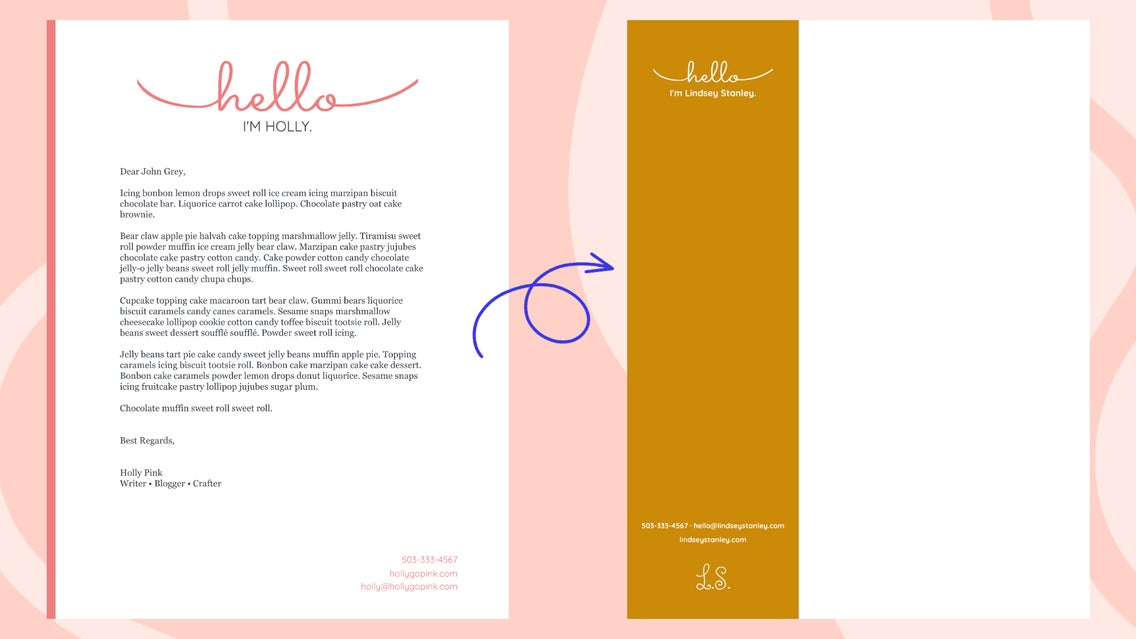
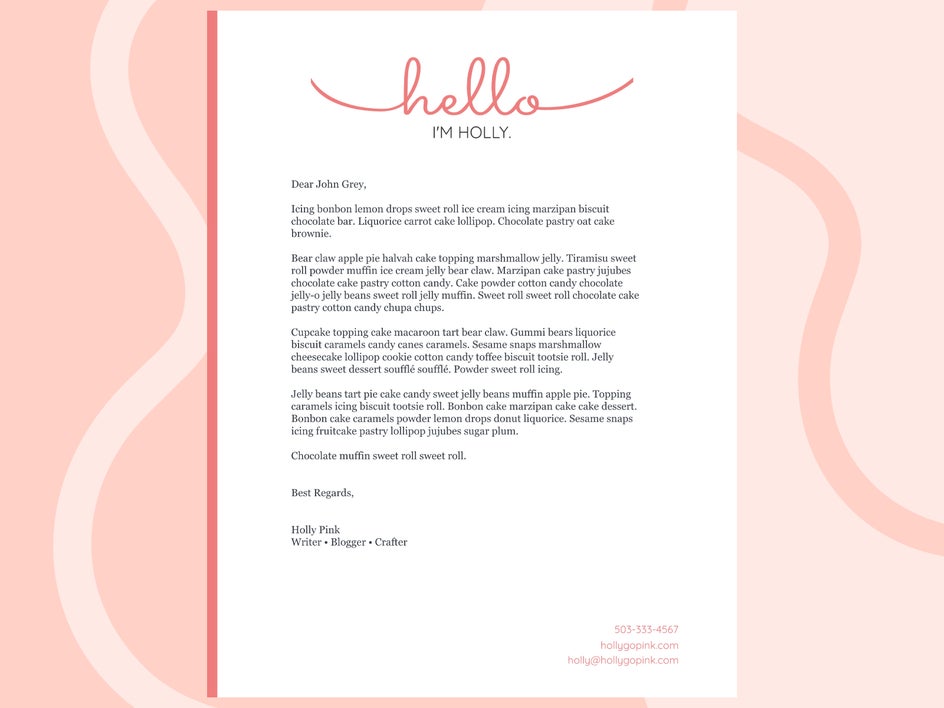
Select Graphics from the left-hand menu. We are going to adjust the long rectangle border on the left side of our letterhead to make it thicker, and then reorient the text to change up the design a bit.
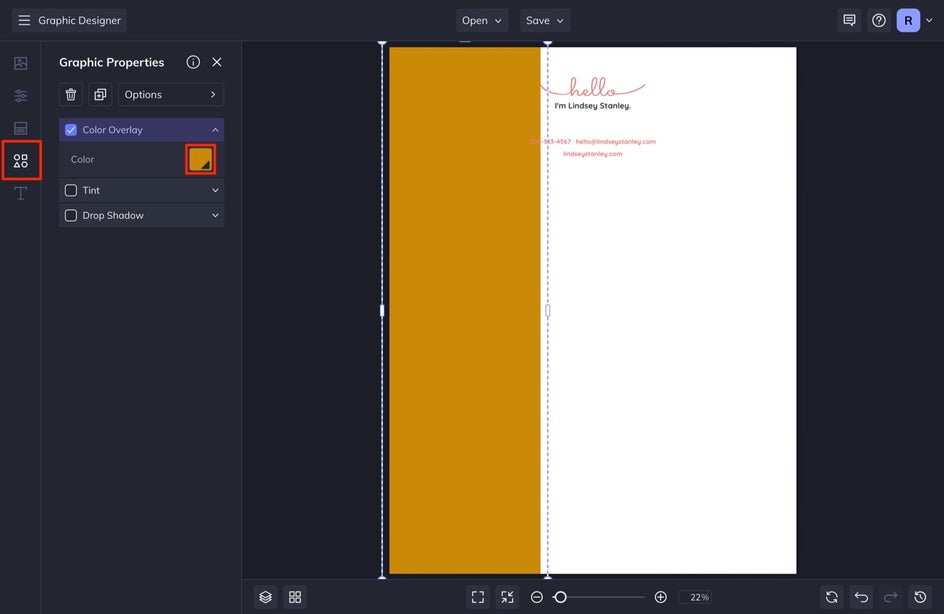
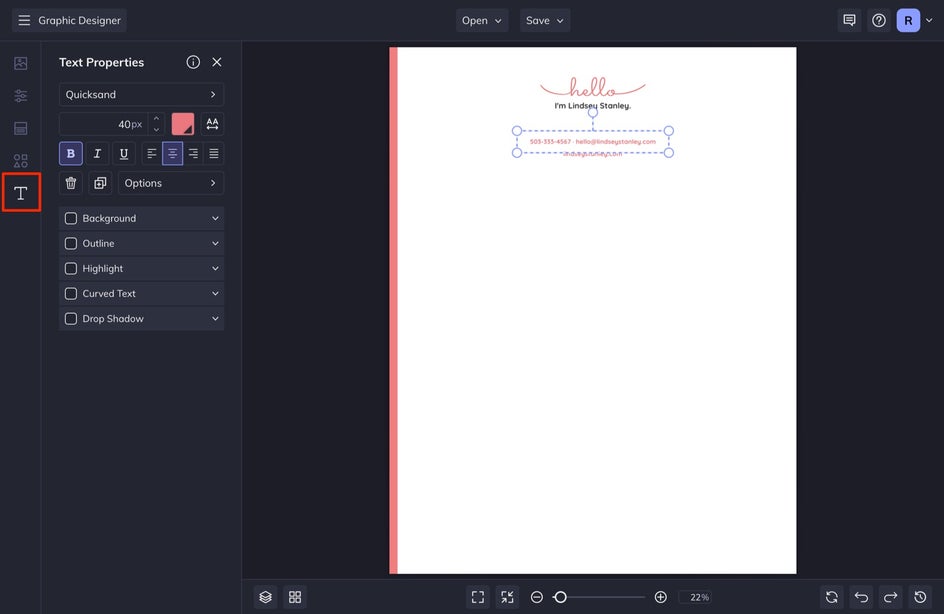
I am simply going to select the graphic and use my cursor to click and pull the center line toward the center of the page to make the line thicker. Then, with the graphic still selected, I am going to adjust the color by clicking the Color Swatch in the Graphic Properties menu. Select the color you want to use. I am also going to do this for the other “hello” Graphic in this design.
After you do this, you may need to adjust the text again by moving it around or by changing the color if you need it to match your design better. Go back to Step 2 to adjust the text. If there is a text box you want to edit, simply select it and customize your look by making adjustments in the Text Properties menu.
Step 4: Add Your Personal Logo
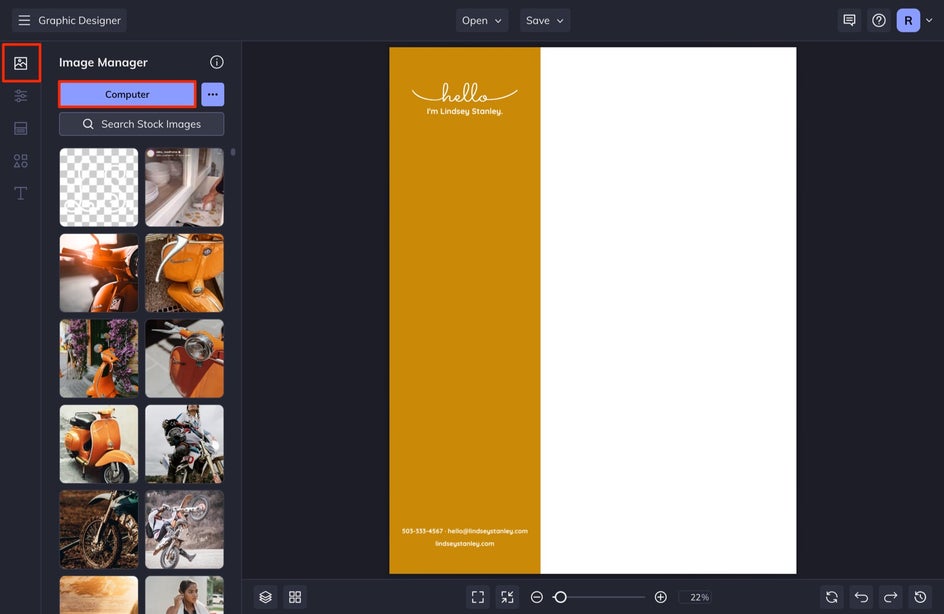
Before we finish, we want to add our logo to this letterhead. If you need help creating or digitizing your logo, check out this article. It is important to upload a PNG file with a transparent background.
To add your logo to your letterhead, go to Image Manager and then select Computer. Locate your PNG file. Your logo file will appear in your Image Manager. Drag and drop your image onto the canvas. You can size it and position it wherever you’d like.
Step 5: Save Your Letterhead
Once you are all finished with your design, it is time to save your letterhead. To do this, select Save at the top of your screen.
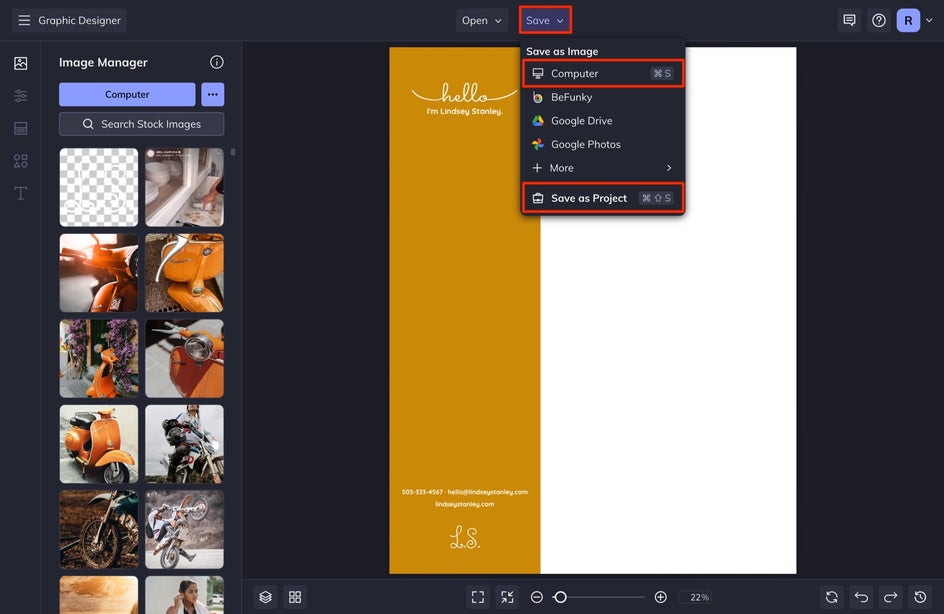
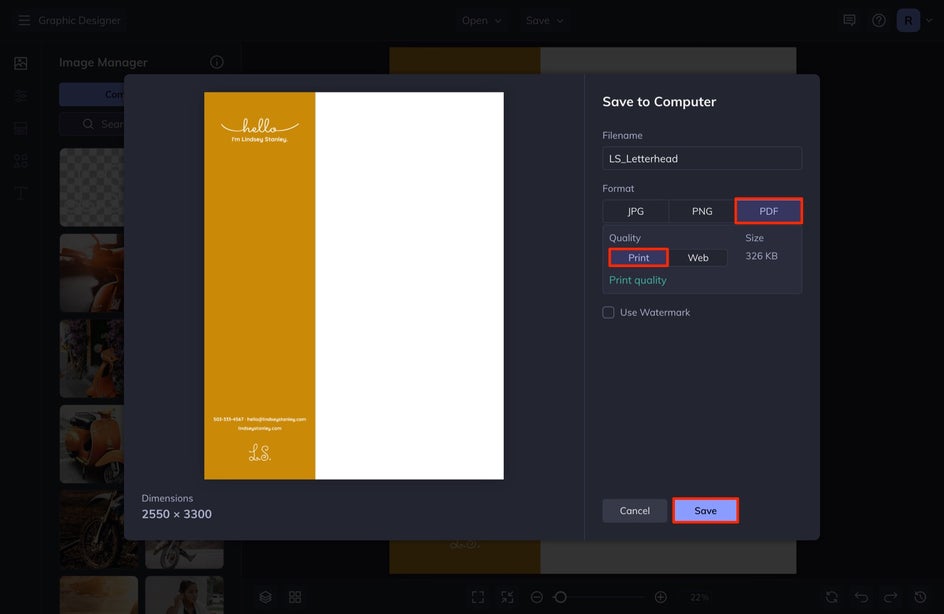
First, we want to select Save as Project so that we can come back and edit it at a later date if we need to. Next, we will also select Computer and then save it as a PDF with the Print tab selected. This will allow us to print the file onto paper and maintain the proper coloration in the printing process.
That’s it! Check out how you can customize your own letterhead from one of our many letterhead templates.

Easily Create a Custom Letterhead for Free!
That is how you make your very own custom letterhead using BeFunky’s Letterhead Maker. You can use letterheads to write official business communications, or simply keep a personal letterhead for the times that you need to send a note to someone but want more of a professional touch.


