Add a Themed Frame to Your Holiday Photos
With a holiday on the horizon, one thing becomes obviously clear. It’s time to start preparing family holiday photos. We know your to-do lists can start to pile up pretty quickly. So to help lighten the load, we’ve prepared a quick and easy tutorial to help you get your family photos holiday ready! Today, I’ll show you how to make your family photos more festive using photo frames. With that said, let’s get started!
How to Make Your Family Photo More Festive
Before we dive in, you’ll want to have your family photo ready if you plan to design it with me in real-time. If you prefer to use this tutorial to experiment with ideas for holiday photos, feel free to use one of our stock images. With housekeeping out of the way, click here to open the Photo Editor to follow along. Similarly, you can go directly to the Frames tab by following this link.
Step 1: Upload Your Photo
To upload your photo, click Open at the top of your canvas and select your desired photo. Or, you can just as easily drag and drop it directly from your computer.

Step 2: Choose Your Frame
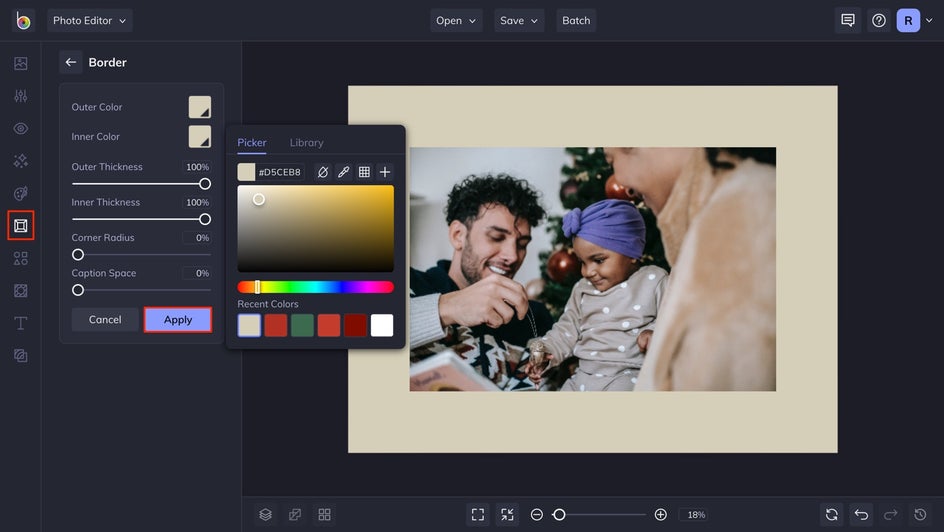
Next, you’ll want to add a frame to your photo. Head to the Frames tab to view our various frame options. Click on each option to preview how it will look when applied to your photo. After selecting a frame, options specific to that frame will appear to help you customize it to your liking. Once you’re happy with your frame, click the Apply button.
Step 3: Make It Festive
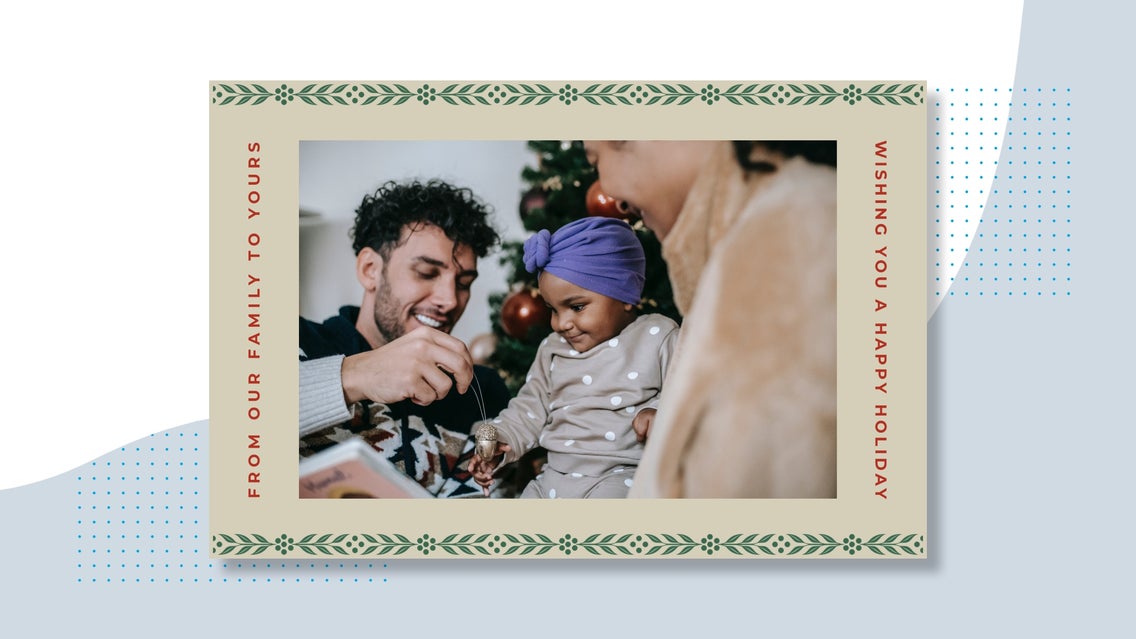
As you can see with our example, we've stacked a regular Border frame with an Ornament frame (Ornament 13) to create an original, festive design. You can also experiment with graphics, text, and color to make it truly unique.

Step 4: Add Some Text
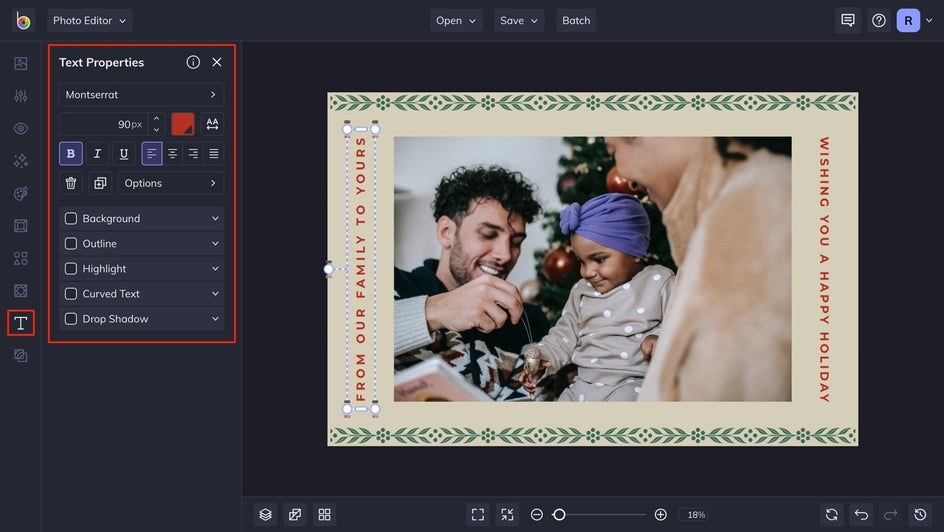
If you're looking to send your framed photo to someone else, it's time to add a cheerful holiday message! Start by clicking the Text tab, followed by the Add Text button. Using the Text Properties menu that pops up, you'll be able to customize various aspects of your text. Use your creativity and play with different fonts, colors, and effects to achieve the look you’re after.
Step 5: Save Your Framed Photo
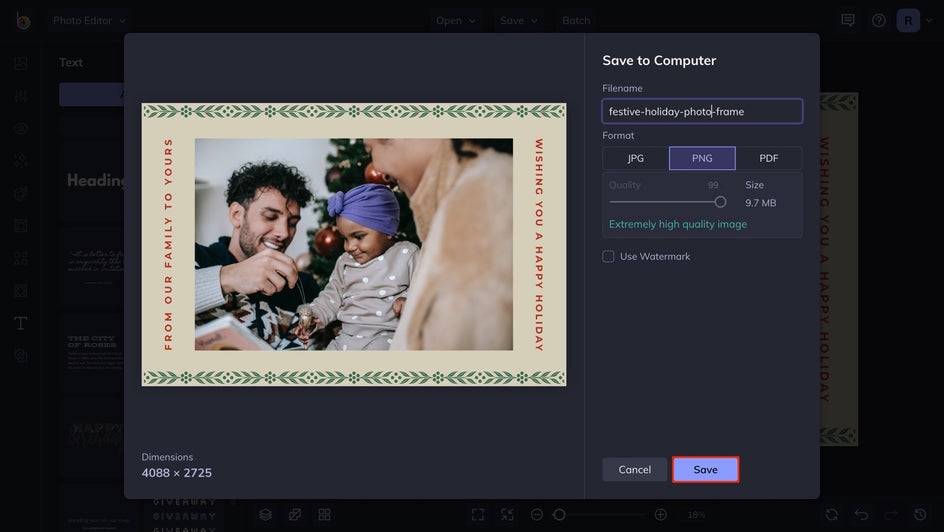
Once you’re satisfied with everything, click the Save button at the top of your canvas to save your photo to your desired destination. If you plan on printing your photo, we recommend saving it as a PDF. Otherwise, if you plan to share it digitally or on social media, we recommend saving it as a high-quality PNG.
Add Some Festivity to Your Holiday Photos
With so many things to do and so little time to do them, this holiday season, avoid the holiday hassle and give yourself the gift of one less thing to stress about. With instant frames, ready-made templates, a variety of graphics, and endless customization options, BeFunky’s Photo Editor and Frames makes it easy to add holiday cheer to any photo.

BeFunky Frame Inspiration
Here are a few other refreshing ways to make your special occasions and holidays more memorable and celebratory with BeFunky's photo frames!
Instant Frames for Making an Impression
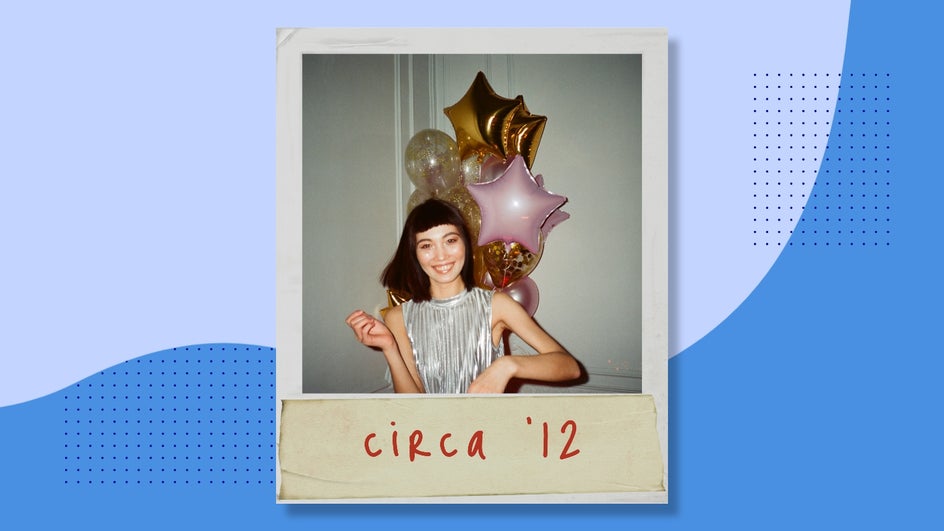
Instead of uploading your photos directly to social media, why not give them the classic Polaroid treatment first? Make an impression on your followers by diverting from standard post formatting.
Vintage Frames for a Classic Feel
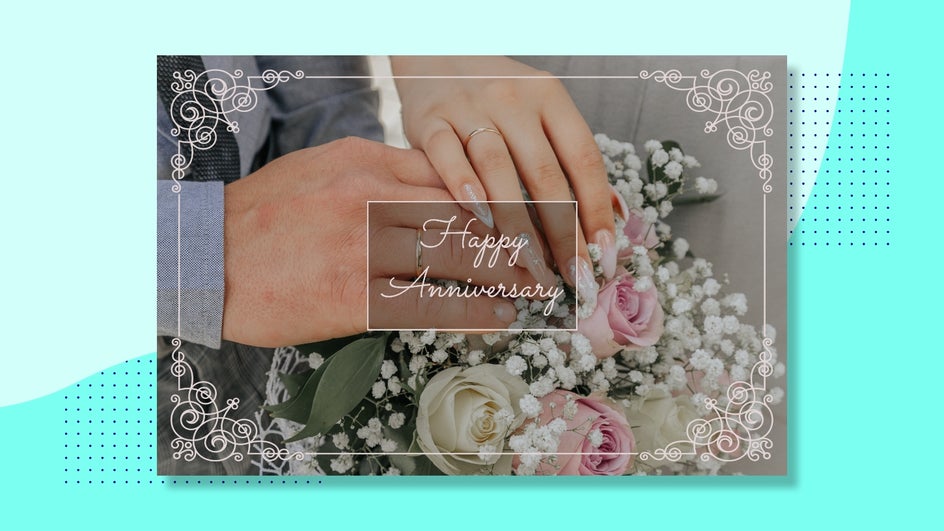
Wedding anniversaries are the perfect occasion to put on a classy blazer or an elegant dress and celebrate your special day with your special someone. After you memorialize the day, add a touch of class to your photos with our vintage frames.
Hand Drawn Frames for a Personal Touch
Some holidays call for family members to gather, roll up their sleeves, and lend a helping hand to one another. For precious and personal moments like these, add a human element to your portraits with the Hand Drawn frame!
