Our Favorite Touch Up Tools for Enhancing Eyes
There is a reason why poetry, literature, makeup artistry, and so many other artistic mediums place such an emphasis on the eyes. Looking into a person’s eyes is one of the main ways we connect with them, participate in their world, and better understand their emotions.
In portrait photography, the first thing we are drawn to visually is the eyes. Because of this, as a portrait photographer, it is imperative that when photographing someone's face, you focus on their eyes so that they are the sharpest part of the image. The goal with portrait photography is to captivate your audience and be able to accurately capture an emotion that your audience can relate to.

Thankfully, BeFunky’s Photo Editor comes equipped with Touch Up tools that help you brighten eyes, edit eye color, get rid of red-eye, and much more. These tools will ensure your portrait photos and selfies will make a statement.
Our Favorite Touch Up Tools for Enhancing Eyes
Whether you’re born with naturally captivating eyes or you think you have boring eye color, BeFunky’s Touch Up tab has the tools necessary to enhance any eye. Here are some of our favorite tools for enhancing eyes, and how to use them.
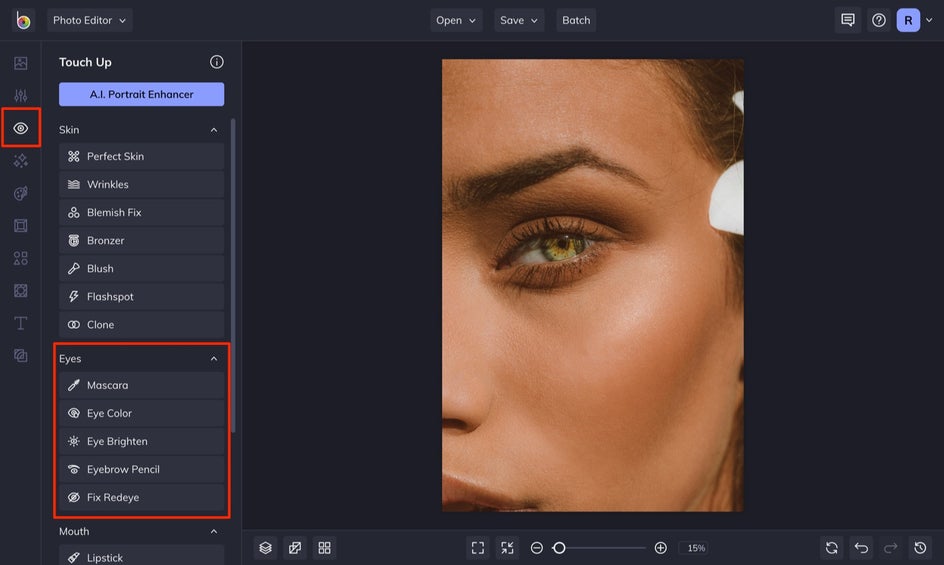
You can find each of these tools in our Photo Editor by selecting the Touch Up tab, found in the left-hand menu.
Fix Redeye
Red-eye typically occurs with flash photography. Although flash photography is not as common as it used to be, red-eye photography is not yet a thing of the past. Luckily, the Fix Redeye tool does just what it says! This is a great tool to have on hand when removing red-eye in new photos you’ve taken or in old photos that you’ve scanned in from the past.
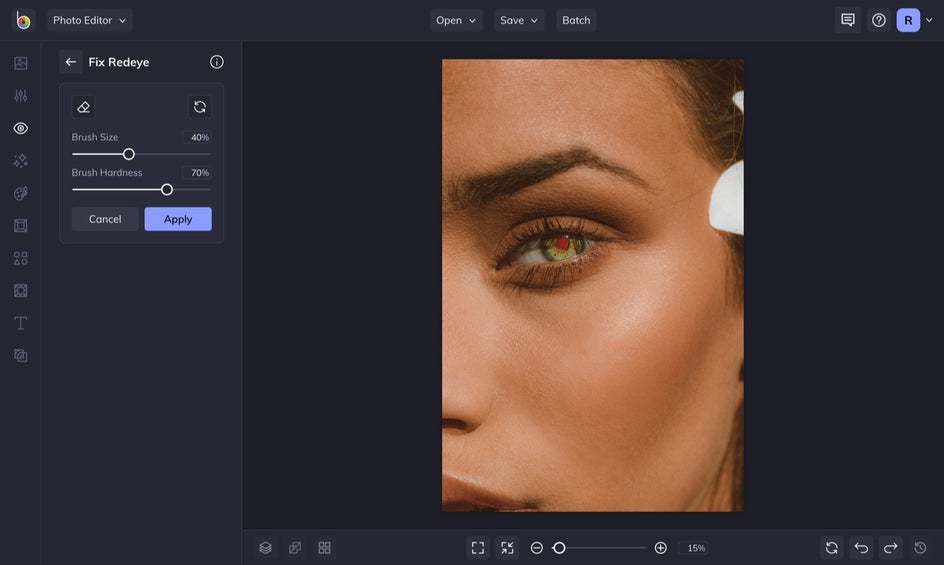
To use it, click on Fix Redeye under the Eyes category. Use the bottom toolbar to zoom in to your photo so you get a nice close-up view to work with. Adjust the brush size and simply paint over the section of your eye that is red. You will see those red spots fade like magic.
Eye Brighten
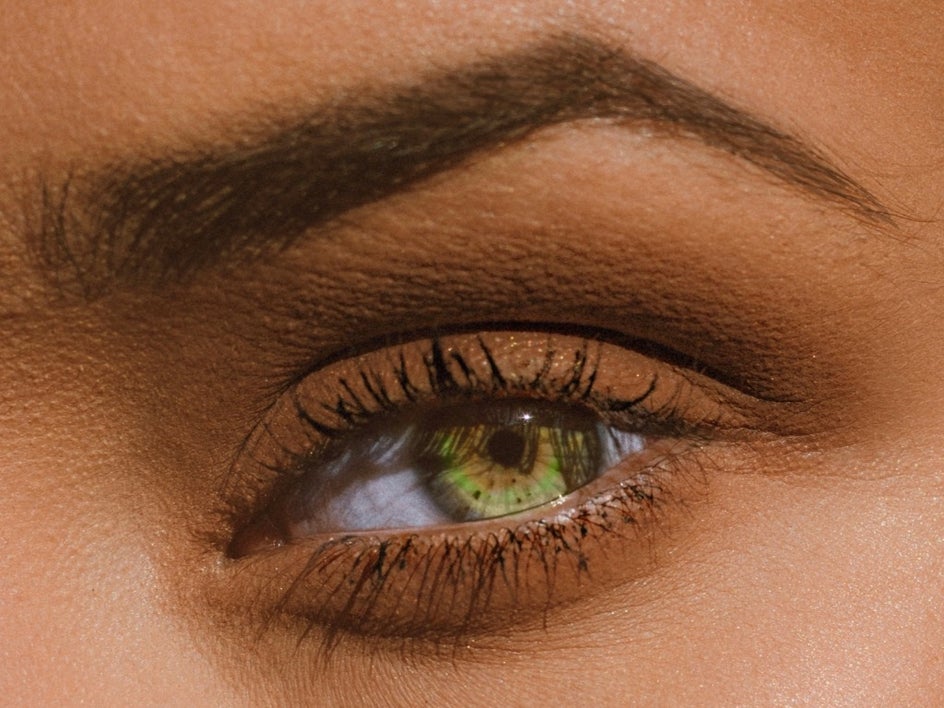
Sometimes after taking a photo, the whites of the eyes can look reddish, yellow, or dull depending on the lighting. Bright eyes are a sign of youthfulness and health, so it’s important to make use of the Eye Brighten tool when needed.

Click Eye Brighten. Adjust the brush size, and make sure the brush hardness is turned down to about 50% or less (that’ll make the edges where you paint blend better with the rest of the image). Then, paint over the whites of the eyes to brighten them.
Too much of anything can be bad. In this case, you don’t want the whites of the eyes to look unnaturally white or cartoonish, so be sure to work in quick, short movements. The longer you hold the mouse or trackpad down and paint over the whites of the eyes, the brighter they will become.
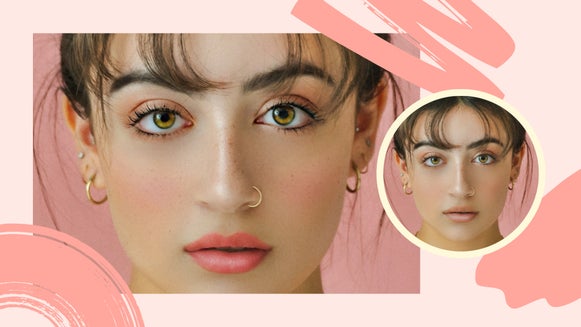
Eye Color
We always want what we can’t have, right? Blue-eyed people want hazel eyes and brown-eyed people want blue eyes. Thankfully, with the Eye Color tool, you can change the color of your eyes completely or enhance the color you already have in a couple of easy strokes.

Select Eye Color and simply choose a color from the preset color palette or use the first tile to choose from an even wider range of colors. After that, simply paint over the colored part of your eye, being careful not to paint on the whites or lid.
If you’re wanting your eye color to look really natural, adjust the strength slider to the lower end and choose a color from the color palette that’s slightly lighter or darker than your own. A slightly lighter color can bring out the highlights in your natural eye color, and a slightly darker color can help bring out the lowlights.
Macara
Whether you’re going for a natural look or full-on glam, the Mascara tool will help accentuate your lashes without the hassle of applying the real thing.
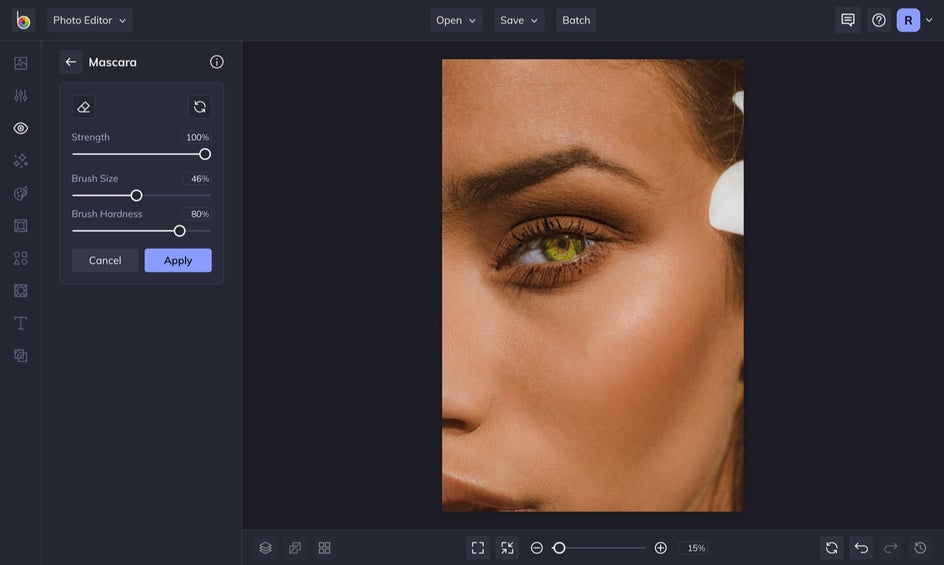
To achieve more dimensional lashes, select the Mascara tool, adjust the brush size, and swipe your brush as close to the lash line as you can. You will see the lashes begin to develop into a darker and more contrasted look. From here, you can use the Strength slider to control how subtle or bold you want your lashes to be.
Eyebrow Pencil
For enhancing eyebrows, select the Eyebrow Pencil tool. You’ll be able to select from the color presets under Color Palette, or click the first tile to choose from an even wider range of colors. We recommend using the Eyedropper tool to select the same color as your natural eyebrows.
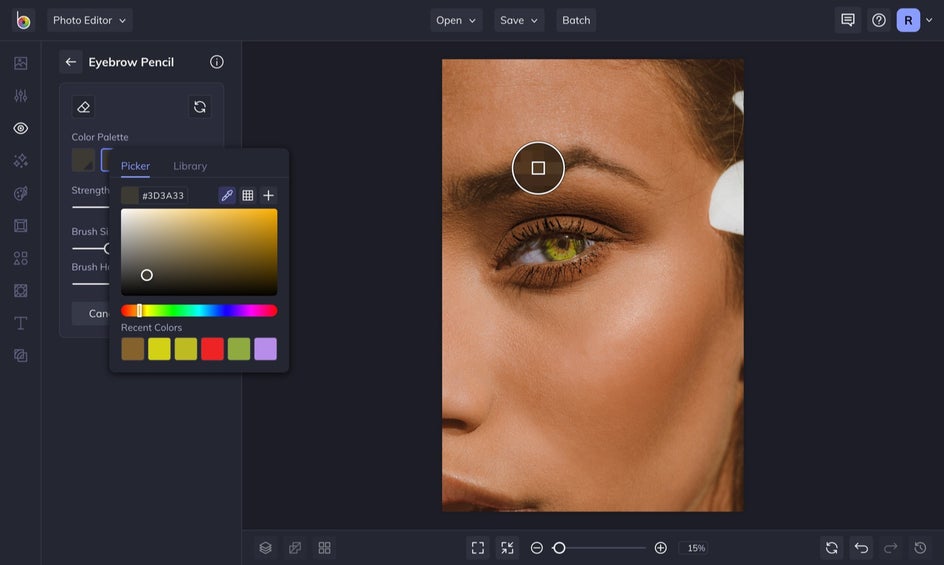
When you’ve got the perfect color selected, adjust your brush size and brush hardness, then swipe your brush over the eyebrows. If you happen to paint outside the lines, the erase icon can help you clean up any areas you need.
Pro Tip: Use our other Touch Up tools to add lipstick, erase blemishes, smooth skin, and more!
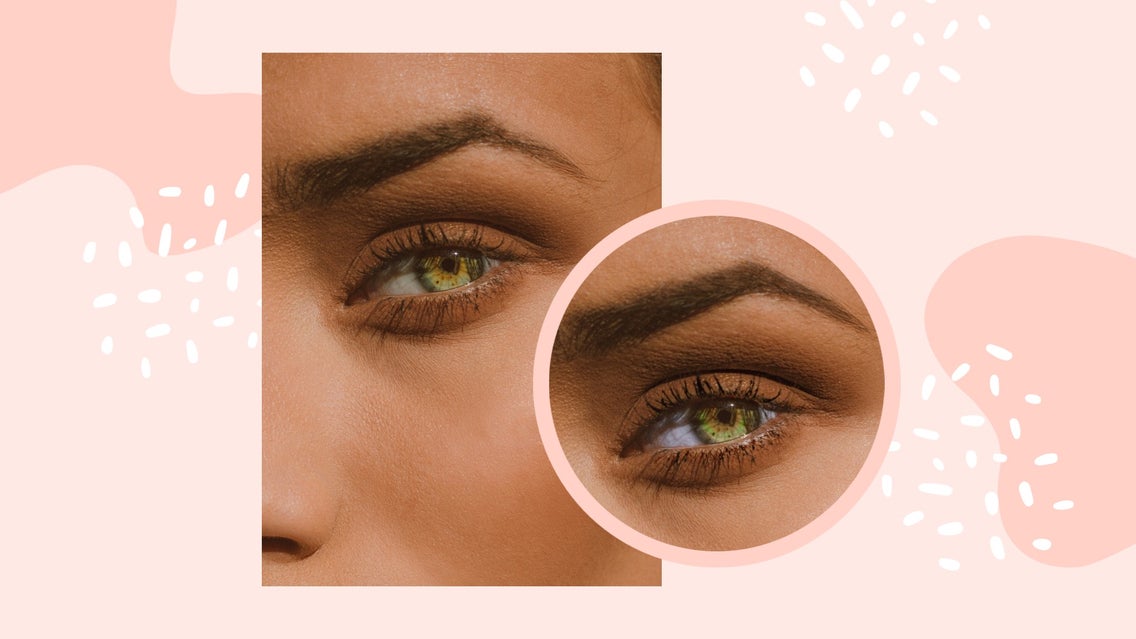
Make Your Eyes Pop With BeFunky's Touch Up Tools
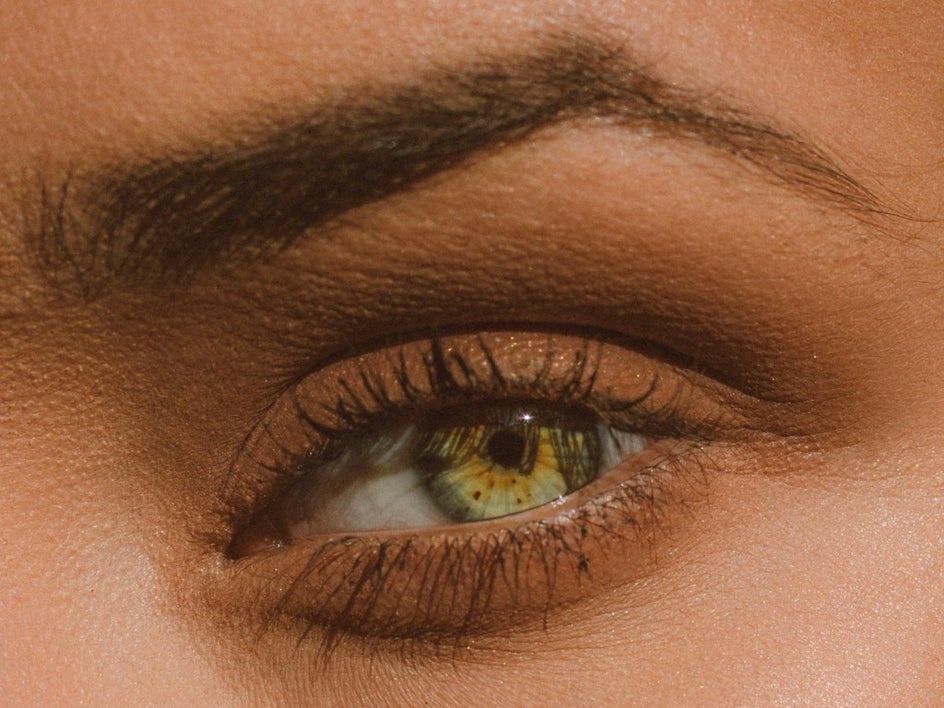
Just look at how much more these eyes pop with just a few applications from our Touch Up tools tab. Although beautiful, the previous image’s eyes felt a bit dull. By enhancing the eyes and eyebrows, we've achieved a much more dynamic look.
And once yours portrait's eyes look striking, you can keep the editing process going by applying the AI Portrait Enhancer for some extra refining, some Photo Effects to add an artistic touch, and more!