How To Dodge And Burn With The Exposure Tool
Exposure is one of the most important aspects of photography. In order to have a beautiful photo, a harmony must exist between the highlights and shadows. Your goal is to take a photo with a relatively balanced tonal range, but sometimes when you take a photo, this relationship can be imbalanced. Under certain lighting conditions like direct sunlight or lowlight, your resulting image can produce really harsh contrasts between the highlights and shadows in an image.
The bad thing about having bright highlights and dark shadows in a scene is that detail can become lost within each intensity. When you try to brighten ultra dark shadows in post-processing, those areas can become grainy and full of noise. Similarly, a muddy effect happens when you significantly decrease the exposure or highlight levels on your image. So what happens when you need to decrease exposure on one part and increase it on another?
Luckily, you can use BeFunky’s Exposure tool in Erase Mode as a Dodge and Burn tool! This allows you to paint specific levels of exposure exactly where you want them on your image without affecting other areas, which will overall create a more balanced tonal range.
What Does It Mean To Dodge And Burn?
Dodging and burning are two terms that originated from the developing process of photography shot on film and simply mean to brighten (or dodge) and darken (or burn) parts of your image. When developing film in a dark room, a light passes through the negatives to penetrate special photo paper. The longer the light is exposed on the paper, the darker the print will look. Keep in mind that the language sounds a little backwards here. In modern editing, the higher the exposure, the brighter the image, right? When dealing with negatives, the opposite is true. When over-exposing your image by allowing light to hit the paper longer, the darker the image will become, thus creating a "burning" effect.
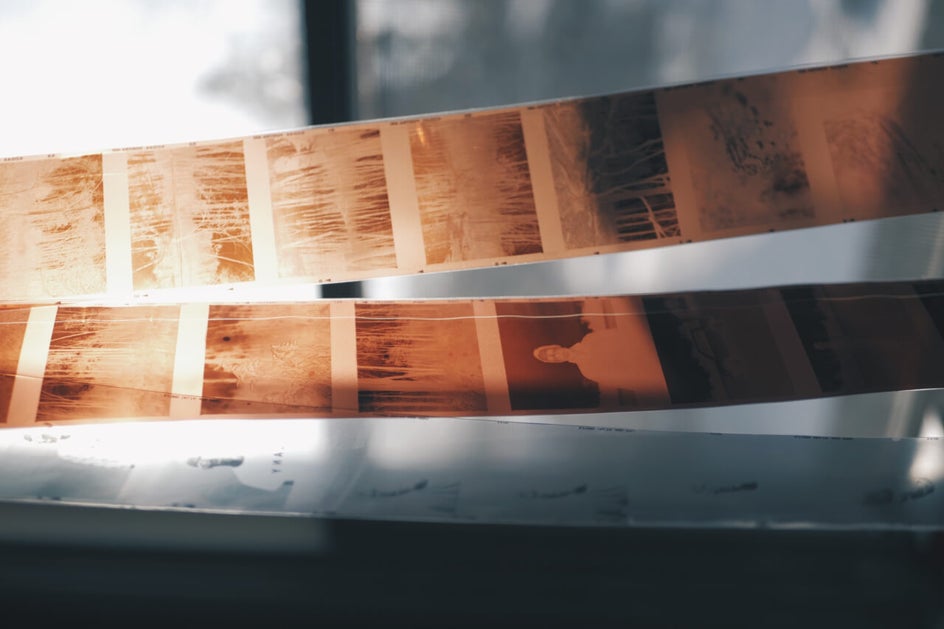
The opposite is true as well; if you block the light, or “dodged” it from hitting certain parts of an image, it would keep those portions of your photo brighter. The amount of light used to expose an image would need to be manipulated on certain parts of an image in order to develop a good tonal range on a print. For example, let’s say you shot a landscape photo that had a brightly lit sky and a dark foreground. When developing this particular scene in a darkroom, you could burn the top of the image to allow the sky to become darker and more detailed and then you could dodge the light in the foreground, keeping the landscape evenly exposed.
With modern photo editing tools like BeFunky, you can get that same darkroom experience in a much more efficient way. Using the Exposure tool in Erase Mode as a Dodge and Burn tool will add dimension to specific areas of your photo, thus creating a fuller and more detailed image.
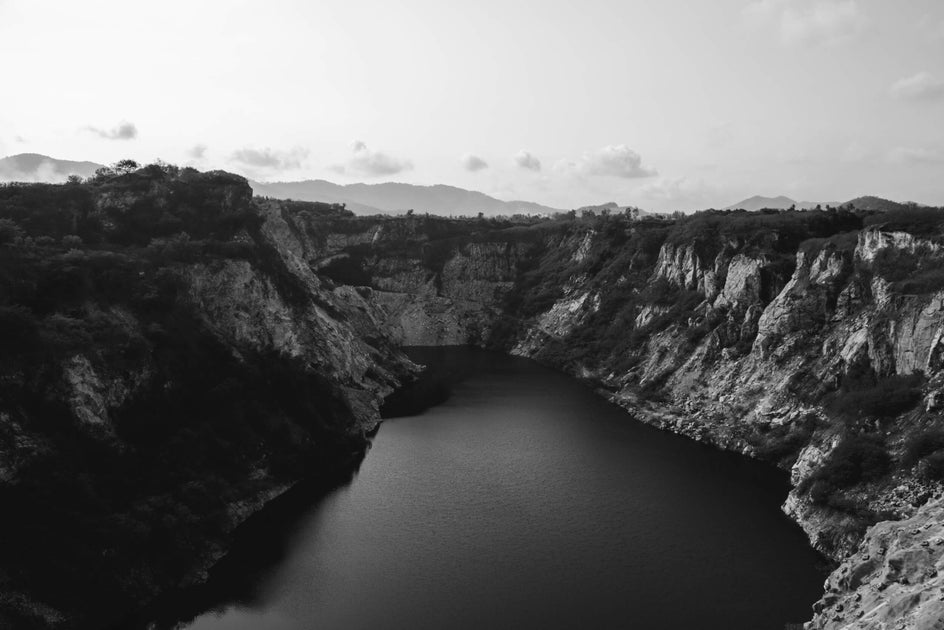
Keep in mind that your eye is directed to the brightest parts of your photo first and if the main subject in your image is dark, your audience will miss what you are trying to convey. It can even rescue the most problematic of photos, bringing detail to underexposed images and overexposed images alike. We’ll show you how in the next section!
How To Dodge And Burn With The Exposure Tool
To get started, upload your image into BeFunky’s Photo Editor by selecting it from the Open tab or simply dragging-and-dropping the image file right into the interface, then select the Exposure tool from the Edit menu on the left.
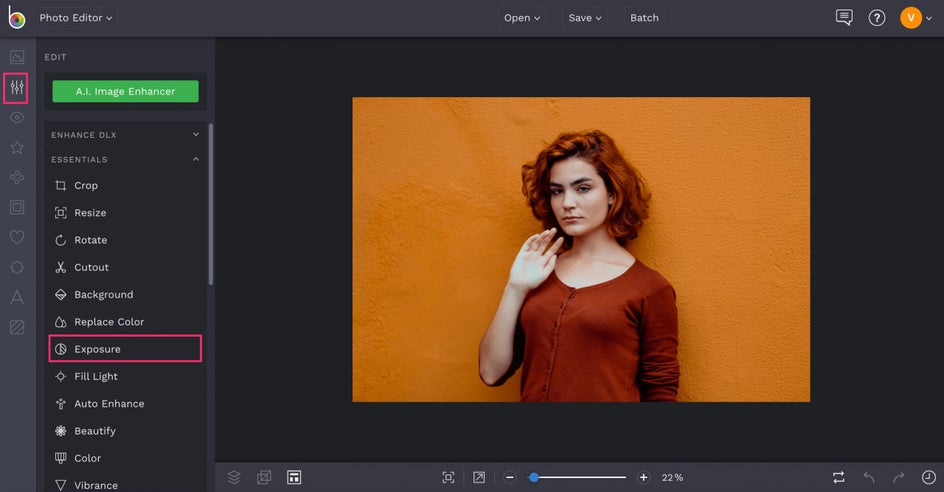
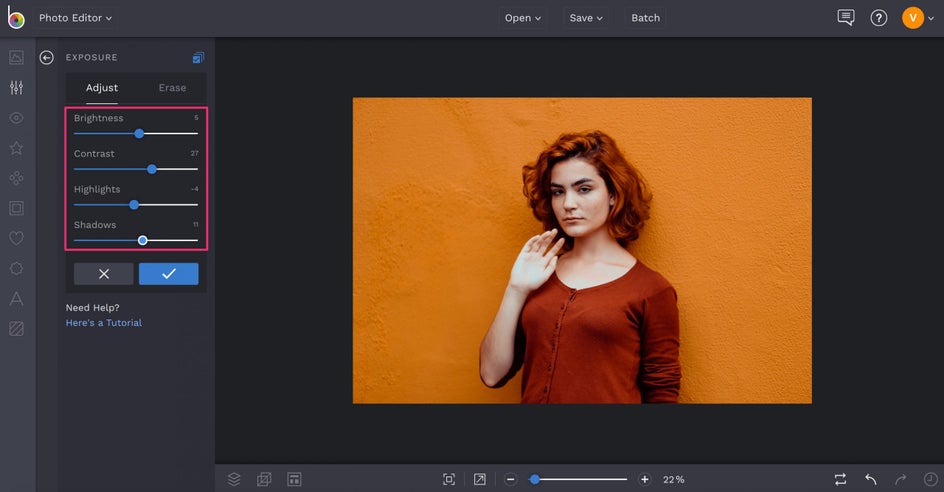
Once you've got the Exposure tool open, adjust the exposure of the whole image by dragging the sliders until you have a good starting balance between the highlights and shadows. Once you feel like your tonal range is close to balanced, click the blue checkmark to apply the effect as a starting point.
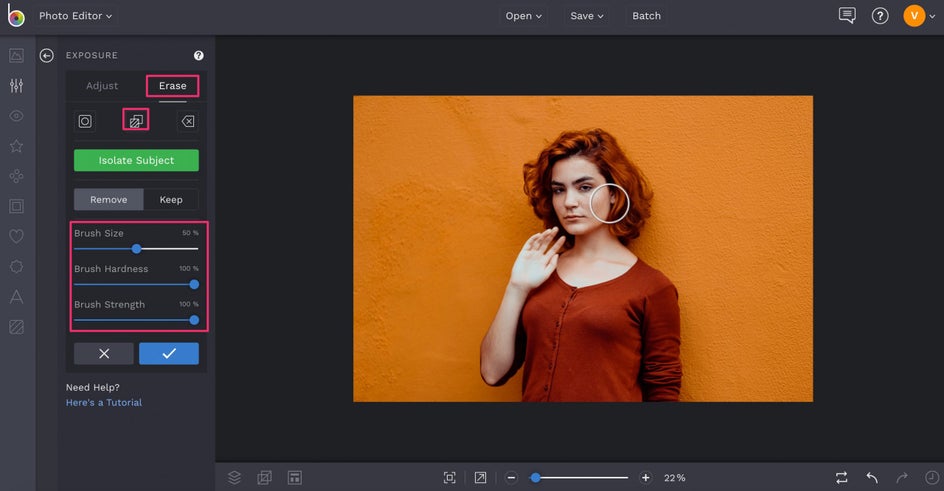
Select the Exposure tool again and click the Erase tab (next to Adjust) in the Exposure tool menu. To dodge (or brighten) portions of your image, select the Inverse icon (the two overlapping squares) and adjust your Brush Size accordingly, then paint over the parts that you want to brighten.
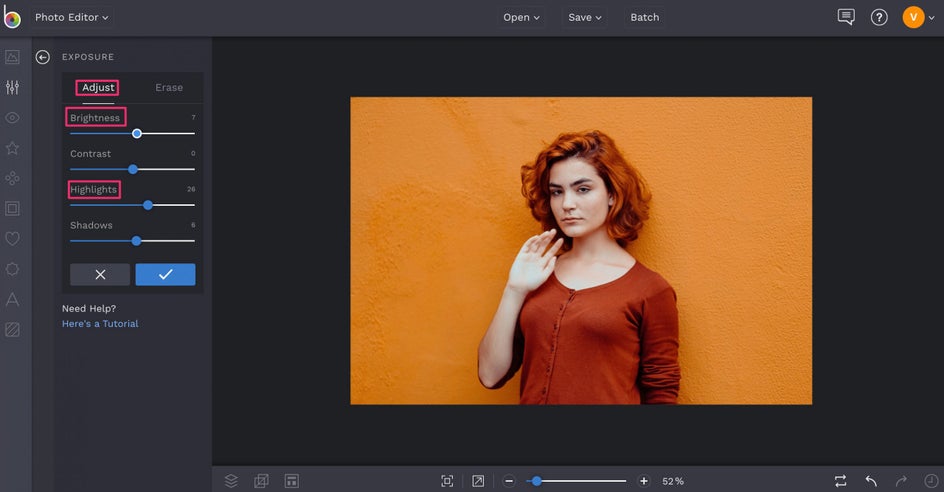
Click back over to the adjust tab and increase the Brightness and Highlights using the corresponding sliders and watch those areas you previously painted over brighten. Click the blue checkmark to apply the effect.
Pro Tip: To make the dodge effect more subtle, decrease the Brush Hardness and Brush Strength when in the Paint tab.
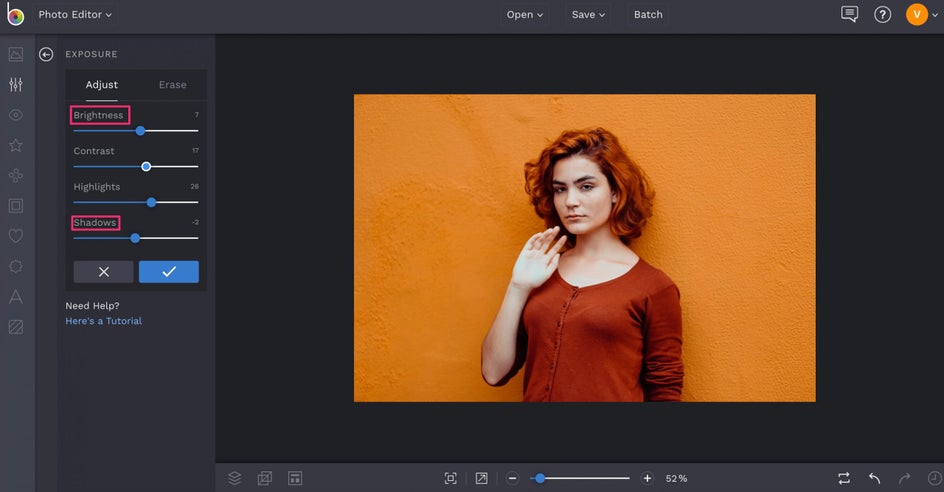
To burn (or darken) portions of your image, open the Exposure tool, select the Erase tab and click the Inverse icon. After adjusting your Brush Size accordingly, paint over the area of your photo you would like to darken. Click back to the Adjust tab and decrease the Brightness and Shadows sliders until you like what you see.
Think of burning and dodging as you directing light to different parts of your photo. Keep in mind that you want this to look natural, so take notice of how the light is naturally hitting your subject and mimic this light direction.
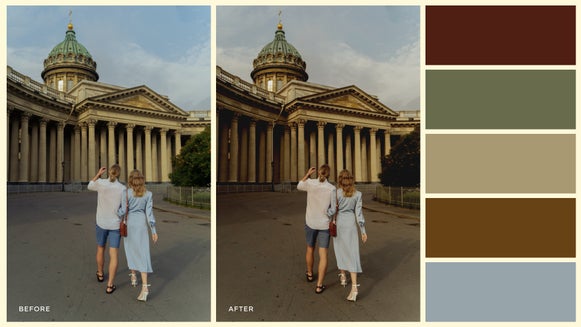
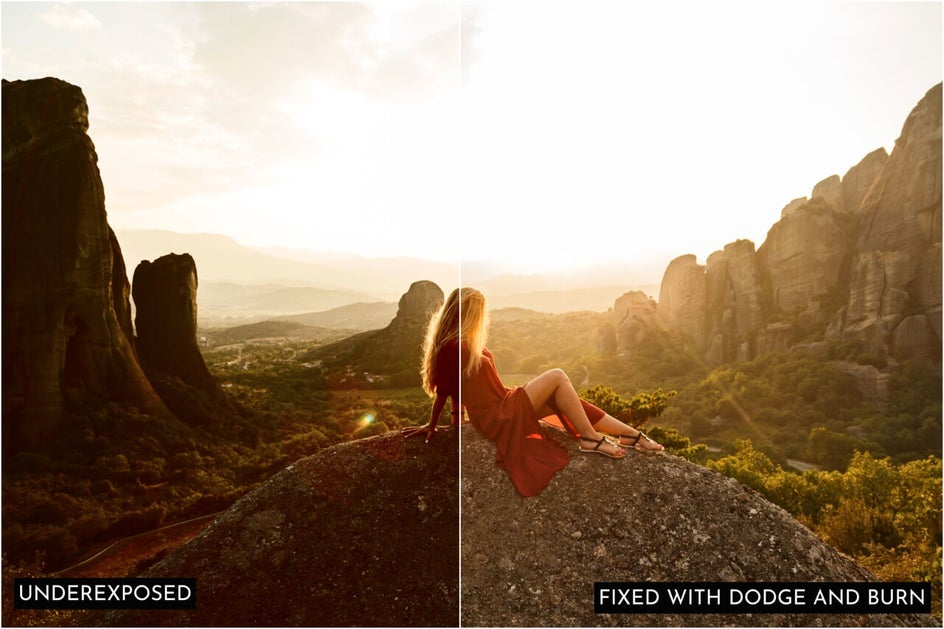
Before And After

BeFunky’s Exposure tool can be a huge help in rescuing photos that are overexposed, underexposed, or imbalanced when it comes to the lighting. A photo that you think is too far gone can actually be turned around and manipulated to make something truly amazing.
Ready to become a dodge and burn pro? Try the Exposure tool in Erase Mode and become a photo editing wizard. You’ll be amazed at what you can do with your photos!