The Digital Pixelate Effect for Every Occasion
Have you ever wanted to pixelate a face online or make a digital, pixelated work of art? Whether you want to censor an image or turn a photo into a stunning work of art – there are plenty of ways a digital pixelate effect can come in handy.
Forget expensive software or manually pixelating your image, however. Thanks to BeFunky’s Funky Focus tool and its ability to create one-click digital pixelation, doing so has never been so easy!
Keep reading, because we’ll not only show you exactly how you add this effect to a photo, but we’ll also show you all the cool ways you can use this handy effect.
How to Create a Pixelated Blur Online Using BeFunky
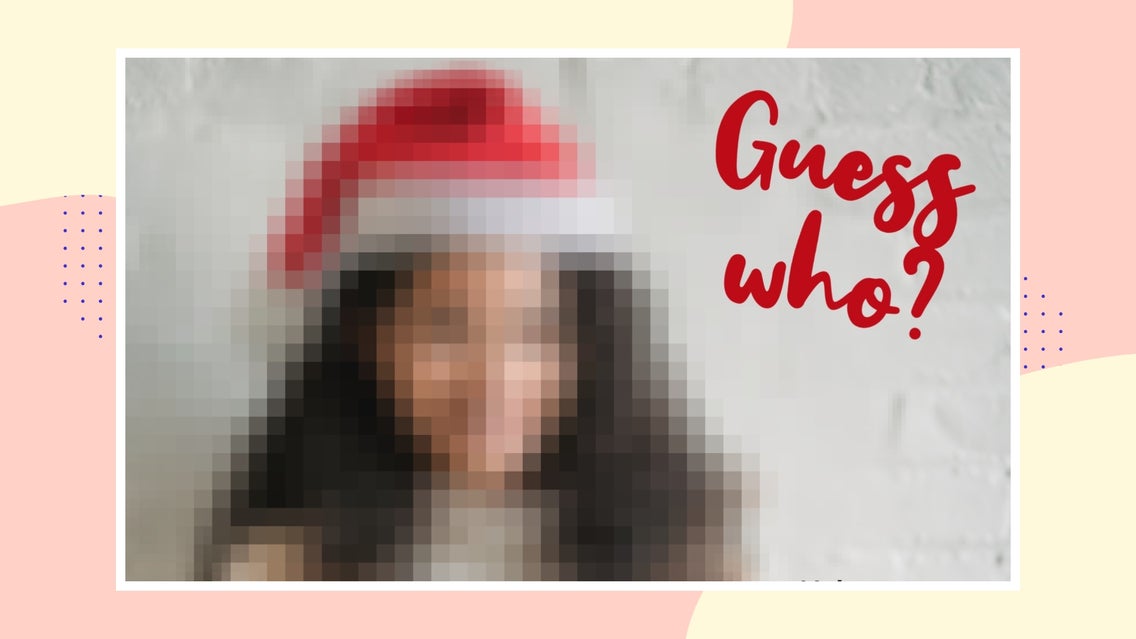
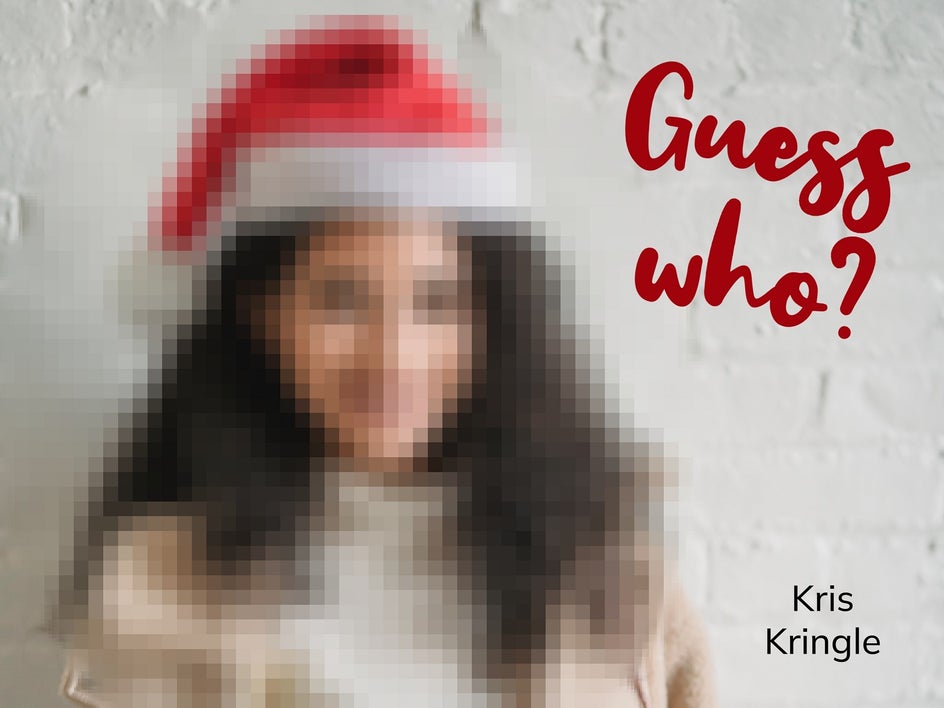
Ready to make a pixelated blur? When used on a Secret Santa card, for example, it adds a fun and mysterious element by encouraging the recipient to guess who their SS is! You could even use this same tactic in a secret admirer Valentine’s Day card!
Head to the Photo Editor to get started, then open the photo you wish to pixelate.
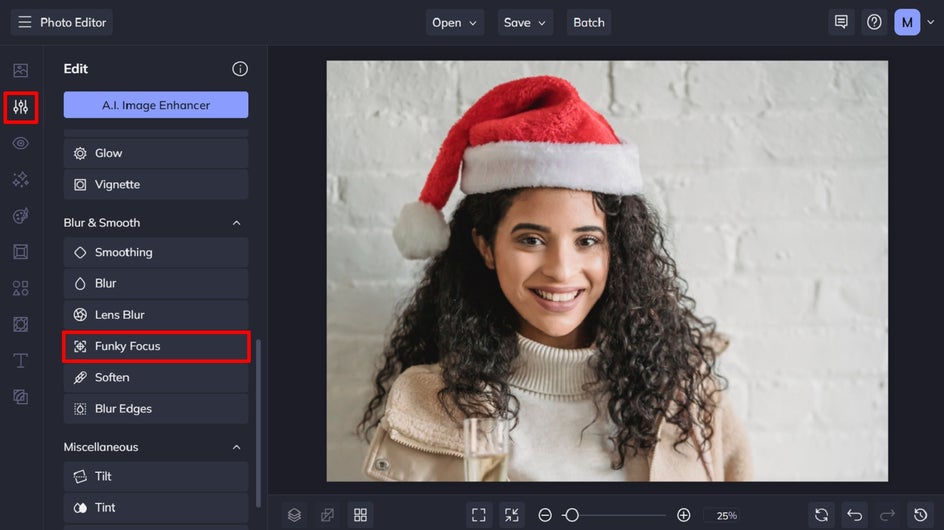
Step 1: Navigate to the Funky Focus Tool
You’ll find the Funky Focus tool in the Edit menu, located underneath Blur & Smooth. Alternatively, you can use our handy Feature Search tool by pressing [Ctrl/⌘ + P] to open the search bar.
Step 2: Apply the Pixelated Effect
In the Funky Focus tool, click the Pixelate button (the one that looks like a grid), followed by the Reverse button, which is located to its right. This will create that virtual pixelated effect you’re after.
You can change the effect’s shape by selecting Radial, Square, or Linear at the top. You can also adjust Blur Amount and Gamma Correction by using their corresponding sliders.
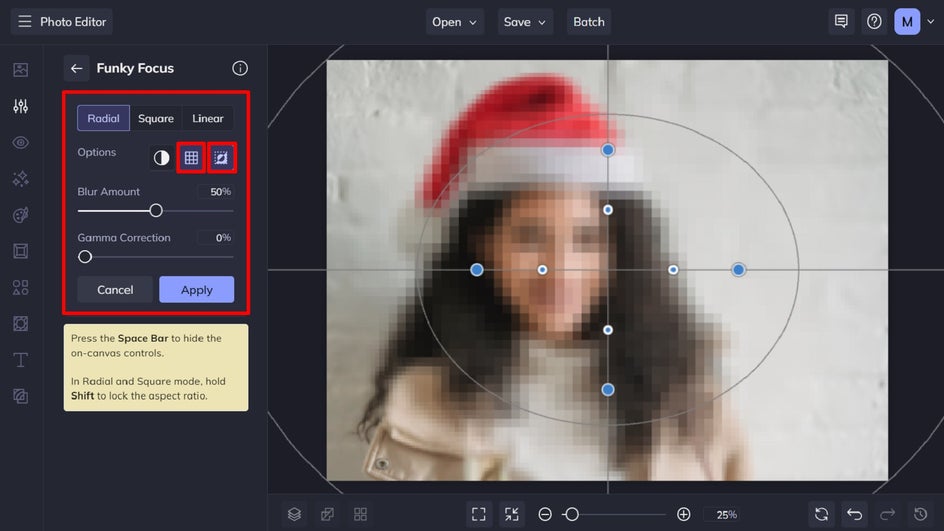
Most importantly, however, you can resize and reposition your pixelated area using your cursor. Drag the blue and white circles in or out to make the selection smaller or larger. Additionally, you can click on a part of the selection and drag to reposition it elsewhere on your photo.
As you can see in our example below, we’ve resized the pixelated area and rotated it to perfectly censor the photo’s subject.
Finally, click Apply to apply your changes.

Step 3: Add Text or Graphics (Optional)
For our mystery Secret Santa image, we’re also adding some text within the Photo Editor. However, this step is completely optional. Navigate to Text from the main menu on the left, then click the Add Text button. Alternatively, you can select one of the premade text patches featured below. Then, just double-click the text box and type in what you want it to say.

When you click on your text box, you’ll also notice a Text Properties panel appears. From here, you can adjust things such as the font, font size, text color, text alignment, and more.
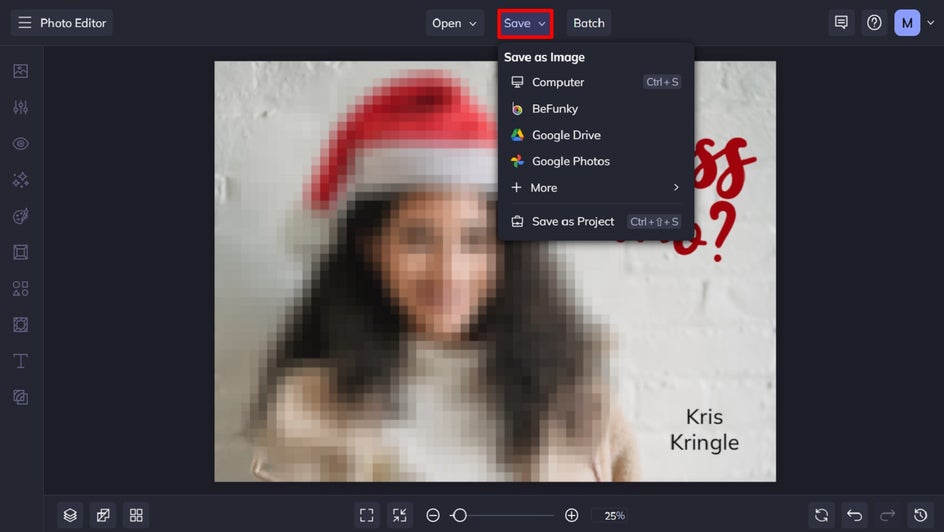
Step 4: Save Your Pixelated Image
Once you’ve finished editing your image, all that’s left to do is to save it. Click Save at the top of the screen, then choose your desired save location.
The Easiest Way to Pixelate Photos Online
There you have it! Thanks to BeFunky’s Pixelate tool, pixelating a face online has never been so quick and easy.
Pixelated Blur Inspiration
Despite its ease of use, the digital Pixelate effect is incredibly versatile. There are plenty of instances where you might want to add this effect to a photo, whether to censor an image through pixelation (as we did above) or simply create an intriguing work of art. Here are some of our top ideas!
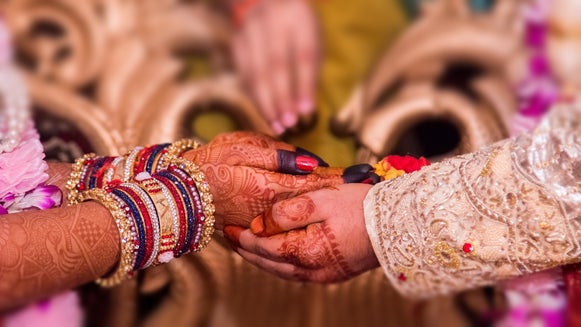
Pixelate a Face
In some cases, you might want to upload a photo you captured, yet you don’t have the permission of those within the photo to share their identity online. This is a common occurrence with photographs captured at schools or day-care centers – especially when the subjects are young children. Alternatively, you might have captured a really beautiful photo of your children playing with their cousins, however, your relative doesn’t feel comfortable posting pictures of their children’s faces on social media. Rather than delete the photo or crop these kids out entirely, you can simply pixelate their faces for a more subtle, yet successful censorship.
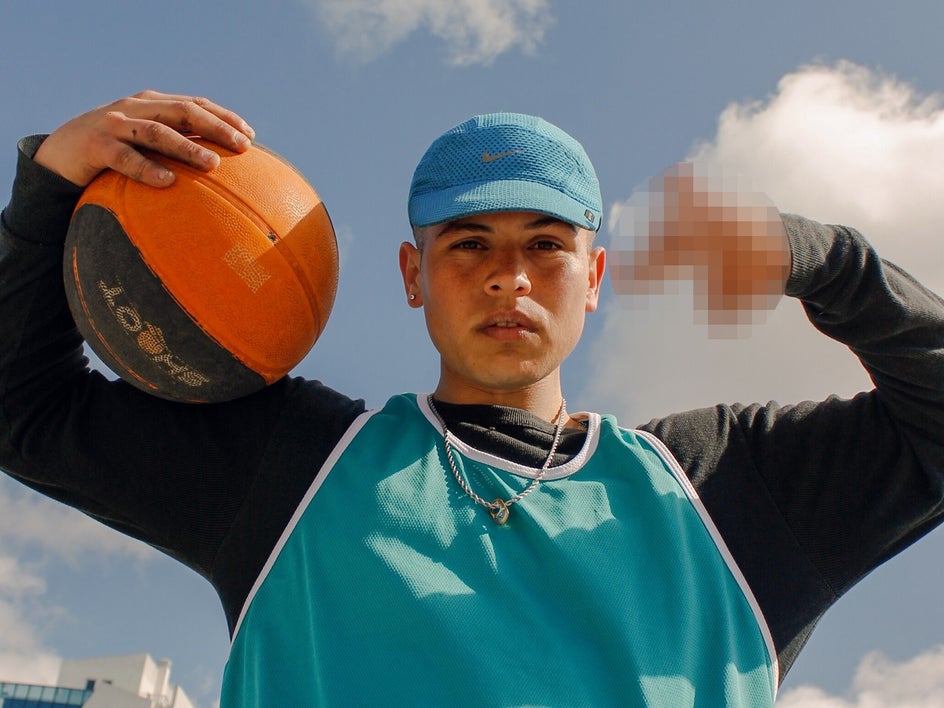
Censor an Image Online
Ever captured a photo with a rude gesture in it, like someone flipping the bird? Perhaps you still want to use the photo, yet would like to make it more appropriate for an online audience first. The digital Pixelate effect also acts as your very own censor image generator, allowing you to pixelate any part of an image that might be deemed offensive.
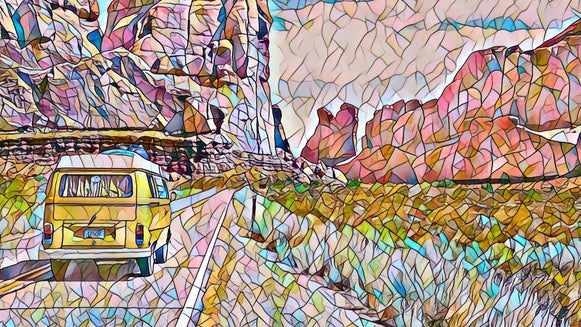
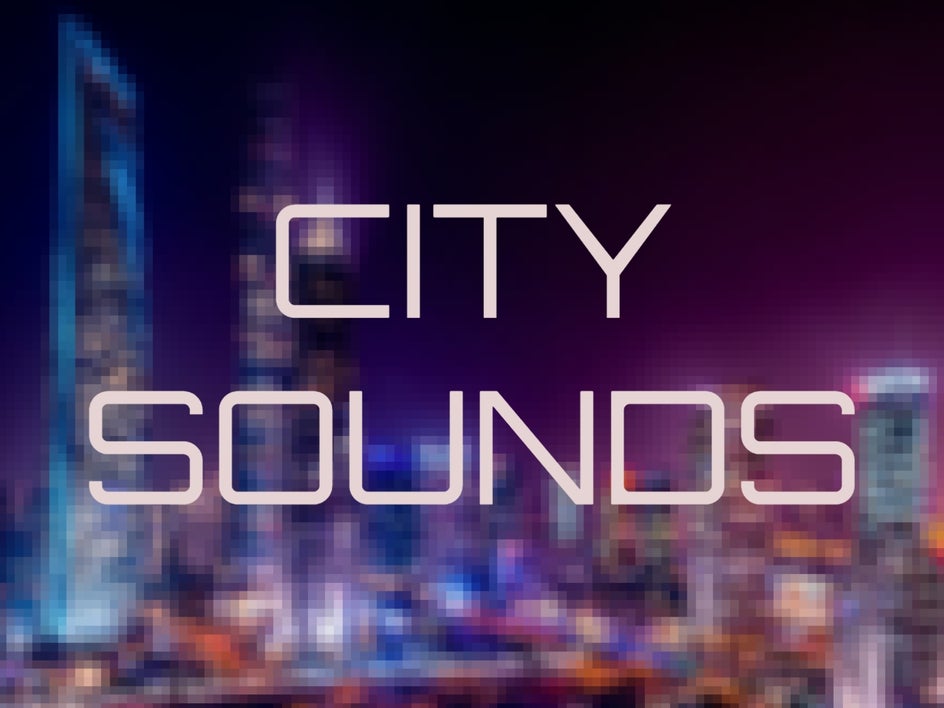
Add a Pixelate Effect to Your Background
Sometimes, blurring the background of an image doesn’t always remove the most distracting details. Additionally, you might want to add another design element to the blurred background to give it some extra pizzazz. This is another instance where the digital Pixelate effect comes in handy, as it both blurs and pixelates your image background for more of a futuristic vibe. Minimizing distracting details in this way also allows you to overlay your image with easy-to-read text.
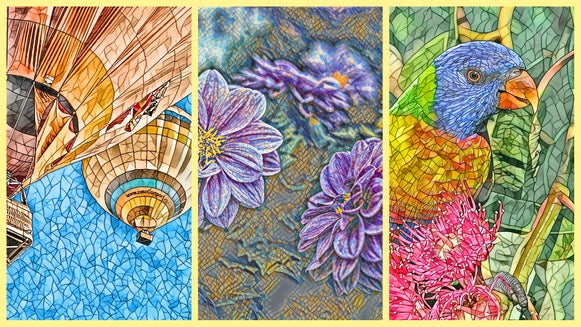
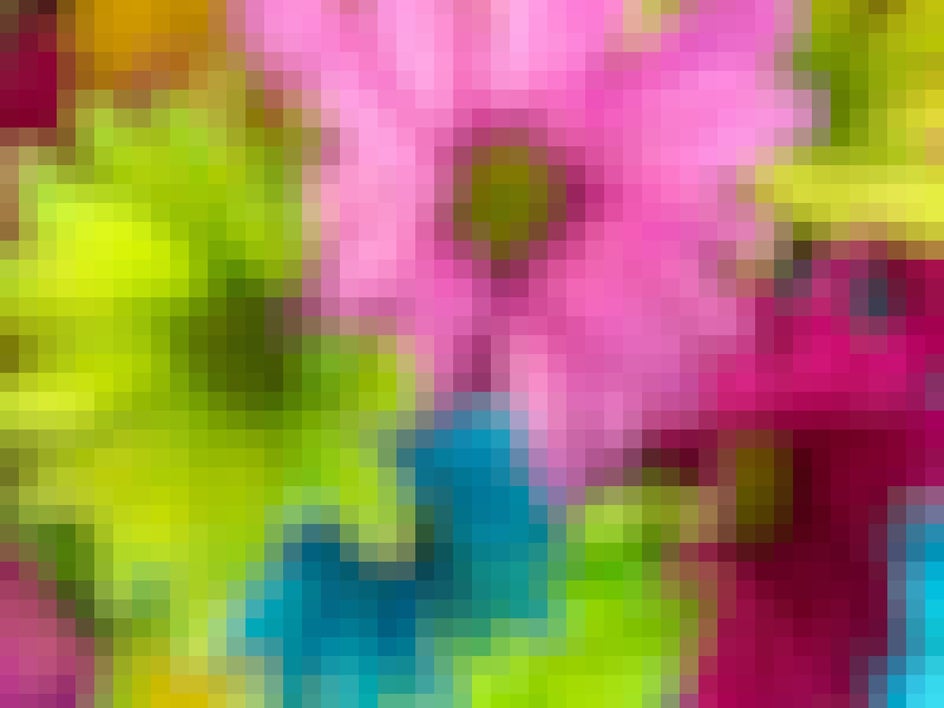
Create an Abstract Artwork
If you’ve got a photo that you really enjoy the color palette and orientation of, you can quickly and easily turn it into your own unique piece of digital art using this effect. In this example, you can just make out the fact that this image is of flowers. However, the pixelation allows it to mimic other art forms, like a tiled mosaic or cross stitch.
The Pixelate Effect Maker of Your Dreams
Thanks to the Pixelate effect, available within the Funky Focus tool, pixelating a face online has never been easier! What will you create using this multi-purpose tool?
Head to the Photo Editor to try it out for yourself!