The Ultimate Guide for Designing Your Own Tattoo Mockups
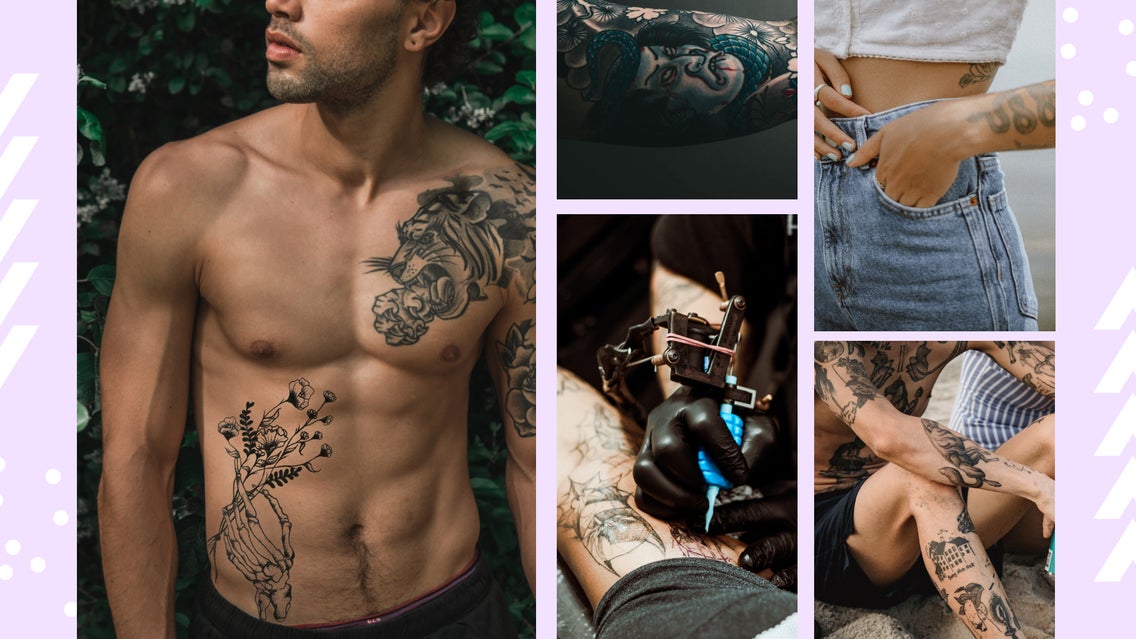
So, you’re ready to get a tattoo! Tattoos are popular now more than in previous generations, with 40% of millennials having tattoos. Tattoos are a unique way to let your creativity flow by making your body your canvas – but it can be a big commitment.
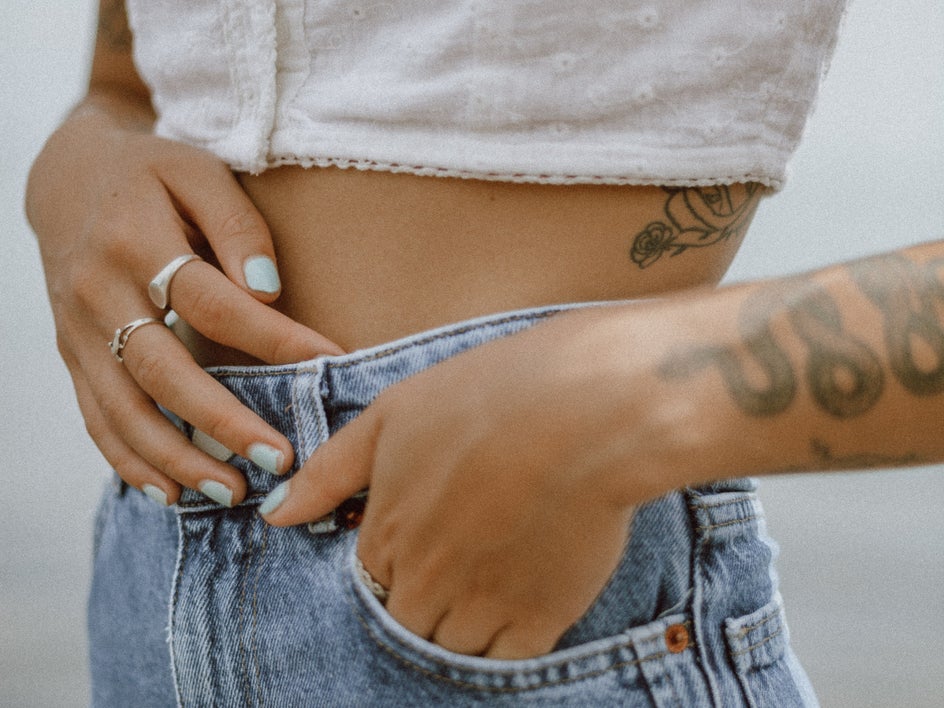
While some get tattoos on a whim, others take a bit longer to make the leap. For those who are apprehensive or have commitment issues, it is really helpful to see a tattoo mockup on your body before you make the commitment. Now, with BeFunky’s Photo Editor and Graphic Designer, you can create tattoo mockups so you can test out your new tattoo before you commit to it.
3 Foolproof Ways to Create Tattoo Mockups
If you’re having a difficult time figuring out which type of tattoo to get, Graphic Designer can help you create both text and graphic element tattoo mockups. We are going to design the first two with Graphic Designer. You can start by clicking here.
1. Create a Graphic Tattoo Mockup With the Graphic Designer
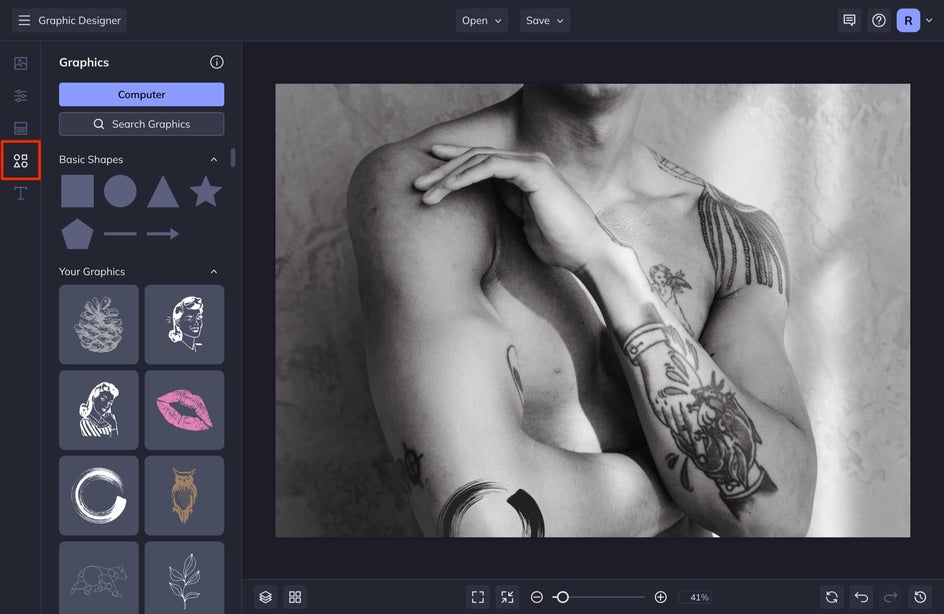
The first way to create a tattoo mockup is with BeFunky’s Graphics. With your picture uploaded, head into the Graphics tab in the left-hand menu. Select Search Graphics to choose from hundreds of graphics in the Graphic Library. Simply click on the graphics you want to add to your library and they will be automatically added.
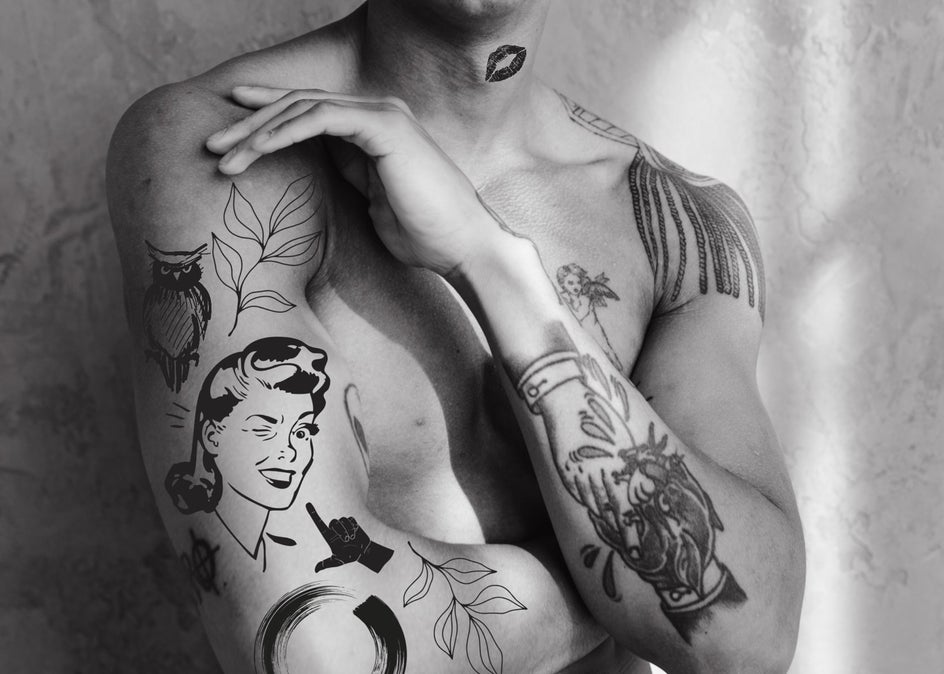
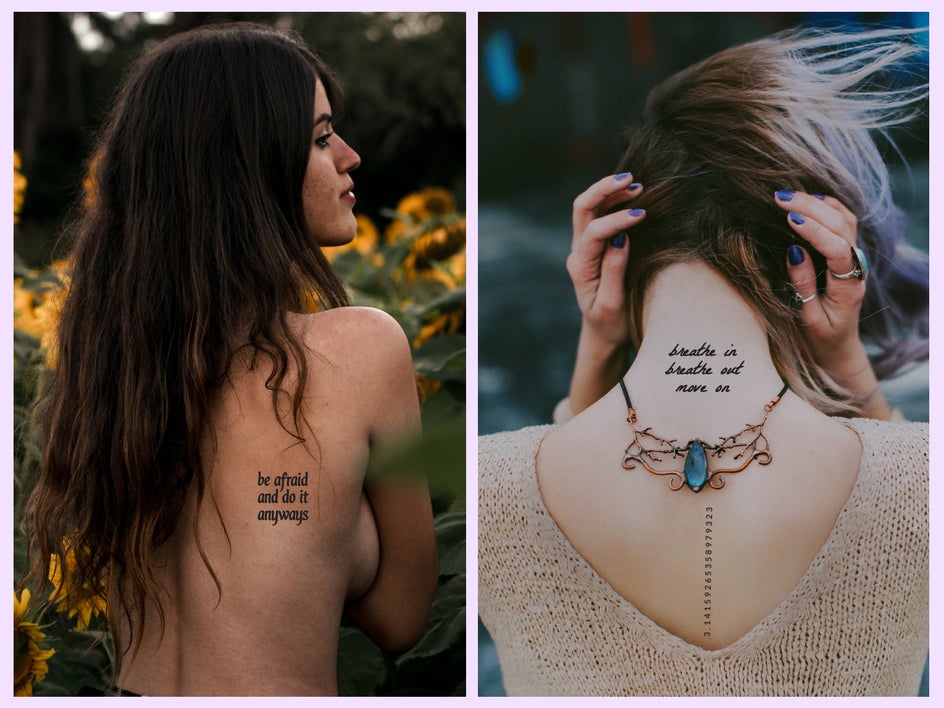
Take a look at the before and after! This is a great way to experiment with different styles in order to see what you like the most.

2. Make a Text-Based Tattoo Mockup With the Graphic Designer
The next way to create a tattoo mockup is with text. This can be done in both Photo Editor and Graphic Designer, but we are going to show how to do it in Graphic Designer today.
Many people have text tattoos of favorite quotes, famous idioms, or something of numerical importance like a favorite number or anniversary.
To start, select your Canvas size by clicking Open and then Blank Canvas. Select Image Manager in the left-hand menu and upload a photo of the area of your body you’d like to place your new tattoo.
Select Text from the left-hand menu and select Add Text. Fill in the text box with whatever quote or number you want. With the text box selected, you can change the font, size, and color of the text to see different versions of your idea.
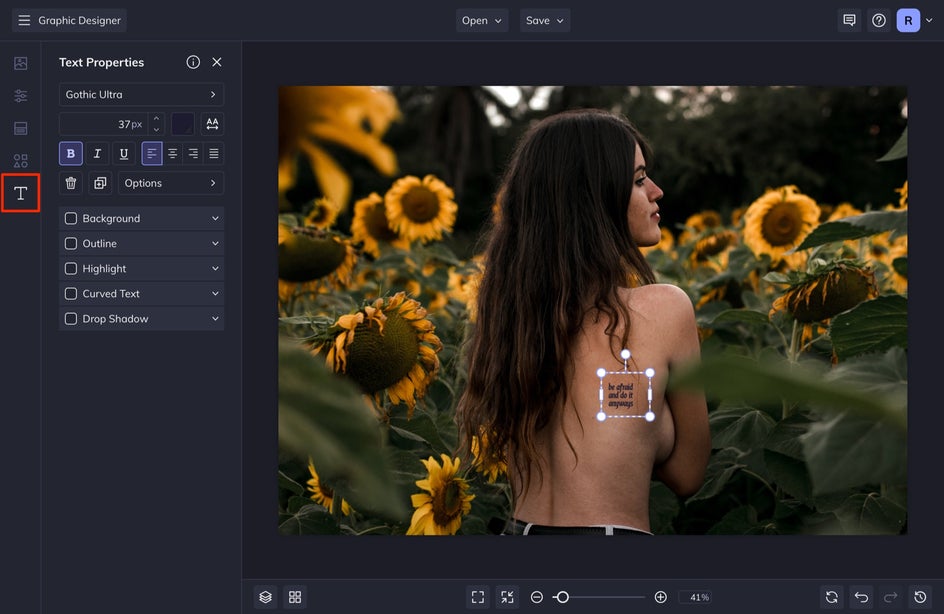
Once you have your placement, you can save your image to show to your tattoo artist so they know exactly where to put it.
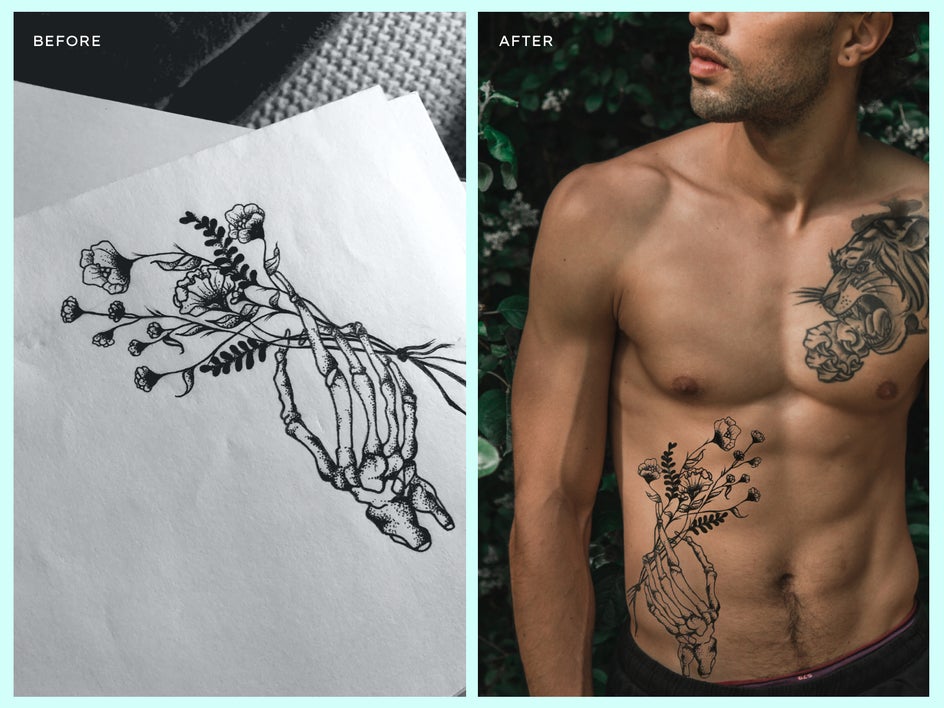
3. Use the Photo Editor to Design a Mockup From a Hand-Drawn Design
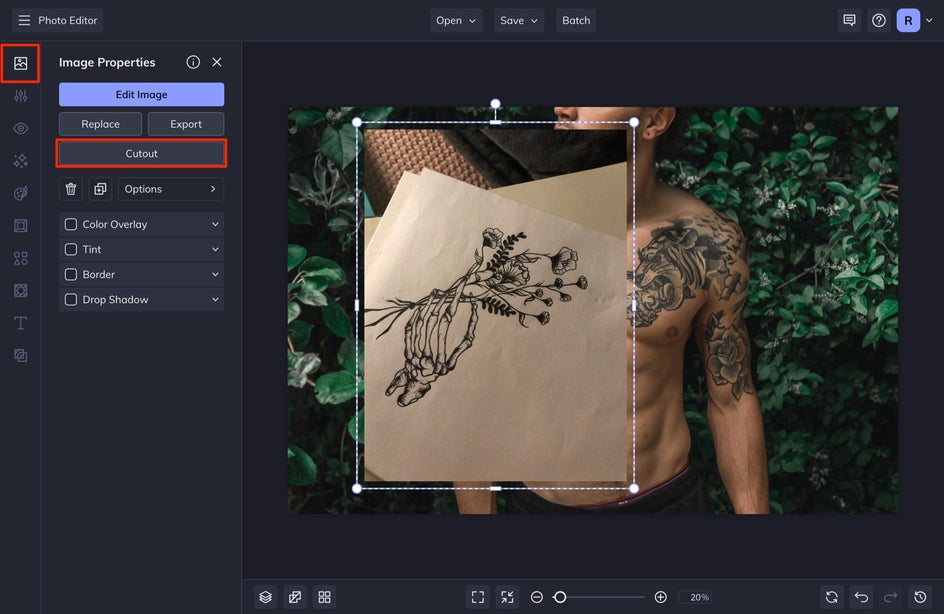
To start, open Photo Editor. Select Open and then Computer and find the photo that you want to do the mockup on. After you have this, head into Image Manager and select Computer. Find and upload your tattoo artwork. Once it is uploaded into your Image Manager, drag and drop it onto your Canvas.
With your image selected, click Cutout.
You are going to want to have the Magic Brush selected, keeping the Tolerance slider somewhere in the middle. This makes it so that when you click on the portion you want to delete, it will work its magic to delete the background and not the artwork. You can even select Remove Background. This is a smart button that does a lot of the hard work for you in removing the background so that you have a transparent piece of art.
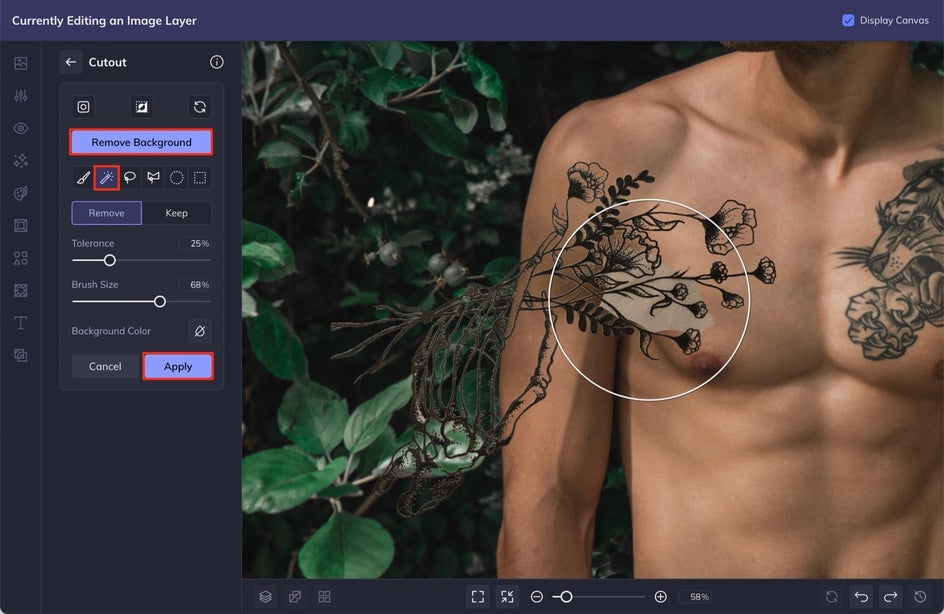
Once you are finished doing this, select Apply and then make sure that in the next window, you select Trim Transparency and Export as Layer. This will make your artwork a separate layer in your Image Manager so that you can use it later and won’t have to do the same work twice.
Making Tattoo Mockups Is Easy With Befunky!
With other programs, creating tattoo mockups can take forever. In just a few clicks on BeFunky’s Photo Editor or Graphic Designer, you can see how your tattoos would look on your body! Try this out with text, graphics, and even custom designs!


