Easily Format Comic Pages With the Collage Maker
Comics are one of the oldest and greatest mediums for telling stories. They’re vehicles for action, drama, comedy, memoirs, and everything in between. However, formatting comic pages for publishing can be intimidating, especially if you’ve never done it before.
You might think you need special tools or access to expensive software to format your comic pages. In truth, you can easily format your comics for publishing or personal use in just a few clicks. BeFunky’s Collage Maker gives you access to premade layout templates as well as the option to create your own custom layout. The Spacing tool makes it easier than ever to create professional, perfectly aligned panels. You can even use the Collage Maker to add speech bubbles and text to your comic!
What Is the Best Format for a Comic Book?
The best format for a comic book depends on the story you’re telling. Some comics are wordy, some have minimal dialogue. Some have many small panels, some use bigger illustrations; most utilize a combination of the two. It’s all up to you and what makes the most sense for your script.
This is also the case when it comes to page sizes. The standard size for American comic books, the type you see in superhero comics, is 6.625 by 10.25 inches. But comic books and graphic novels come in all shapes and sizes, from 5” x 6.5” to 8” x 10.5” and much bigger.
While the format is ultimately up to you, there are some general design rules to keep in mind when it comes to creating comic pages and spreads. We’ll get into these more in-depth in the next few sections.
How Many Pages Should a Comic Book Have?
The average serialized comic book is 22 pages long. Graphic novels can range anywhere from 48 pages to several hundred. And finally, many smaller comic books exist, especially in zine format. These can be even half the length of your average serialized comic.
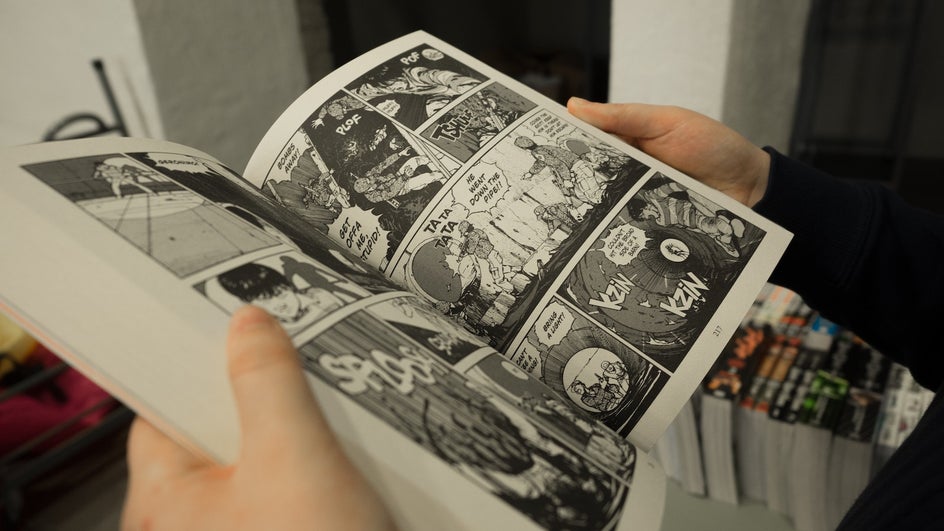
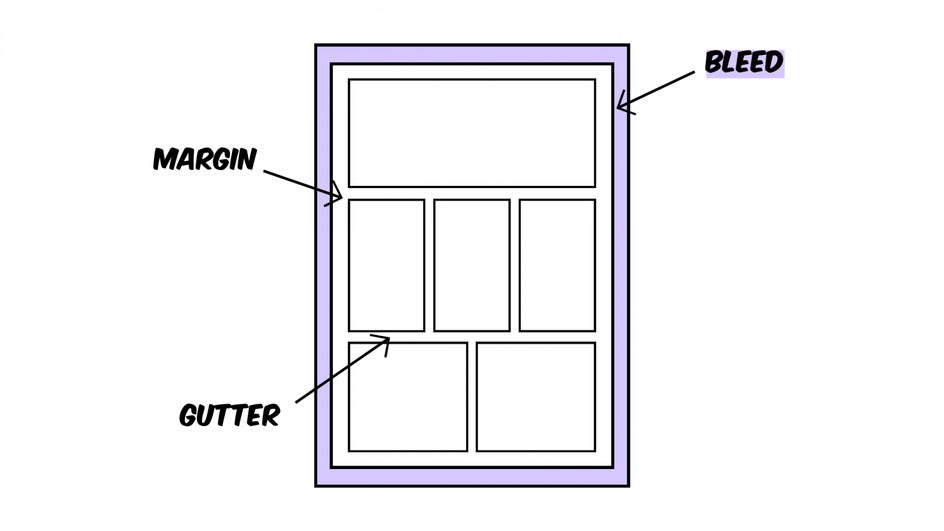
Several types of comic book pages exist. The kind most people are familiar with includes several panels with white margins at the edges and white gutters between panels. But there are also splashes, which are illustrations that take up an entire page, and spreads, which take up two side-by-side pages.
Splashes and spreads are usually used for the most dramatic or action-packed moments of the comic. Below are two iconic splashes from Frank Miller’s The Dark Knight Returns.

Another thing you may notice in these splashes is that they’ve eliminated gutters and have panels within or on top of existing panels. These are often used as storytelling devices.
Making a Comic Book From Photos
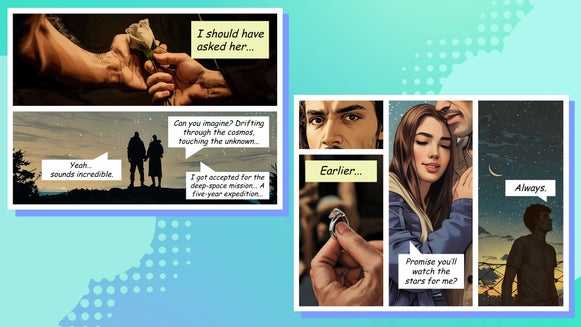
If you want to make a comic strip or comic book but aren’t confident in your drawing skills, don’t worry. A comic is just a combination of text and images put together to tell a story. This means that you can even use photos to make a comic! If you still want to get that hand-drawn comic book flair, try using one of our Cartoonizer effects.
How to Plan a Comic Book Page Layout
Before you begin putting together your comic book page, it’s best to have an understanding of what makes an effective comic layout. If you’ve only got a few panels, a simple strip or grid will do. But if you’re trying to create an entire page, there are some comic-specific design rules to keep in mind.
First, English speakers will read from left to right and up to down, in a “Z” order. Reading order will also be impacted by blockages (smaller panels stacked vertically next to bigger panels), gutters (the spacing between your panels), and a few other factors. But the “Z” order usually takes precedence, and should be something you consider when you’re putting together your comic page.
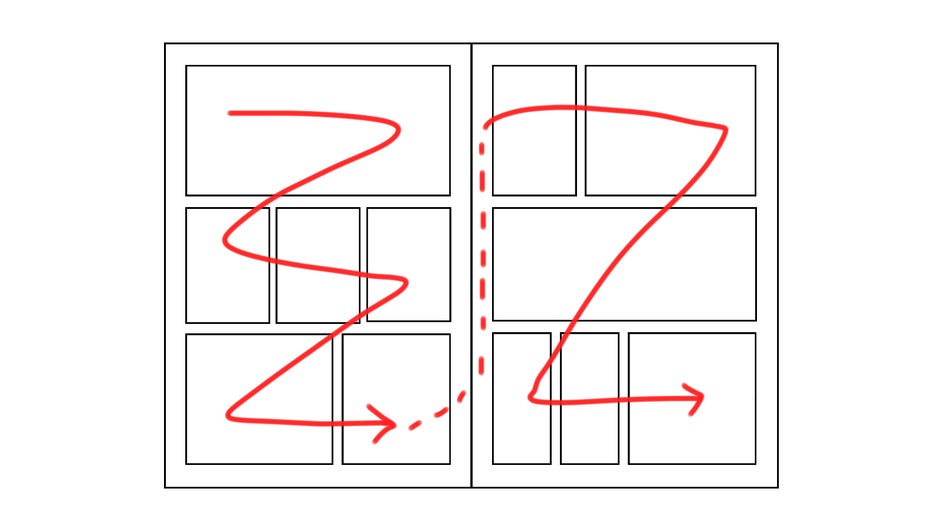
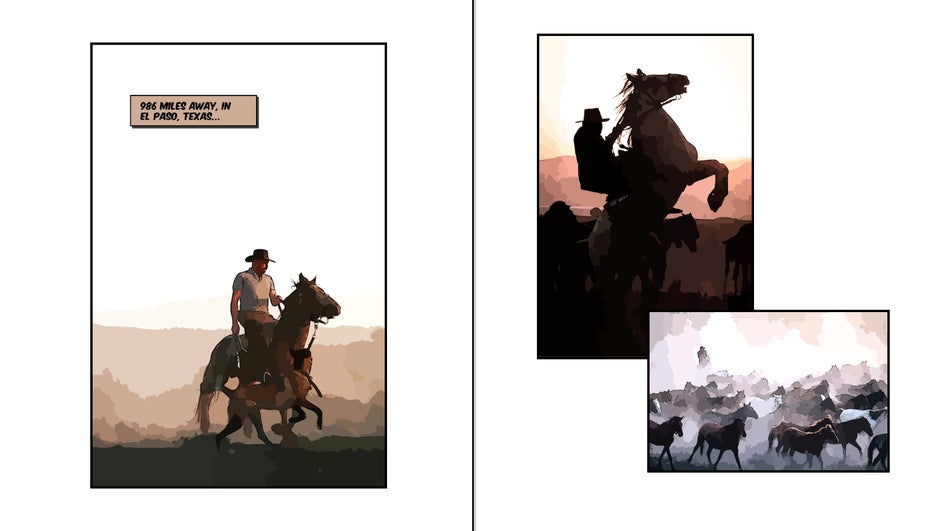
You may also want to consider your layouts not as individual pages but as spreads, looking at two consecutive pages together. Making sure that both pages look cohesive and read clearly as a set will make your comic look better overall. For tips on creating rhythm, balance, and contrast in your layouts, check out our article on design principles.
Having uneven gutters, especially around the outer margins of your page, can be unappealing and confusing. Luckily, the Collage Maker makes it easy to make sure your panels are aligned. Having too many panels or a confusing panel layout is another common issue, but it’s easy to remove and rearrange panels with the Collage Maker.
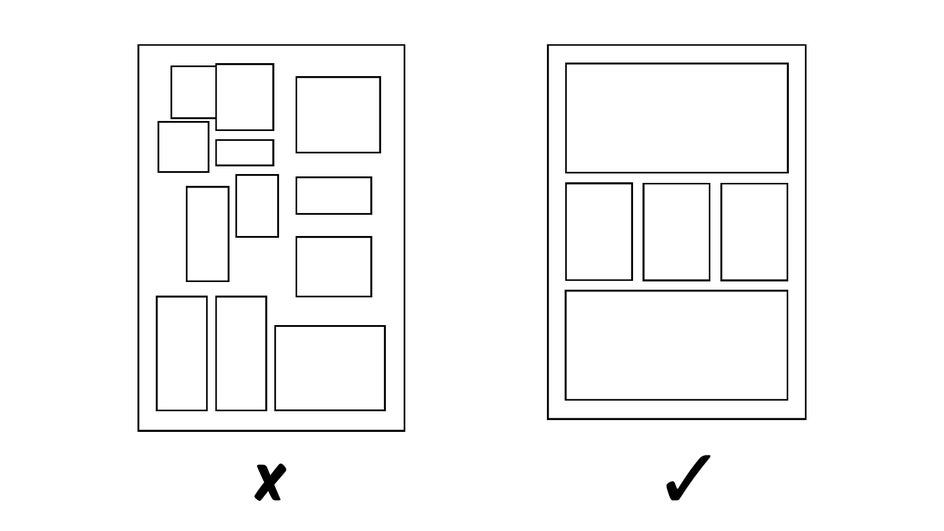
Generally, you should have no more than five panels on a comic page, unless you’re including particularly small or minimal panels. And don’t forget to leave space for speech bubbles!
Formatting Comic Pages for Publishing
Printing comics is fairly straightforward, with one exception. When setting up margins, you’ll need to extend them .125 inches beyond what you want them to be. This extra .125 inches is what’s known as the “bleed,” or the parts of the page that may be cut off when trimmed for printing. These parts may show up in the final book, or they may not. So if you’re doing a full spread with no white margin, the bleed needs to include content, but can’t include anything essential.
How to Format a Comic Page Using the Collage Maker
Once your drawings are done, formatting a comic page is simple. To begin with, just open up a new project in the Collage Maker.
Step 1: Choose Your Layout
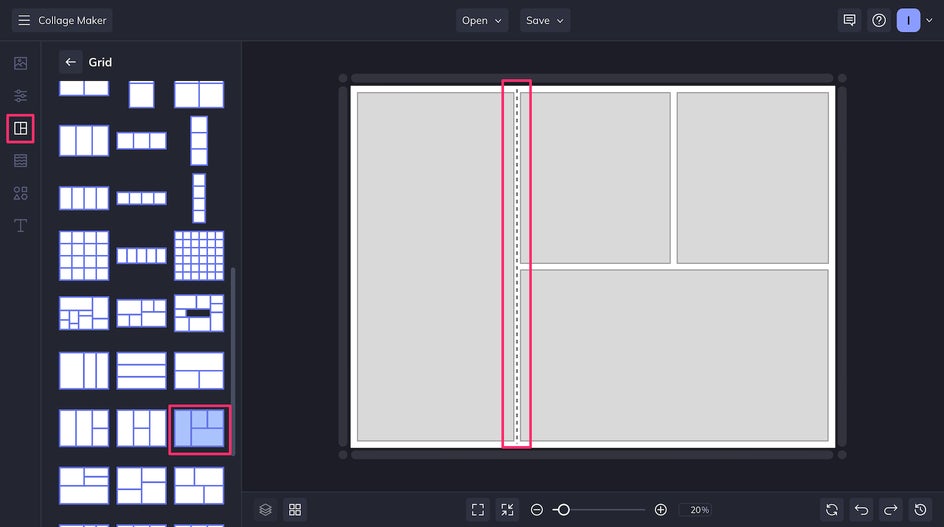
Your first step once you’re in the Collage Maker is to pick a layout that makes sense for your comic. Click the Layouts tab and then choose Grid to view premade templates.
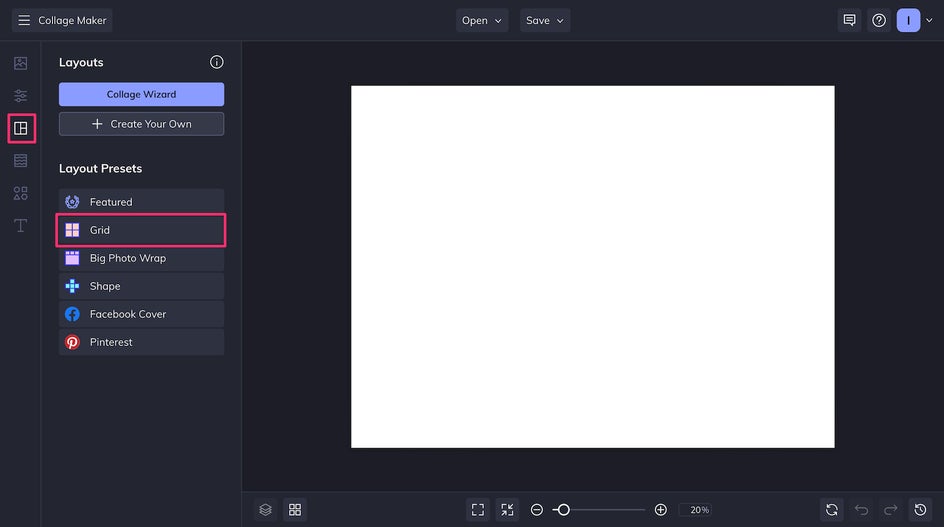
Here, you can pick from dozens of existing templates. You can also adjust these templates as needed by clicking and dragging the edges of each box.
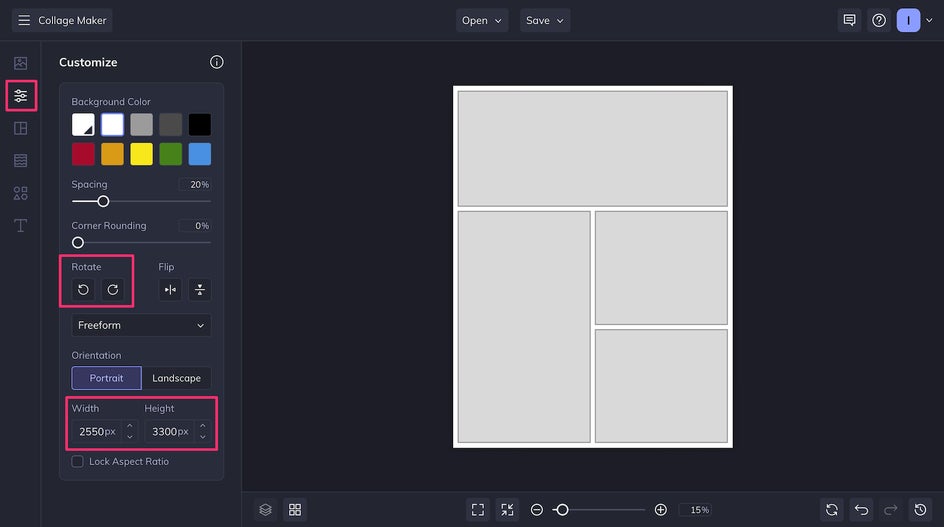
After this is done, you can resize and rotate your page as needed. We’re planning to print this on standard letter paper. Printing at a quality of 300 dpi (dots per inch) would equate to 3300 x 2550 pixels.
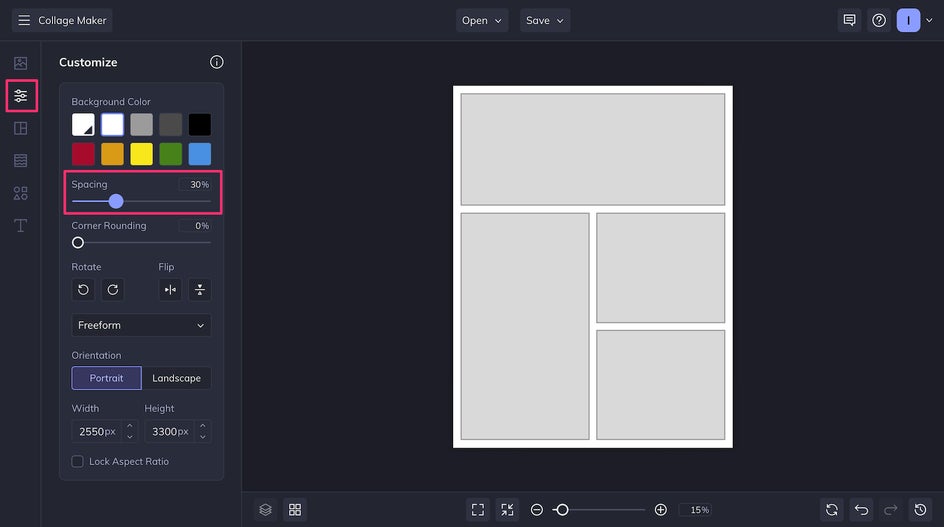
Lastly, you can change the gutter size by using the Spacing tool. This precisely adjusts how much space there is between panels, ensuring equal gutters, every time.
Step 2: Add Images to Your Page
To add your comic panels to the page, click the Image Manager at the top of the sidebar and then click Computer to upload. If you want, you can also click and drag from your desktop files directly into the Image Manager.
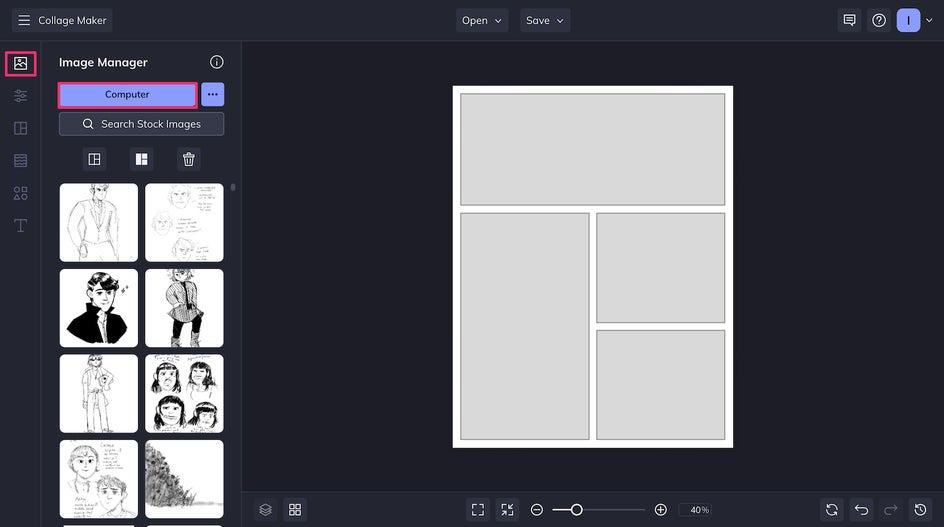
Then, just click and drag each drawing from the Image Manager into the gray box where you’d like it to go.
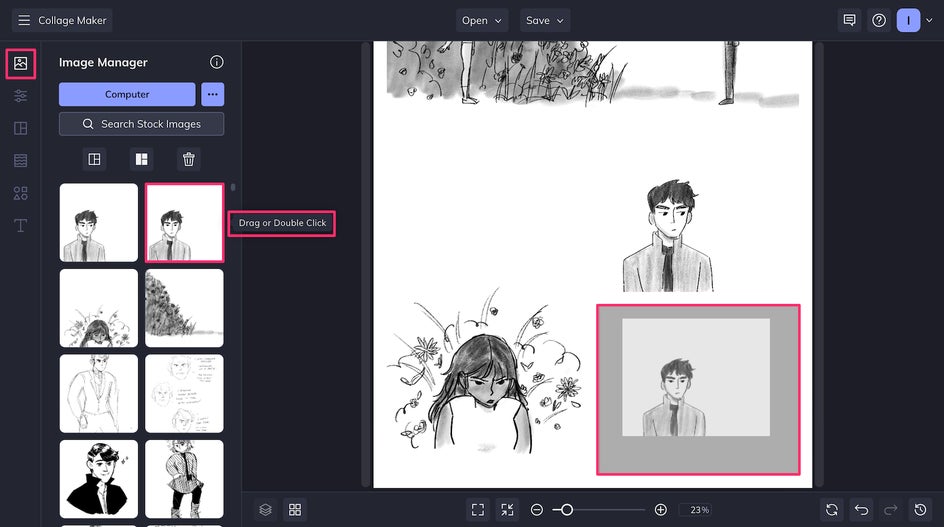
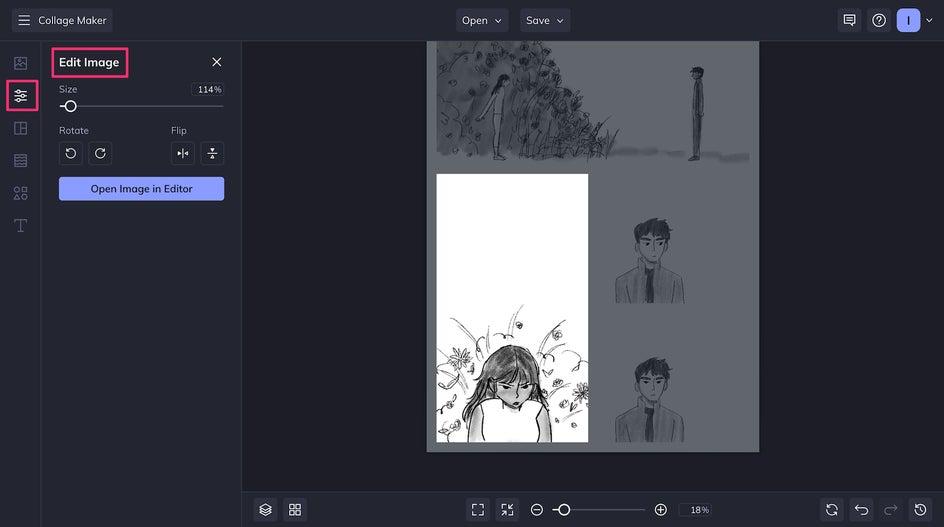
You can change the size and placement of each drawing by clicking it and then clicking Edit Image.
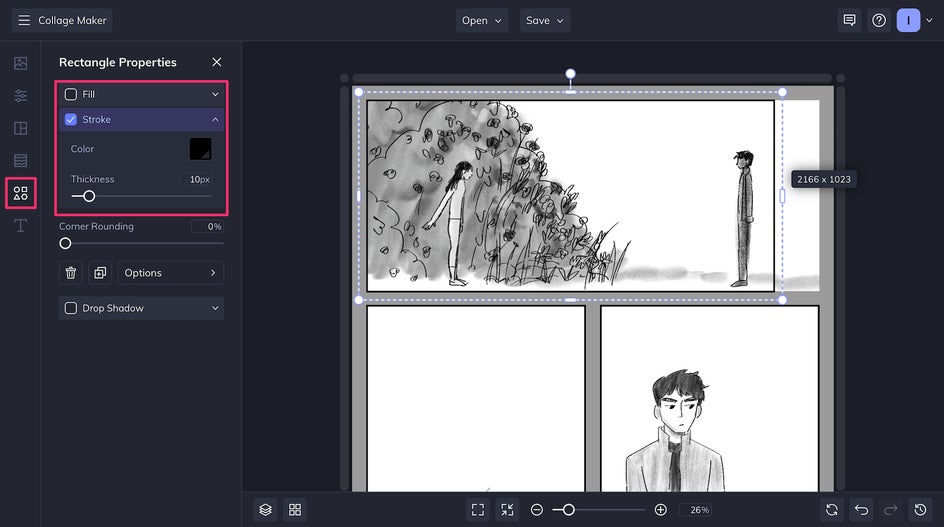
Step 3: Add Borders
To add borders to your panels, create rectangles using the Graphics tab and resize them around your images. Uncheck Fill and check Stroke to create a transparent lined box that you can use as a border. It might help to first change the page’s Background Color in the Customize tab so that you can see the panels’ existing edges.
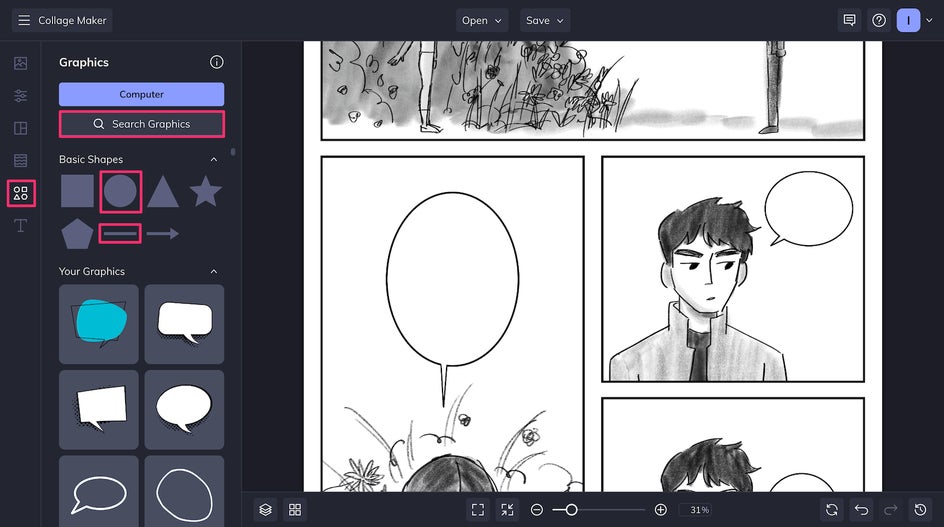
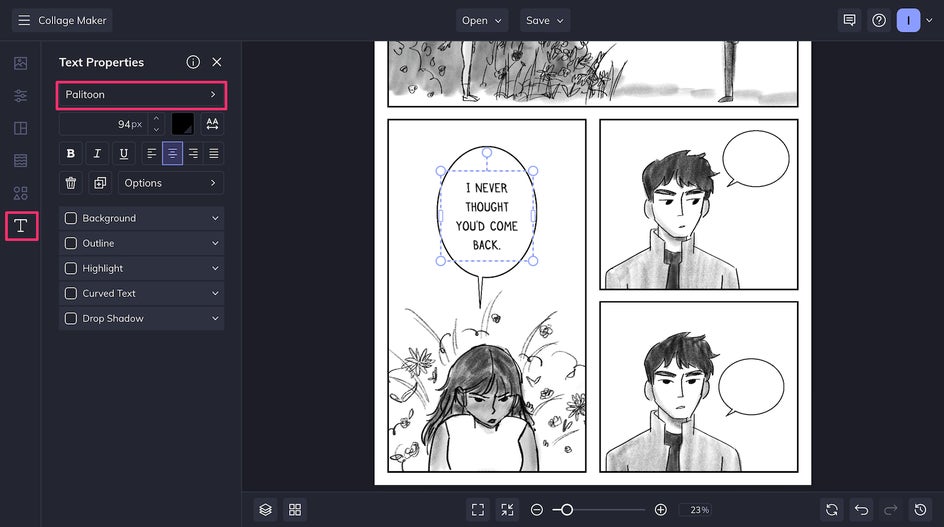
Step 4: Add Speech Bubbles
To add speech bubbles to your comic, you can use a combination of the Ellipse and Line graphics. Or, use the Search Graphics tool to look through the entire BeFunky Graphic Library for some hand-drawn vector speech bubbles.
Use the Text tool to add text. Here, you can also change the text size and pick from a wide variety of different typefaces. Make sure to use the same font across your entire comic unless you’re really trying to emphasize a particular speech bubble or caption.
Step 5: Save Your Comic Book Page
There you have it: You’ve created an amazing-looking comic book page! Now you can click the Save button at the top of the page and save your project either to BeFunky, your Google Drive, or your computer. Be sure to save it as a high-quality PNG.

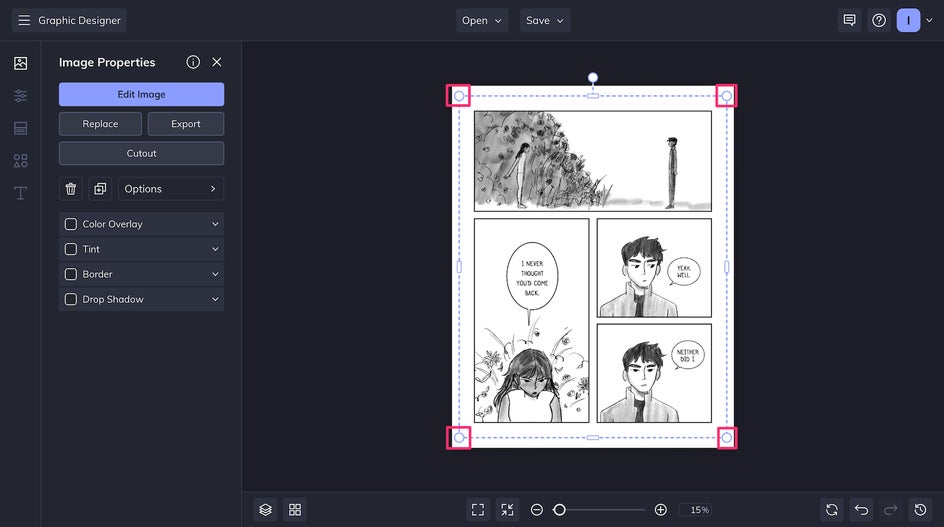
To add wider margins as well as the bleed, you can create a new document in the Collage Maker or Graphic Designer with anywhere from 75 to 200 pixels added to both the height and width. (75 is the minimum for the bleed). Then, just add your PNG to the page and resize as needed.
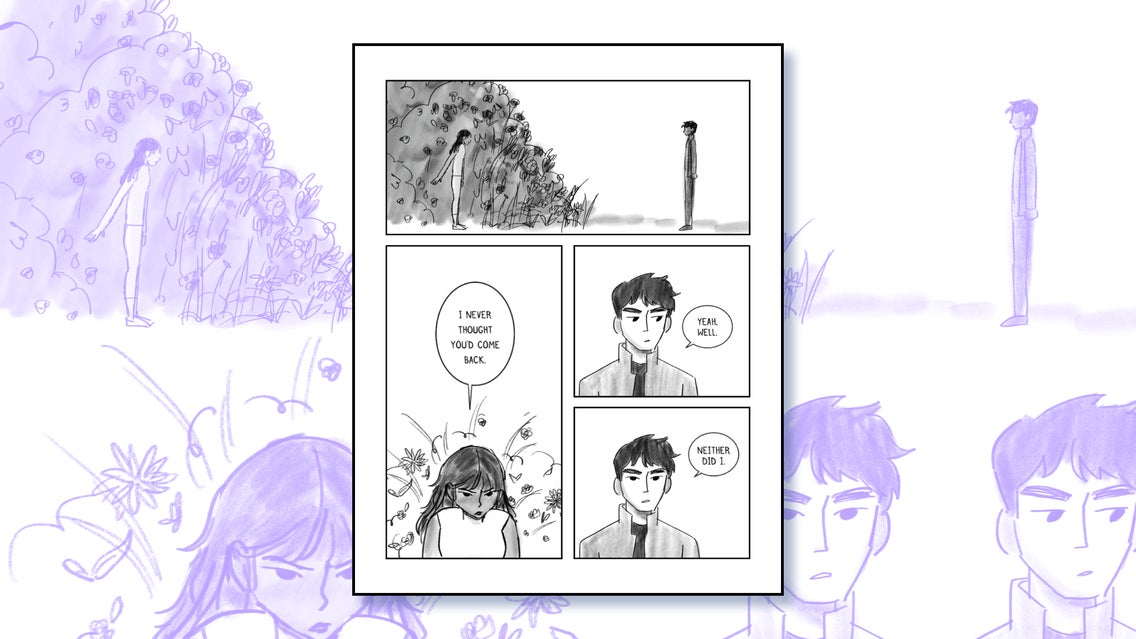
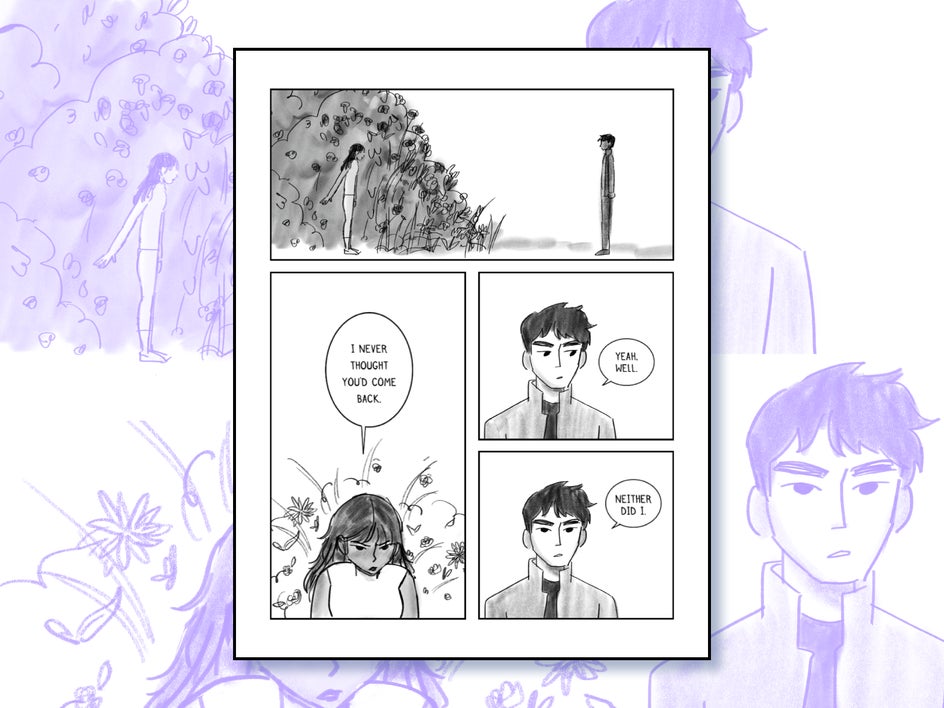
And here’s the finished product! We created a perfectly formatted comic book page in just a few minutes.
Create High-Quality Comics with BeFunky
Whether you’re just getting started with comics or are just looking for an easier way to create professional-looking pages, the Collage Maker is here to help. Create a webcomic, print your own book, or publish a digital copy and share your story! Try out the Collage Maker for yourself today.