Online Mobile App Mockup Templates With BeFunky
Did you know that BeFunky offers easily-customizable mobile UI templates available for creating app mockups. In this article, we’ll over how they can be customized, how they’re used in design/app development, and how to create your own!
Designing for mobile apps is a huge market, since everyone is trying to have their own personalized experience for their company. There are many perks to having an app for your business, and many businesses give specific perks to users who download their apps.
Creating app mockups is essential when designing the UI (User Interface) and UX (User Experience) of an app. Not only does it help you organize your screens, but it also helps to see the layout of each screen in how they flow into one another overall so that you can edit and adjust your designs to further the ease of your UI/UX.
The great thing is that BeFunky has digital app mockup designs in their Graphic Designer, all for free! You can utilize these to either design your own app or use them to create images for your portfolio, website, or app design examples for a new idea you are trying to get on the market.
3 Key Principles for Mobile UX Design
Keep these key principles of UX design in mind to enhance your app mockup creation process!
1. Simple App Design Is of Utmost Importance
A challenge for mobile app design is trying to fit content onto a small screen. The key here is to create simple, individual screens rather than try to fit all of the information on one single screen. Keeping app design simple in this case refers to the overall structure of the information you are trying to share and have people interact with.

What you will want to do is take a specific topic, write out what you want to say for that topic, and then break the topic into several screens with simplified text. As an example, most apps have a registration process. Write down everything you’d like to include in the registration process, what fields you want someone to fill out, what information you want to share with them, and any questions you need to ask to better their experience. Take the generalized information, break it up into separate sub-categories, and then convey those on multiple slides.
Another topic when talking about simple app design is the actual design itself. You want to design for thumbs, not cursors. With this concept in mind, and while holding your phone with your dominant hand, there is a certain zone on your phone that your thumb can reach in a single thumb press.
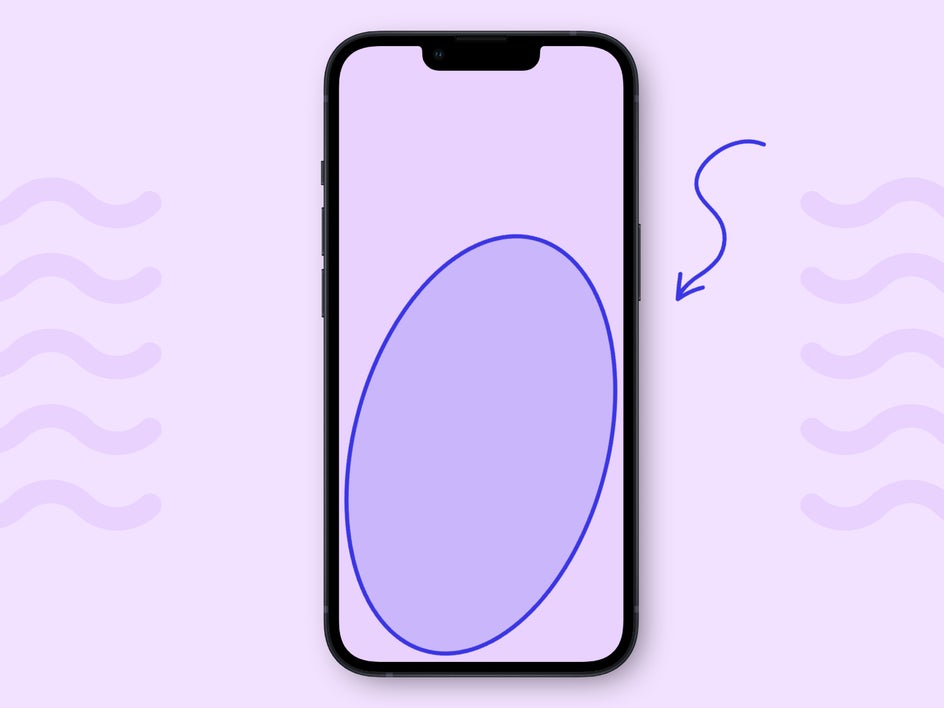
This is the zone that you want to keep in mind when designing your app layout and keep the important, interactive features in this placement.
2. Good App Design Creates F-Shape and Z-Shape Patterns
Maybe you haven’t noticed before, but when we explain this, you will see that this pattern shows up in almost every app you use – well, the good ones anyway.
Not every user will read every part of your screen. The majority of users actually skim through information in these patterned sequences. Good app design will create these patterns with important elements landing on the “fixation” points along these shapes.
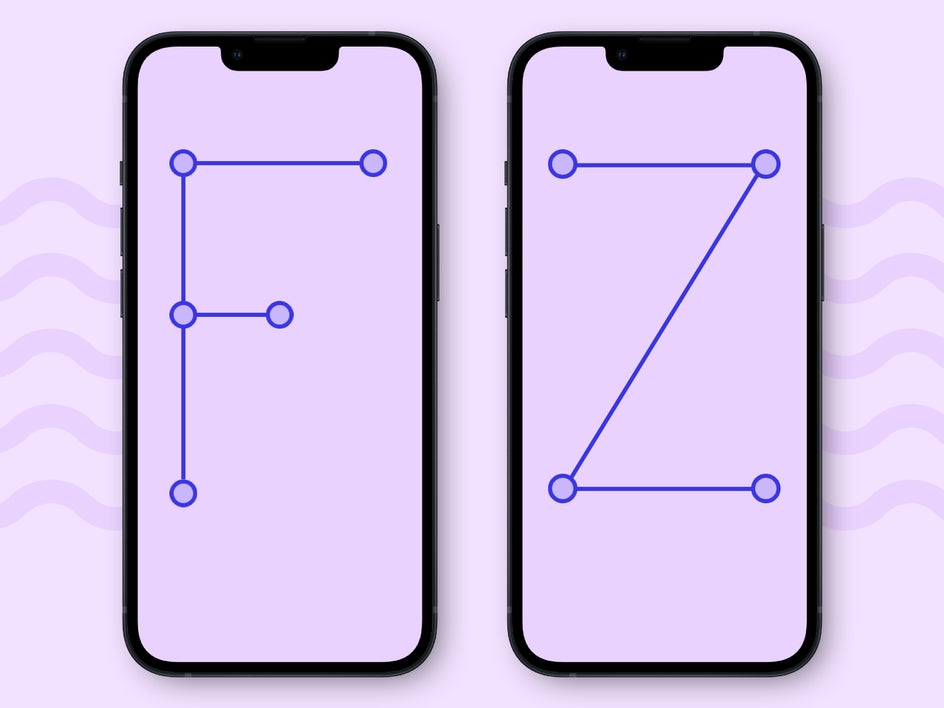
F-shape patterns should be used when sharing large blocks of text, making sure to place key information at these fixation points. A user generally reads information across the top of a screen horizontally from one side to the other, skips a few lines down and reads horizontally again, this time stopping in the middle of the screen before moving a few lines down and then scanning the left-side of the screen vertically until the bottom.
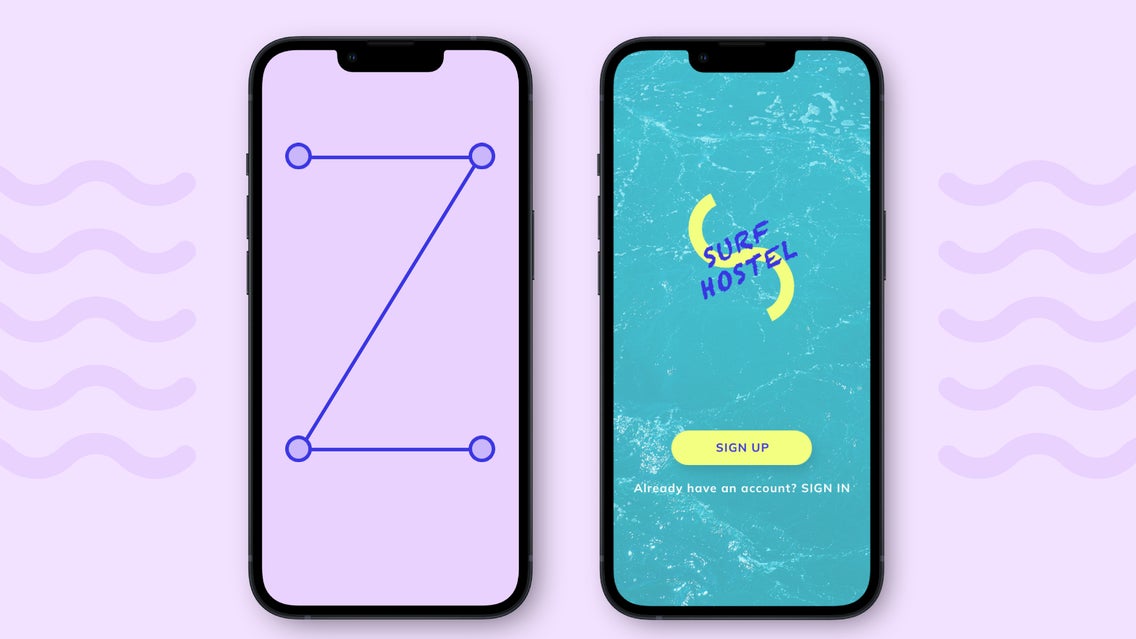
Z-shape designs work best with pages that have lots of visuals as well as copy, say on a streaming app or gaming app.
3. App Design Should Be Predictable for the User
Creating simple designs using these helpful shapes will allow you to create apps that users can navigate more naturally. If you can design your app in such a way that a user’s interaction with it feels predictable, you’ve hit the jackpot.
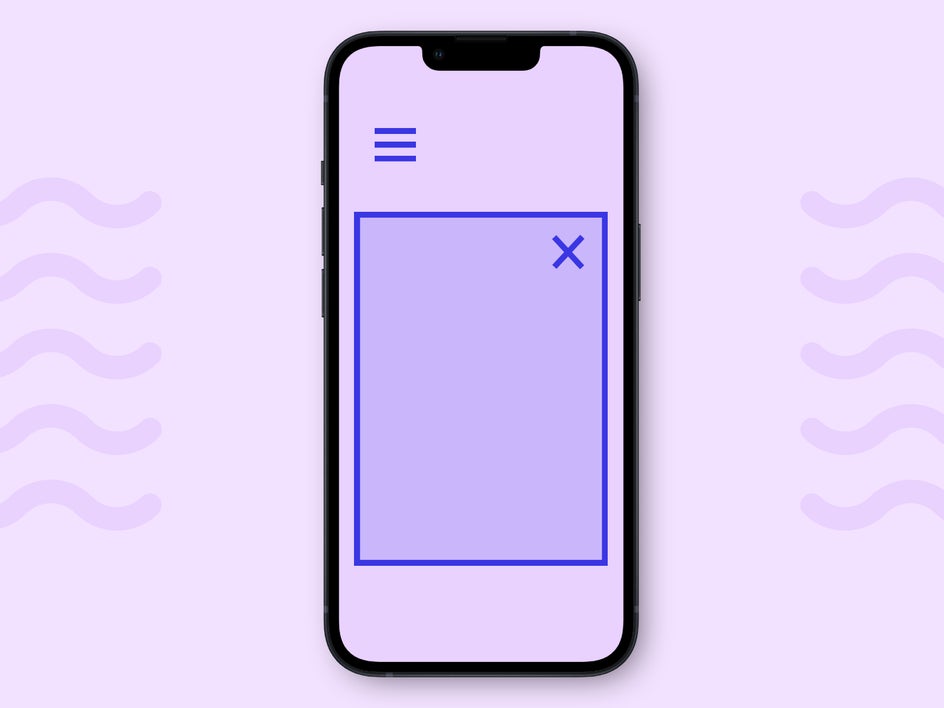
Most of these interactions are self-explanatory because most app designers have a way of designing apps that has made certain functionalities the norm – such as the hamburger menu opening the main navigation menu and selecting the X makes you exit out of a screen. If you try to think too out of the box here you may frustrate your users.
One way to make sure that your UX is predictable is to design in such a way that you anticipate the user’s next move. Keep your navigation and design as short and predictable as possible. This prevents mental strain and frustration from a user.
How to Use Free Online Mobile App Mockup Templates in BeFunky’s Graphic Designer
Free app mockups can be hard to find, especially ones that you can adjust and edit yourself. With BeFunky’s app mockups in the Graphic Designer, you can freely edit, resize, and customize your app design all in one place. Let’s create the initial home page of an app that prompts a user to input their credentials to access the rest of the app.
It is best to have a simple sketch in your notebook drawn up so that you know what you want your app design to look like. We will then represent this design with text and design elements in this tutorial. We are going to create a Sign Up page for a surf hostel app.
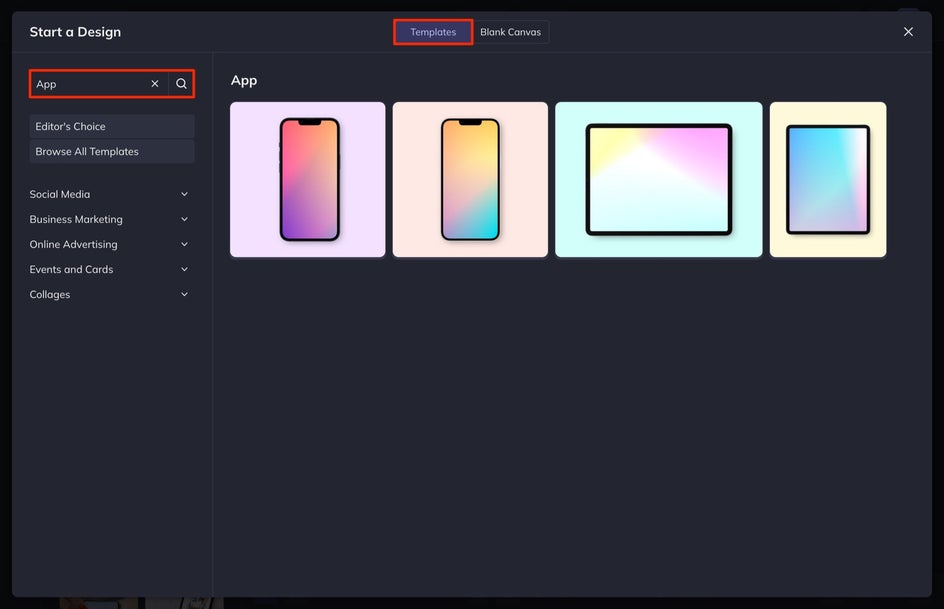
Step 1: Select a Free Mobile App Mockup Template
In BeFunky’s Graphic Designer, select Templates and then search for App in the search bar in the left-hand menu. Select the template you’d like to start with.
Step 2: Customize Your Mobile App Background
Next, select Image Manager from the left-hand menu and then select either Computer or Search Stock Images in the Image Manager. When searching stock images, I searched “simple backgrounds” to get my results. Select the images that you think will be good background images for your app. These will be automatically added to your Image Manager.
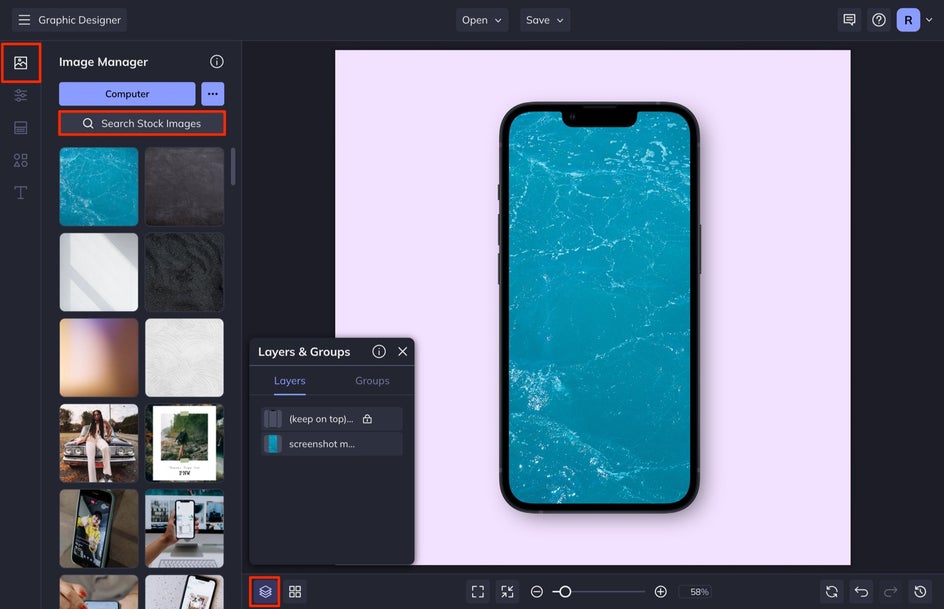
Once you have your photos uploaded, open the Layers & Groups tab at the bottom of your screen. You will see that there is a layer titled “(keep on top) phone outline” that is locked. This is the phone outline and when it is locked, you can easily drop different images into the bottom layer to replace the image and see how the backgrounds look in the phone outline.
To change the background, drag an image from your Image Manager onto the phone’s current background image and release it. The image will automatically populate into that layer.
When working with layers, I find it helpful to keep the Layers & Groups menu open and select the layer I am working on from here. To customize the image, select the image layer from this menu. From here, you can give the image a color overlay, or remove the drop shadow on your image.
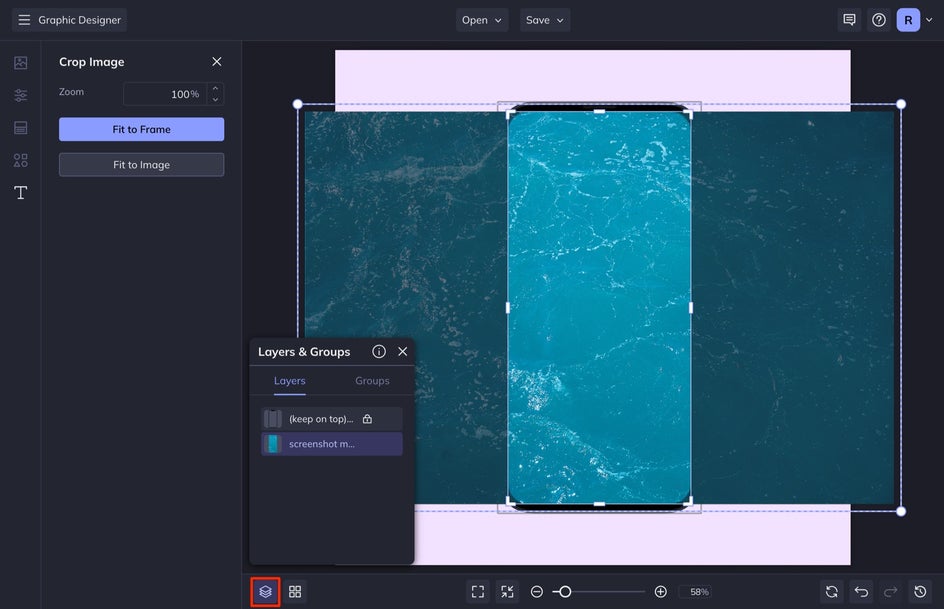
You can then double-click on the image to open the Crop Image menu and choose the part of your image that will be visible in the background. When you are finished, click anywhere outside of the image.
Step 3: Add Input Boxes and Buttons
Next, it’s time to add text and design elements that match your mobile app sketch. I usually start with the bigger pieces like design elements and then fill in the text afterward.

Select Graphics from the left-hand menu. I am going to select the square graphic from the Basic Shapes menu to start. Remember, Step 1 is Simple App Design is of Utmost Importance, so keep your design simple. Click on the shape to add it to your design.
Adjust the size of the shape by clicking and dragging the corners inward. You can then select the middle points and drag those inward to turn your square into a rectangle.
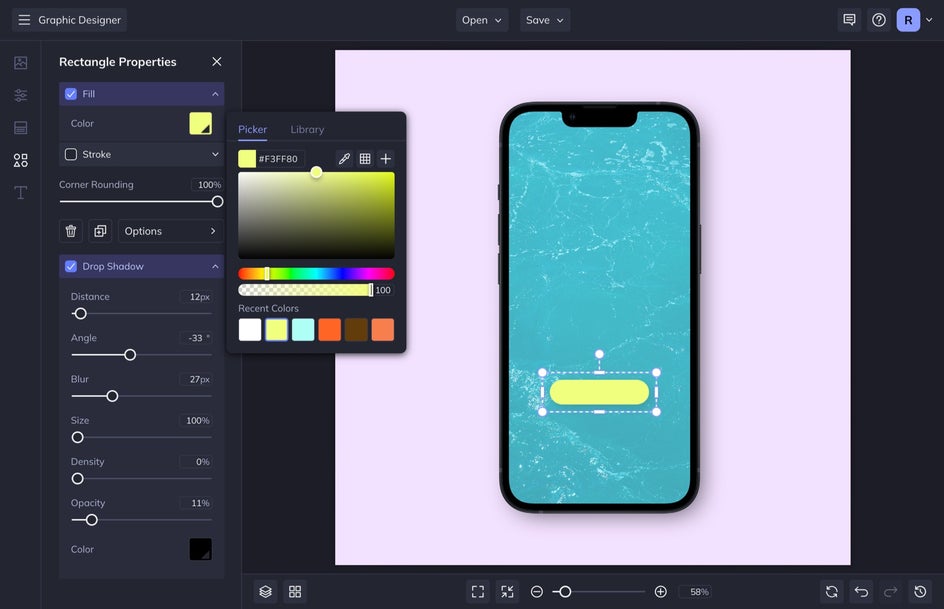
With your shape selected, you can adjust the Fill and Stroke of the shape, adjust the Corner Rounding, and add a slight Drop Shadow to specific buttons. In app design, drop shadows should be so slight you barely notice they are there. Blur and Opacity are important to adjust to get the perfect drop shadow.
When you are finished with your graphics, you can move on to adding text.
Step 4: Add Text to Your Mobile App Mockup
To add text, select the Text menu and then select Add Text.
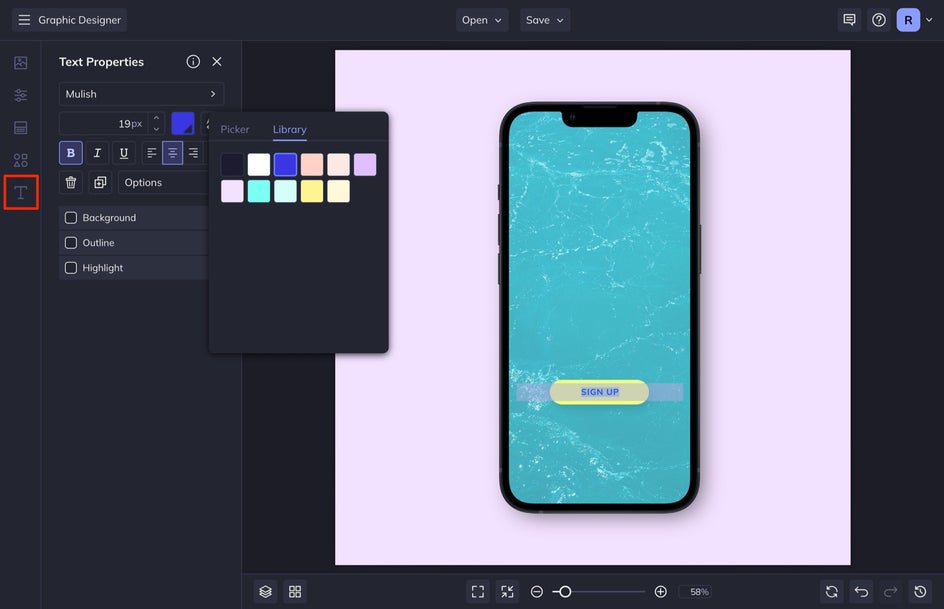
Double-click on the text box to type in your customized text. This will also allow you to access a Text Properties menu. From here, you can then change the Color, Font, Size, Drop Shadow, and more. To duplicate your text with all of the customizations, select the text box and then press D on your keyboard to duplicate.
Step 5: Add a Logo to Your Mobile App Mockup
To add your logo to your app design, select Image Manager and then Computer. Select your logo file from your computer.
Once it is uploaded into your Image Manager, drag and drop the logo into your design. Resize by clicking and dragging the corner selector points either inward or outward.
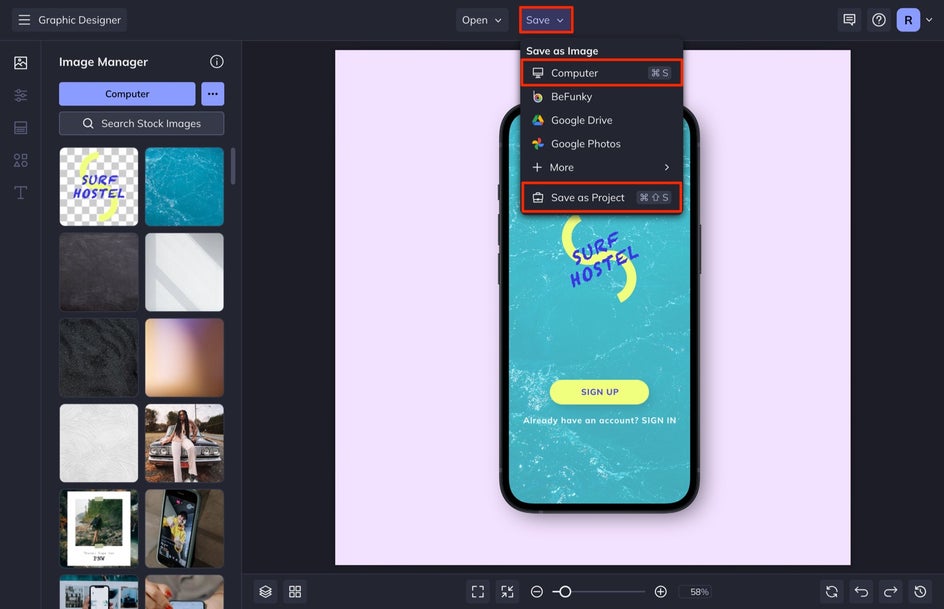
Step 6: Save Your App Design Mockup
When you are finished with your design, it is time to save your file! Select Save at the top of your screen and then Computer. I also select Save as Project so that I can come back to make edits if I need to.
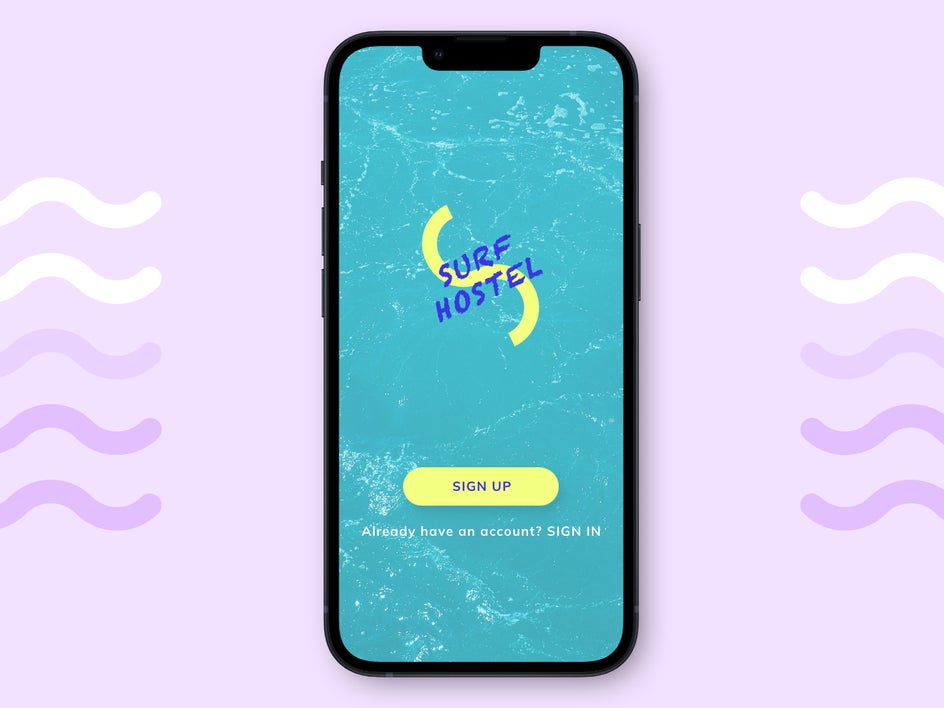
Here is the final result of our surf hostel app design. Notice how we've applied the various design principles mentioned above to create an aesthetically pleasing, well-designed Sign Up page.
Design a Mobile App Mockup With BeFunky’s Free Templates
It is easy to design a free app mockup with BeFunky’s Graphic Designer. You can design each of your screens and plan out exactly how each screen will interact with one another. Use BeFunky’s free app mockup templates to get started!