Create the Perfect Graduation Party Invitations
Congratulations! Your time officially has come. Whether you’re completing your first high school degree, your undergraduate studies, or becoming a master in your profession, there is no doubt that you have worked tremendously hard. Hours upon hours of studying, sleepless nights, and prioritization, and personal sacrifices have all led you to the moment you will get to walk across that stage and toss your cap.

All of that hard work deserves celebrating with your closest friends and family. Whether you’re throwing your own graduation party or planning one for someone you love, BeFunky’s Invitation Maker will help you create a personalized invitation to spread the word. With a multitude of templates to choose from and endless ways to customize them, you’ll be able to design a creative graduation invitation with ease!
How to Design a Graduation Invitation
To get started with your graduation invitation design, head to BeFunky’s Designer. The link will bring you to the All Invitations section of the Events and Cards category.
Step 1: Choose a Template
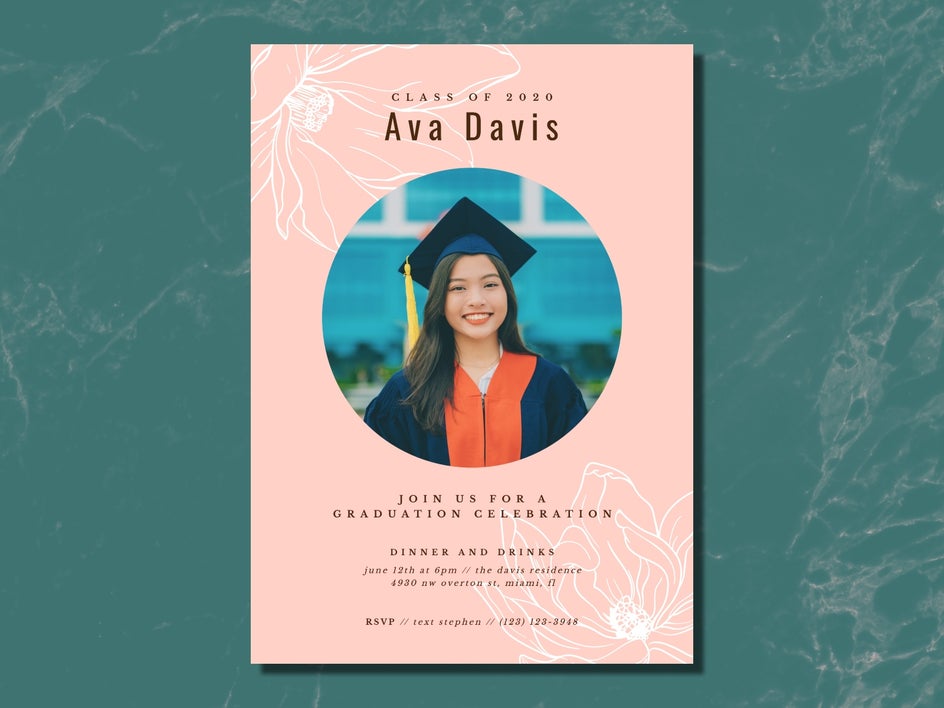
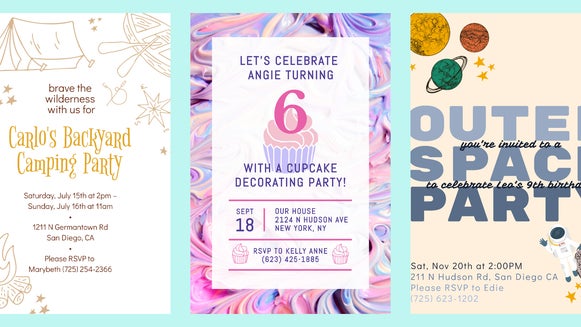
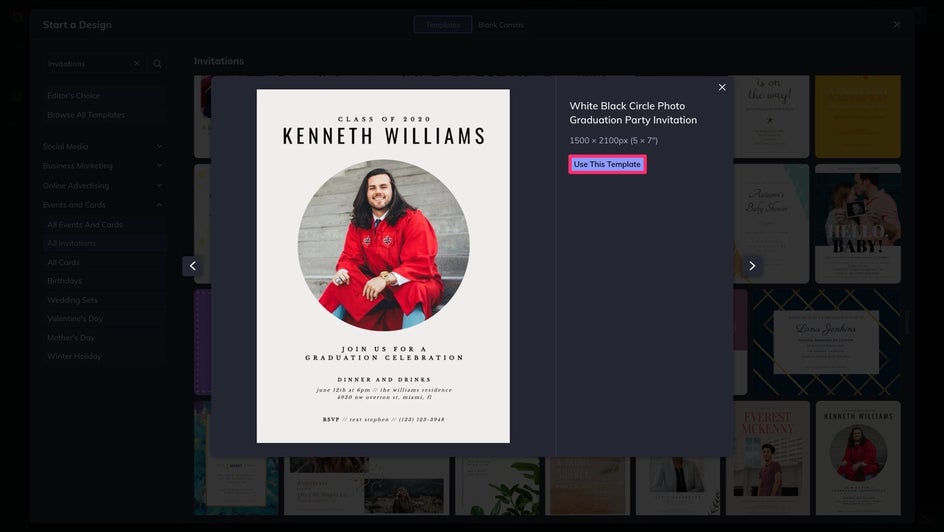
Here, you'll find tons of invitation templates to choose from. When you find the layout that will work perfectly for your graduation invitation, click Select This Template to load it onto the canvas.
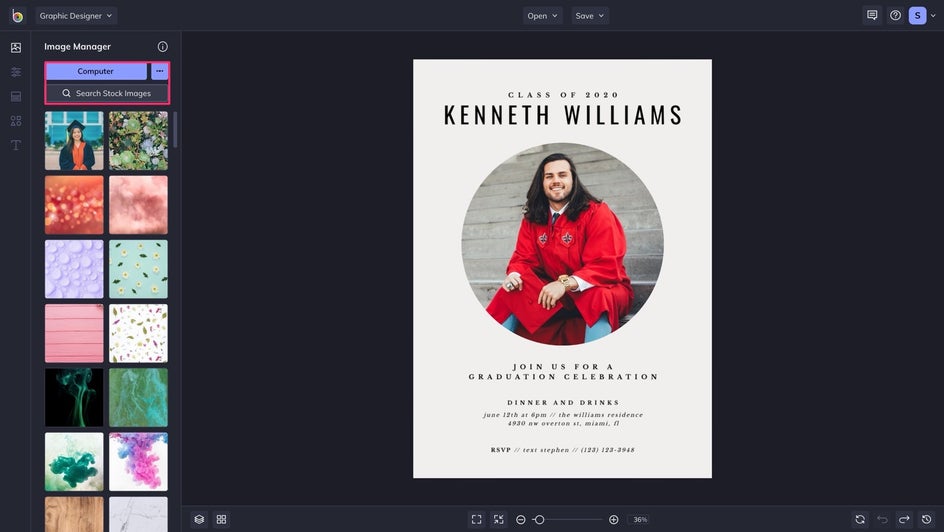
Step 2: Add Your Images
If you’d like to add a photo of the graduate, it’s easy to do no matter what template you’ve chosen. Simply open the Image Manager tab (the top icon) in the main menu on the left, then use the Computer button to upload your favorite images. If your design template already includes an image, you can drag the thumbnail of the upload from the Image Manager and hover it over the existing image until it turns opaque, then drop the thumbnail to replace it. If your template doesn’t include an existing image, but you’d like to add one anyway, just drag and drop the thumbnail onto the template as a layer, then use the blue circles around it to resize and rotate it to your liking.
Once the image is on your template, there are several ways you can customize it. Simply click on the image in your template and an Image Properties menu will appear to help you change the color overlay, size, opacity, and more! By double-clicking the image, you can crop and reposition it to fit the template's frame as you like.
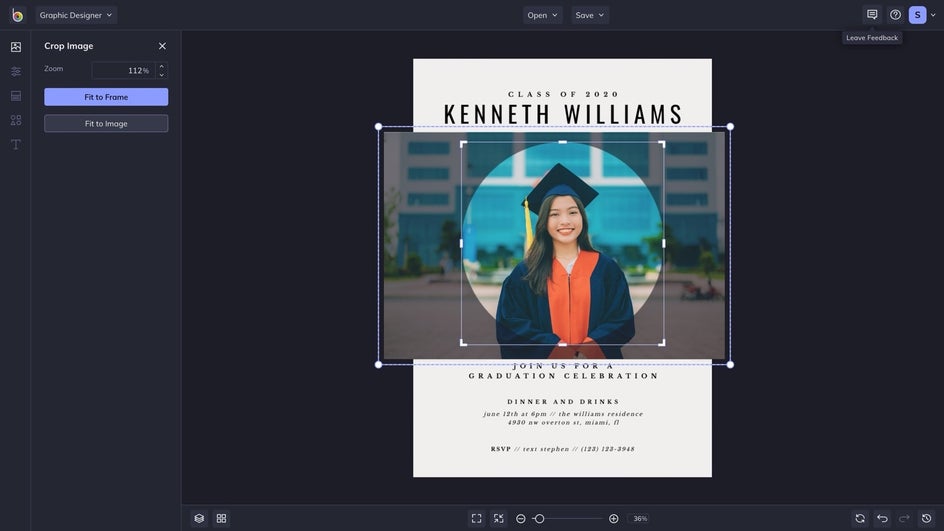
Pro Tip: Take a few photos in your cap and gown before graduation to use for your invitations.
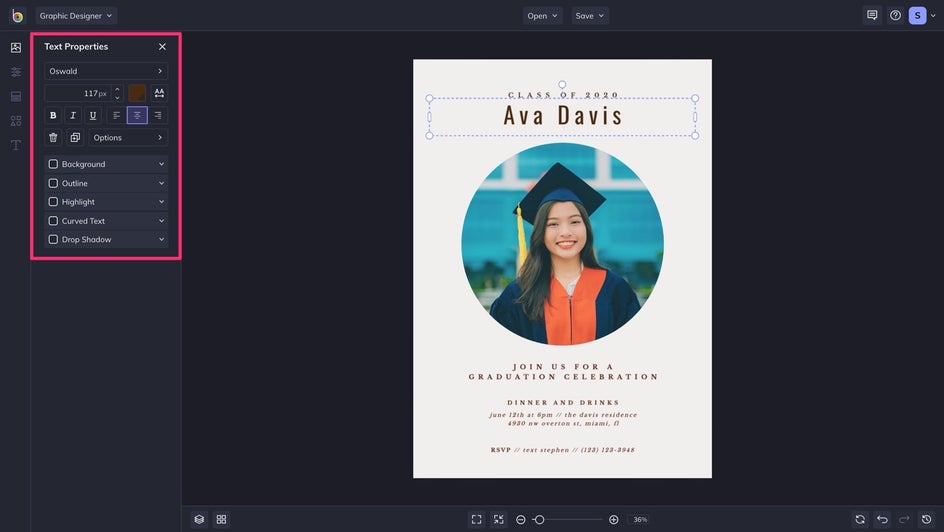
Step 3: Customize the Text
Next, it’s time to customize the text on the invitation. To do so, click on any text box in your invitation template to type something new. Change the font or color, add a background, and more with the Text Properties menu.
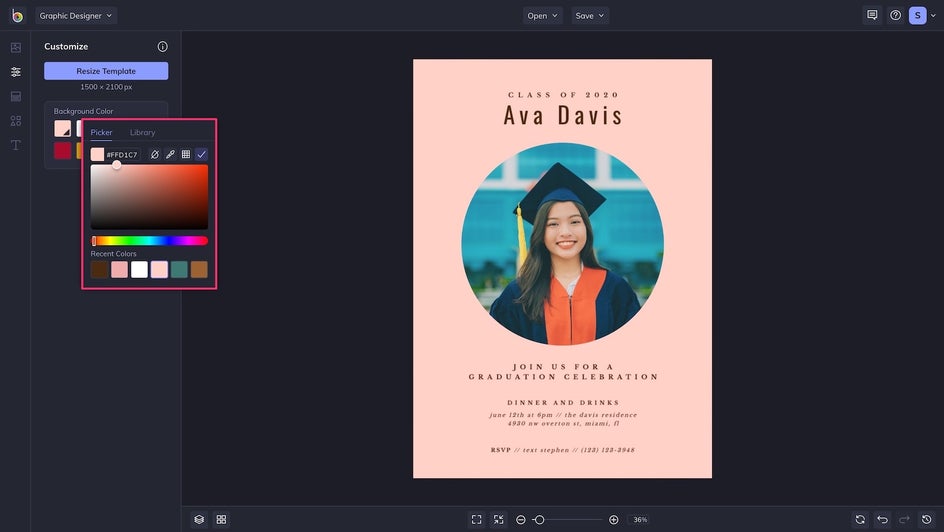
Step 4: Change the Background
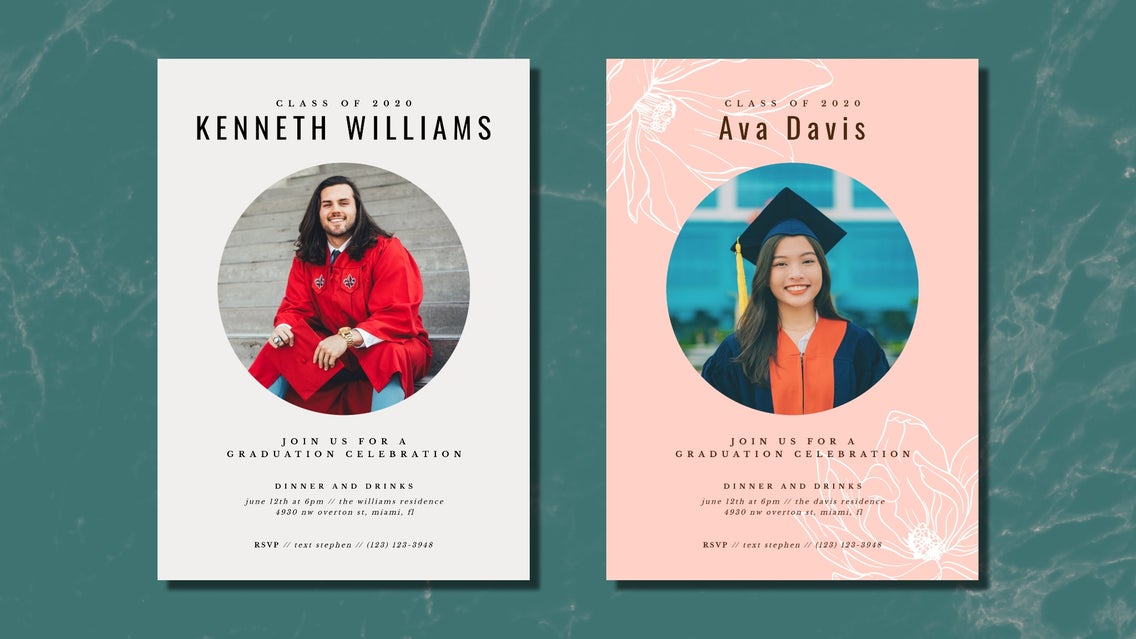
If you’d like to change the color scheme of your invitation to fit your text, that’s easy to do as well. This can provide a great way to tie in your school colors! First, click on the Customize tab in the main menu on the left. Clicking on the first color tile will bring up the Color Picker for you to choose any hue you’d like for the background of your invitation.
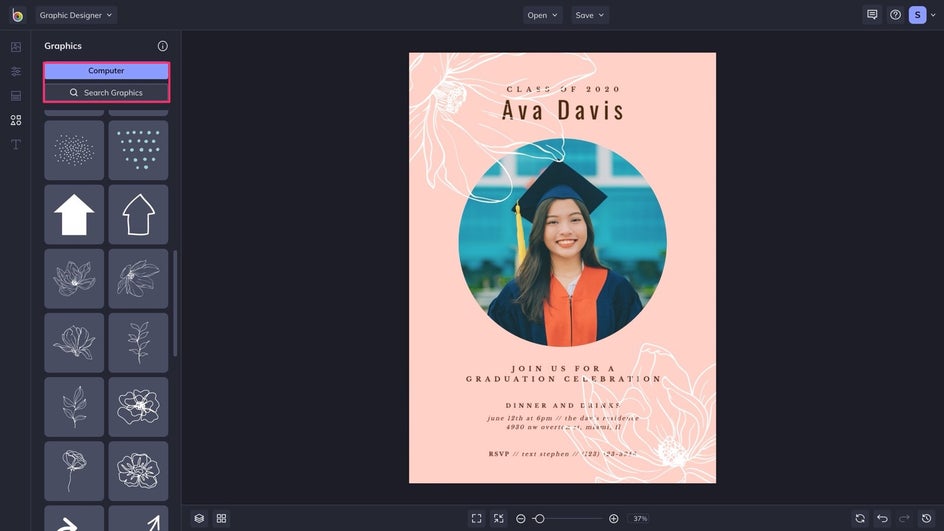
Step 5: Add Graphics
This particular template is quite minimal, which is fine if that's the look you're going for! But for our purposes, we're going to add some subtle graphics to add a little extra something. From the Graphics tab, you can add your own or use some from our extensive library.
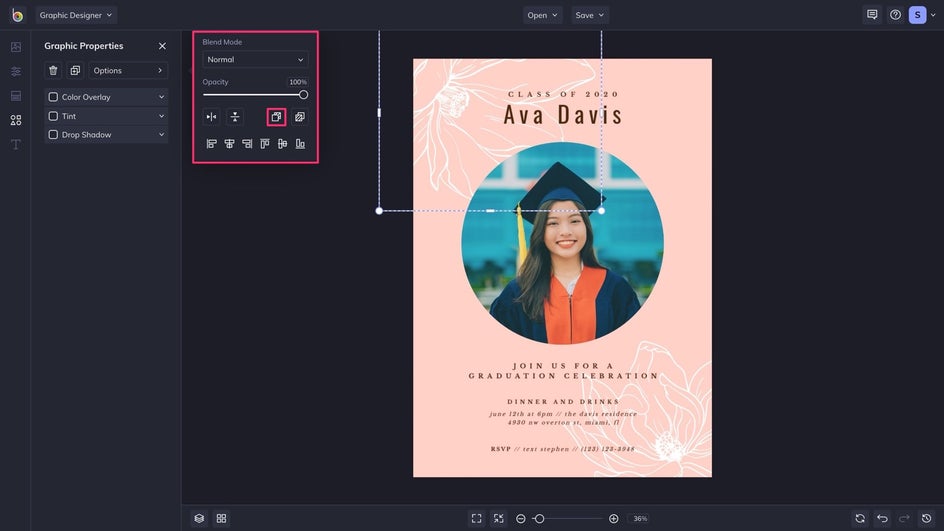
Once you've placed your graphics on the template, click on one and the Graphic Properties menu will appear. From here, you can change the color, add a tint or drop shadow, or change the opacity. You can also move the graphics backward/forward, as we did here.
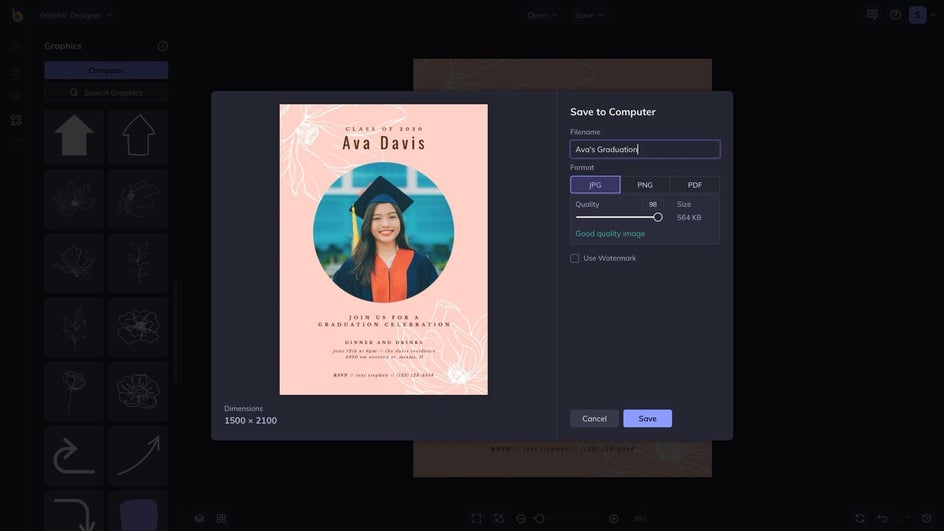
Step 6: Save Your Graduation Invitation
When your graduation invitation is looking perfect, click the Save button at the top of the Designer to save your work. You can use the dropdown menu to save the invite to your computer – or even share it right to social media if this party is an open invite.
Congrats! Now, It's Time to Celebrate.
You've done all the hard work. Now, let our Invitation Maker make it easy to let everyone know about it. Sit back and relax, celebrate with your loved ones, and soak up every moment! Because job hunting comes next.